How To Repair Hail Damage On Hood
Alright, let's talk about fixing those annoying hail dents on your hood. This isn't a job for the faint of heart, but with the right tools, knowledge, and a bit of patience, you can restore your car's hood to its former glory. We're going to focus on Paintless Dent Repair (PDR) techniques, as they're often the most effective and least intrusive way to address hail damage. Remember, if the damage is severe or you're uncomfortable with any of these steps, it's always best to consult a professional.
Understanding the Diagram: Your Roadmap to Repair
Purpose: This diagram, which we can provide you, serves as a visual guide throughout the PDR process. It helps you identify the impacted areas, plan your approach, and understand the underlying structure of your hood. Whether you're repairing your car, enhancing your knowledge of auto body work, or simply curious about the process, this visual aid will be invaluable.
Key Specs and Main Parts
Before diving into the repair, let's identify the key components of the hood and the specifications that might influence your work.
- Outer Skin (Hood Panel): This is the visible part of the hood, usually made of steel or aluminum. Hail dents primarily affect this panel.
- Inner Frame (Reinforcement): Located beneath the outer skin, the inner frame provides structural support. Accessing the dents often involves working around or through openings in this frame.
- Hood Latch Assembly: Secures the hood closed. It may need to be removed or adjusted for better access.
- Hinges: Allow the hood to open and close. While not directly involved in dent repair, their position can affect your working angle.
- Sound Deadening Material (Optional): Some hoods have a layer of sound-deadening material glued to the inner frame. This can obstruct access and may need to be carefully removed and reattached.
The diagram will show these parts, usually in an exploded view or cutaway. It will also often include the material type (steel, aluminum) and the thickness of the outer skin. This is crucial for selecting the correct PDR tools and techniques. For example, aluminum requires a gentler touch than steel.
Symbols: Deciphering the Visual Language
Diagrams use a variety of symbols to convey information efficiently. Here's a breakdown of common symbols you might encounter:
- Solid Lines: Represent visible edges and outlines of components.
- Dashed Lines: Indicate hidden features, such as the inner frame behind the outer skin.
- Arrows: Show the direction of movement or force. In a PDR diagram, arrows might indicate where to apply pressure with your tools.
- Color Coding: Different colors might represent different materials or highlight specific areas of interest. For example, the damaged area might be highlighted in red.
- Icons: Small symbols might represent specific tools or fasteners. A wrench icon could indicate a bolt that needs to be removed.
- Callouts: Numbers or letters connected to arrows pointing to specific parts. These callouts refer to a legend or parts list that provides more details.
Understanding these symbols is crucial for interpreting the diagram correctly. Always refer to the legend or accompanying text to clarify the meaning of any unfamiliar symbols.
How It Works: The Paintless Dent Repair Process
PDR relies on specialized tools and techniques to gently massage the metal back into its original shape without damaging the paint. The diagram assists by showing you the best access points and the direction of force needed to pop out the dents. Here's a simplified overview:
- Assessment: Carefully inspect the hail damage, noting the size, depth, and location of each dent. Use the diagram to understand the underlying structure and identify potential access points.
- Access: Gain access to the back of the dent. This may involve removing interior trim panels, accessing through existing holes in the inner frame, or drilling small, strategically placed access holes (which will later be sealed). Drilling should be a last resort and only performed by experienced individuals. The diagram will show you factory access points.
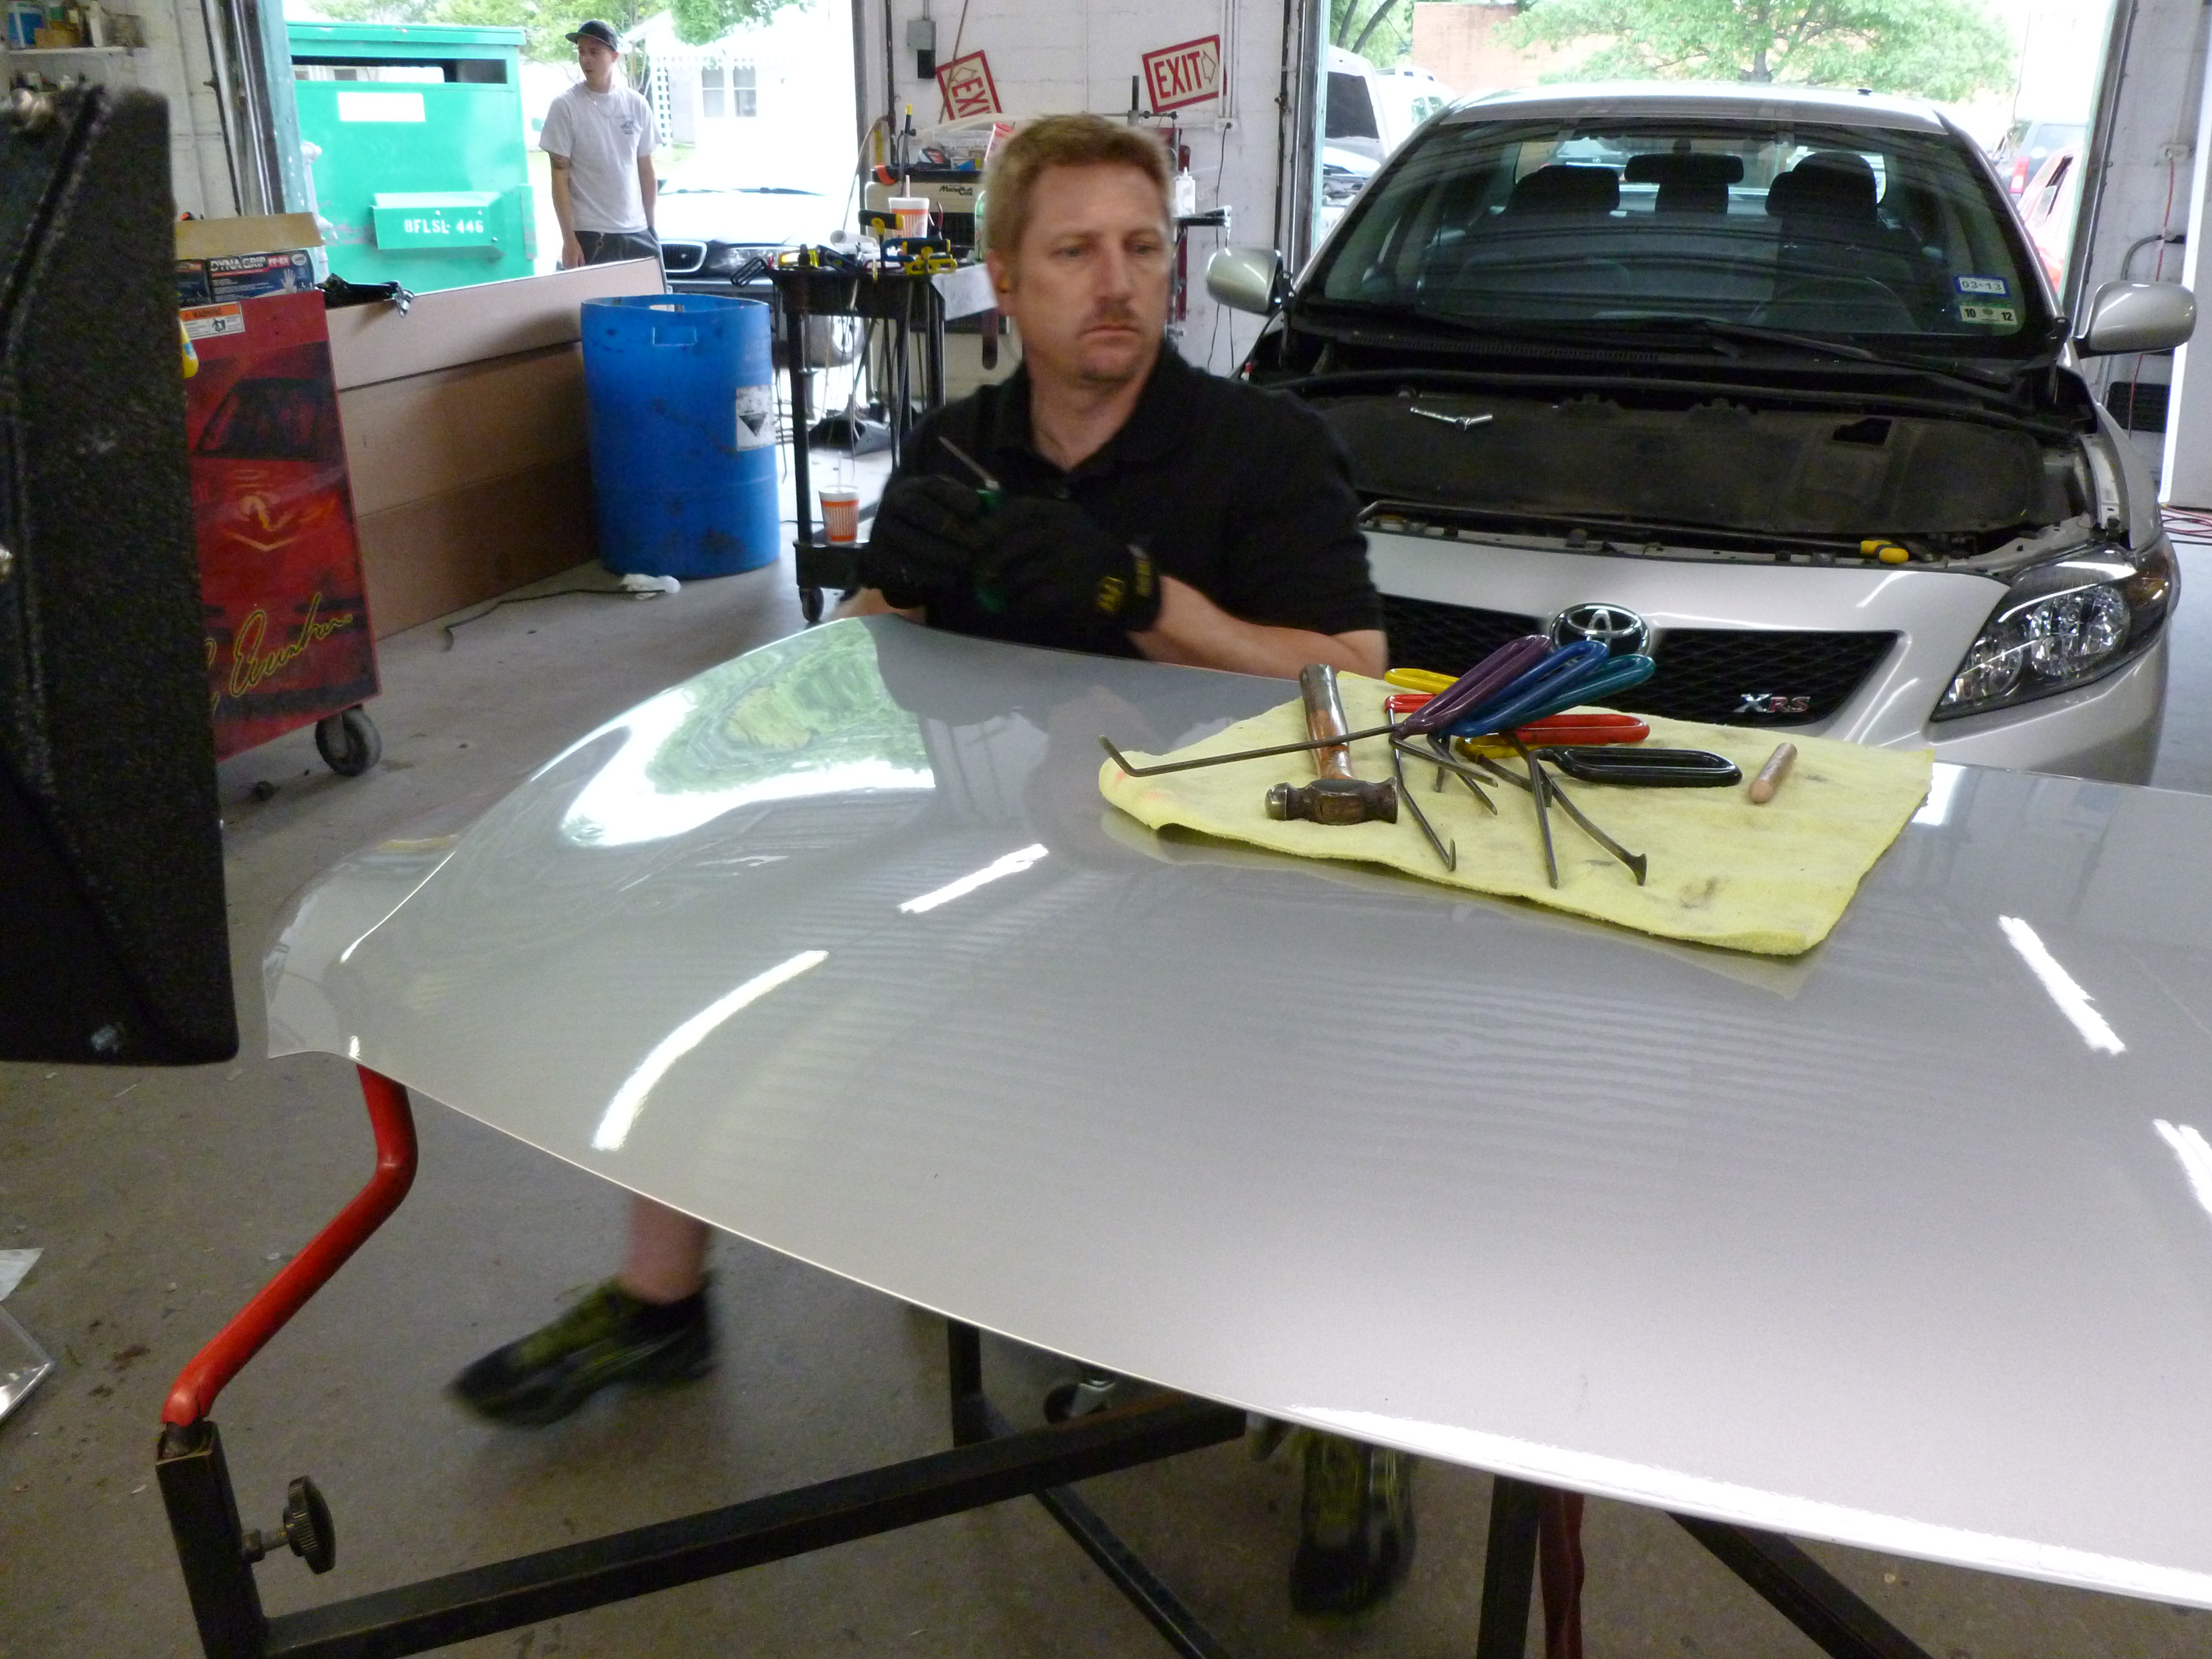
- Tool Selection: Choose the appropriate PDR tools for the job. This typically includes a set of PDR rods (various lengths and angles), a hammer, and tap-down tools with plastic or nylon tips to avoid scratching the paint. The diagram may recommend specific tool types based on the material and location of the dents.
- Massage: Using the PDR rods, gently apply pressure to the back of the dent, working around the edges and gradually pushing the metal back into place. This requires a delicate touch and a lot of patience. Watch the reflection in the paint to monitor your progress. The diagram helps by showing the direction and angle of force needed to restore the panel.
- Tap-Down: Use the hammer and tap-down tools to refine the surface and remove any high spots created during the massage process.
- Finishing: Once the dent is removed, clean the area and inspect it closely for any remaining imperfections.
Crucially, you're working to relieve stress in the metal. Think of it like gently coaxing the metal back into position rather than forcing it.
Real-World Use: Basic Troubleshooting Tips
Even with a detailed diagram, problems can arise. Here are a few common issues and how to address them:
- Limited Access: If you can't reach the back of the dent, explore alternative access points. The diagram might reveal hidden openings or suggest removing additional components. As a last resort, consider carefully drilling a small access hole, ensuring it's in an inconspicuous location and properly sealed afterward.
- Metal Stretching: If you apply too much pressure, the metal can stretch, creating a bulge instead of removing the dent. Use tap-down tools to gently shrink the stretched metal. Patience is key.
- Paint Cracking: If the paint is old or brittle, it may crack during the repair. This is more common in colder temperatures. Warm the area with a heat gun (carefully!) before attempting the repair. If the paint does crack, you'll need to consider touch-up paint or a full repaint of the hood.
- Dents Not Popping Out: If the dents are particularly stubborn, try warming the area with a heat gun to make the metal more pliable. Alternatively, try using a different PDR tool with a different angle or tip. The diagram can guide you toward better tool selection.
Always remember to take breaks and reassess your progress. Rushing the job can lead to mistakes and further damage.
Safety: Risky Components and Practices
Working on a car hood involves potential safety hazards. Be aware of the following:
- Sharp Edges: The edges of the hood and inner frame can be sharp. Wear gloves to protect your hands.
- Hood Latch Mechanism: Be careful when working around the hood latch mechanism. Accidental activation can cause the hood to slam shut.
- Electrical Components: If the hood has any electrical components (e.g., hood ajar sensor), disconnect the battery before working on it to prevent accidental shorts.
- Heat Gun: Use heat guns with caution. Overheating the paint can cause it to blister or burn. Keep the heat gun moving and maintain a safe distance.
- Eye Protection: Wear safety glasses to protect your eyes from flying debris or accidental tool slippage.
Before starting any repair, thoroughly inspect the area for potential hazards and take appropriate precautions.
By carefully following these steps, consulting the diagram we can provide, and practicing patience, you can successfully repair hail damage on your hood. Remember, if you're unsure about any step, don't hesitate to seek professional help.