How To Replace A Bonnet Release Cable
Is your bonnet refusing to open, leaving you stranded when you need to check fluids, jump-start your car, or perform basic maintenance? A broken bonnet release cable is a common problem that can be incredibly frustrating. In this article, we'll guide you through diagnosing the issue, understanding its root cause, and exploring your options for getting it fixed, including the possibility of doing it yourself.
Symptoms of a Broken Bonnet Release Cable
Recognizing the symptoms early can save you time and prevent further complications. Here's what to look out for:
- Bonnet release lever feels loose or offers no resistance. This is often the most obvious sign. When you pull the lever inside the car, it feels like it's disconnected from anything.
- The bonnet doesn't pop open when you pull the release lever. Even if the lever feels normal, the bonnet simply won't budge.
- You hear a snapping sound when pulling the release lever. This could indicate the cable has broken completely.
- The bonnet is difficult to close properly. In some cases, a frayed cable can affect the latching mechanism, making it hard to close the bonnet securely.
- Visible damage to the cable or its components. Inspect the cable where it connects to the release lever and the bonnet latch. Look for fraying, kinks, or breaks.
Understanding the Root Cause
The bonnet release cable is a simple but vital component. It connects the release lever inside your car to the bonnet latch mechanism. When you pull the lever, it pulls the cable, which in turn releases the latch, allowing you to open the bonnet. Several factors can lead to its failure:
- Corrosion: Moisture and road salt can corrode the cable, weakening it over time. This is especially prevalent in areas with harsh winters.
- Friction: The cable runs through a protective sleeve or conduit. If this sleeve becomes damaged or clogged with dirt and debris, the cable can experience increased friction, leading to wear and tear.
- Wear and Tear: Over time, repeated use can cause the cable to stretch, fray, or eventually break.
- Poor Lubrication: Lack of lubrication within the cable sleeve can contribute to friction and corrosion.
- Accidental Damage: While less common, the cable can be damaged during other repairs or maintenance procedures.
What Happens If Ignored?
Ignoring a broken bonnet release cable can lead to several problems:
- Inability to Perform Essential Maintenance: You won't be able to check and top up vital fluids like oil, coolant, and windshield washer fluid. This can lead to serious engine damage or leave you stranded.
- Inability to Jump-Start Your Car: If your battery dies, you won't be able to access it for a jump-start.
- Safety Concerns: In some cases, a malfunctioning bonnet latch can cause the bonnet to fly open while driving, posing a serious safety hazard.
- Increased Repair Costs: Attempting to force the bonnet open without addressing the cable issue can damage the latch, bonnet, or surrounding components, leading to more expensive repairs.
Recommended Fixes
The best course of action depends on your mechanical skills and comfort level. Here are your options:
DIY Replacement
Replacing a bonnet release cable is a doable DIY project for someone with moderate mechanical skills and the right tools. Here's a general overview of the process:
- Gather Your Tools: You'll need a socket set, wrenches, screwdrivers, pliers, a new bonnet release cable (specific to your vehicle make and model), penetrating oil, and potentially a trim removal tool. Safety glasses and gloves are also recommended.
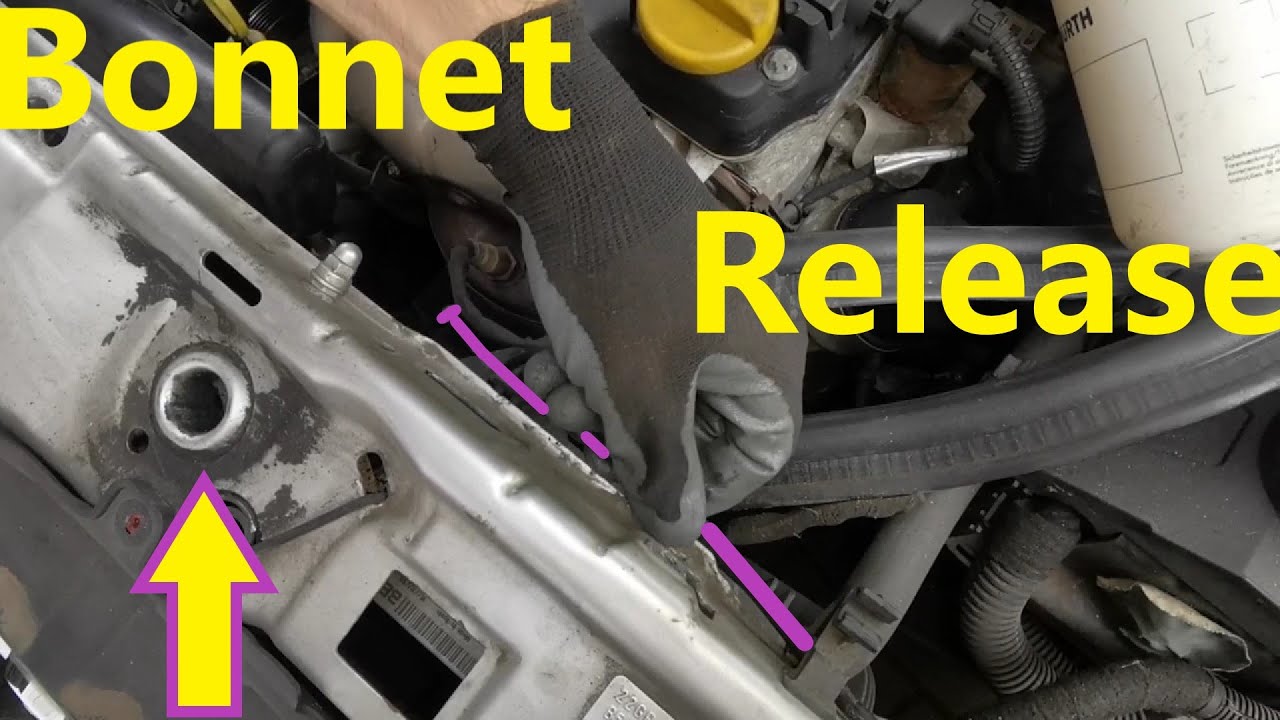
- Locate the Cable: The cable runs from the release lever inside the car, through the firewall, and to the bonnet latch.
- Disconnect the Old Cable: Start by disconnecting the cable from the release lever inside the car. This usually involves removing a few screws or clips. Then, disconnect the cable from the bonnet latch. This might require some maneuvering and the use of penetrating oil to loosen any corroded connections.
- Remove the Old Cable: Carefully pull the old cable out, noting its routing and how it's secured along the way. You may need to remove some trim panels or clips to access the entire cable run.
- Install the New Cable: Follow the same routing as the old cable, securing it with clips and fasteners. Connect the cable to the bonnet latch and the release lever.
- Test the New Cable: Before closing the bonnet, test the release lever to ensure it's working properly. Adjust the cable tension if necessary.
- Close and Latch the Bonnet: Carefully close the bonnet and make sure it latches securely. Test the release lever again to confirm everything is functioning correctly.
Important Considerations for DIY:
- Vehicle-Specific Instructions: Always consult your vehicle's repair manual or online resources for specific instructions and diagrams. The location and routing of the cable can vary significantly between different makes and models.
- Safety First: Disconnect the battery before starting any electrical work. Wear safety glasses and gloves to protect yourself.
- Penetrating Oil is Your Friend: Corroded connections can be difficult to loosen. Use penetrating oil liberally to avoid damaging components.
- Don't Force Anything: If you encounter resistance, stop and reassess the situation. Forcing components can lead to breakage and further complications.
Professional Repair
If you're not comfortable tackling the repair yourself, or if you encounter difficulties, it's best to take your car to a qualified mechanic. They have the expertise and tools to diagnose the problem accurately and replace the cable efficiently. A professional can also inspect the latching mechanism for any damage or wear.
Cost Estimates and Shop Advice
The cost of replacing a bonnet release cable can vary depending on several factors:
- Vehicle Make and Model: The complexity of the cable routing and the availability of parts can affect the cost.
- Labor Rates: Labor rates vary depending on the location and the shop's hourly rate.
- Parts Cost: The cost of the replacement cable can range from $20 to $100 or more, depending on the vehicle and the brand.
DIY Cost: If you choose to do the job yourself, you'll only need to pay for the replacement cable and any tools you don't already have. This could range from $30 to $120.
Professional Repair Cost: Expect to pay between $100 and $300 for a professional repair, including parts and labor. Get quotes from several shops before making a decision. Ask for a detailed breakdown of the costs, including the price of the cable and the labor charge.
Shop Advice: When choosing a repair shop, look for one with a good reputation and experienced mechanics. Check online reviews and ask for recommendations from friends or family. A reputable shop will provide a clear explanation of the problem, a written estimate, and a warranty on their work.
Credibility and Common Failure Points
While there isn't a universal TSB (Technical Service Bulletin) covering bonnet release cable failures across all makes and models, this is a well-documented issue in online automotive communities and forums. Many owners report experiencing this problem after 5-10 years of vehicle ownership, or around 80,000 to 150,000 miles, depending on driving conditions and maintenance habits. Some vehicle manufacturers have released TSBs addressing specific issues related to bonnet latch mechanisms, which can indirectly affect the cable's lifespan.
Additionally, some manufacturers may recommend lubricating the bonnet latch mechanism and cable at regular service intervals. Ignoring these recommendations can accelerate wear and tear on the cable.
By understanding the symptoms, root causes, and repair options, you can effectively address a broken bonnet release cable and keep your vehicle running safely and reliably.