How To Replace A Brake Master Cylinder
The brake master cylinder, often overlooked, is the heart of your car's braking system. When it fails, the consequences can range from inconveniently soft pedal feel to a complete loss of braking power. Ignoring the early warning signs – a spongy brake pedal, increased stopping distance, or brake fluid leaks – is a recipe for disaster. This guide will walk you through understanding, diagnosing, and replacing a brake master cylinder, empowering you to tackle this crucial repair yourself or, at the very least, understand the process when your mechanic explains it.
The Spongy Pedal Predicament: Understanding Master Cylinder Failure
Imagine trying to squeeze water out of a half-empty, squishy bottle. That's akin to how a failing master cylinder feels. When you press the brake pedal, you expect immediate and firm resistance, translating your effort into hydraulic pressure that stops the car. A failing master cylinder, however, often results in a "spongy" or "soft" pedal feel. This happens because the internal seals, designed to maintain pressure, have deteriorated, allowing brake fluid to leak past them. Instead of directly pressurizing the brake lines, some of your effort is wasted compressing the leaking fluid.
Another telltale sign is a slow, gradual sink of the brake pedal when held down at a stop. This indicates that the master cylinder is unable to maintain pressure, and the fluid is slowly leaking past the seals. In severe cases, you might find yourself needing to pump the brakes repeatedly to maintain stopping power, an extremely dangerous situation.
How the System Works: A Mechanical Deep Dive
The master cylinder is a relatively simple device, but its function is critical. It's essentially a hydraulic pump that converts mechanical force (your foot pressing the brake pedal) into hydraulic pressure. Here's a breakdown of its operation:
Components:
- Reservoir: This holds the brake fluid, the lifeblood of the system. It’s usually transparent, allowing you to visually check the fluid level.
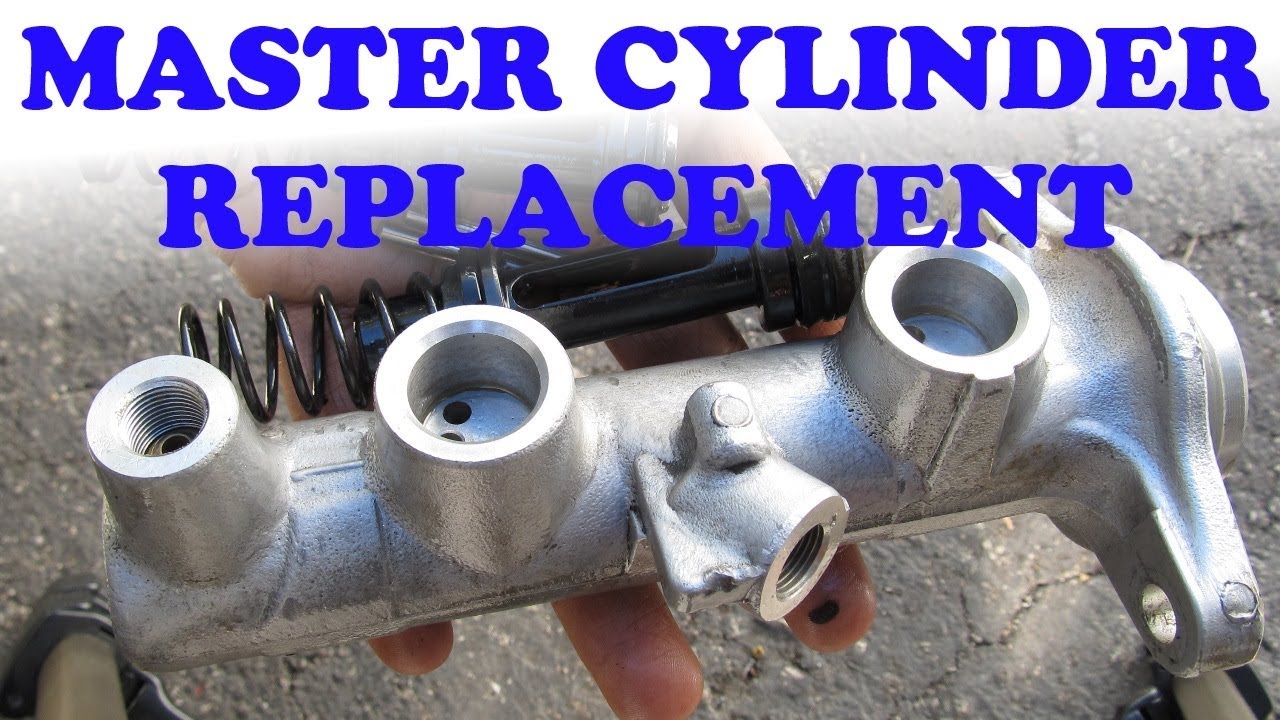
- Cylinder Body: This is the main housing, typically made of cast iron or aluminum.
- Piston(s): Modern cars usually employ a dual-piston design, offering redundancy. If one circuit fails, the other can still provide some braking force. These pistons are pushed forward by the brake pedal linkage.
- Seals (Cups): These rubber seals, located on the pistons, are crucial for preventing brake fluid from leaking past the piston.
- Check Valves: These valves ensure fluid flows in the correct direction, preventing backflow and maintaining residual pressure in the brake lines.
- Ports: These connect the master cylinder to the brake lines leading to the calipers and wheel cylinders at each wheel.
Operation:
- When you press the brake pedal, the pushrod activates the piston(s) within the master cylinder.
- The piston(s) move forward, compressing the brake fluid in the cylinder.
- This pressure forces the fluid through the ports and into the brake lines.
- The pressurized fluid then acts upon the calipers (disc brakes) or wheel cylinders (drum brakes), forcing the brake pads against the rotors or the brake shoes against the drums, creating friction and slowing the vehicle.
- When you release the brake pedal, the piston(s) return to their resting position, releasing the pressure in the brake lines, and the brake pads/shoes retract.
The dual-piston design is a critical safety feature. It creates two independent hydraulic circuits. Typically, one circuit controls the front brakes, and the other controls the rear brakes. If a leak occurs in one circuit, the other circuit remains functional, providing at least partial braking power. This greatly reduces the risk of total brake failure.
Pros, Cons, Use Cases, and Manufacturer Examples
Replacing a brake master cylinder is a task within reach of many DIY mechanics, but it's crucial to weigh the pros and cons before diving in.
Pros of DIY Replacement:
- Cost Savings: Labor costs at a mechanic's shop can be significant. Doing it yourself saves you that expense.
- Learning Experience: It's a great way to understand your car's braking system and improve your mechanical skills.
- Convenience: You can do it at your own pace and on your own schedule.
Cons of DIY Replacement:
- Complexity: It's not a simple bolt-on replacement. It requires careful attention to detail and proper bleeding of the brake system.
- Risk of Error: Incorrect installation or inadequate bleeding can lead to brake failure.
- Time Commitment: It can take several hours, especially if you're unfamiliar with the process.
- Special Tools: You'll need tools like flare nut wrenches, a brake bleeder kit (recommended), and potentially a line wrench.
Use Cases:
- Spongy Brake Pedal: This is the most common symptom indicating a failing master cylinder.
- Brake Fluid Leaks: Visible leaks around the master cylinder body or into the brake booster are a clear sign of a problem.
- Pedal Fades to the Floor: If the brake pedal slowly sinks to the floor when held down, it's likely an internal leak in the master cylinder.
- Preventative Maintenance: In some cases, especially on older vehicles, replacing the master cylinder as part of a larger brake system overhaul can be a proactive measure.
Manufacturer Examples:
- Brembo: Primarily known for high-performance braking systems, Brembo also offers master cylinders for a variety of vehicles, emphasizing performance and durability.
- Ate (Continental): A major OEM supplier, Ate master cylinders are often the factory-installed parts on many European vehicles. They are known for their reliability and precision.
- Raybestos: Raybestos offers a wide range of brake components, including master cylinders, for a variety of makes and models, focusing on affordability and reliability.
- ACDelco: The OEM parts supplier for General Motors vehicles, ACDelco master cylinders are designed to meet the specific requirements of GM cars and trucks.
Step-by-Step Replacement Guide
Disclaimer: Brake work is safety-critical. If you are not comfortable performing this repair, seek the help of a qualified mechanic. Incorrect installation or bleeding can lead to brake failure and serious injury or death.
Tools and Materials:
- New brake master cylinder (matching your vehicle's make, model, and year)
- Brake fluid (DOT 3 or DOT 4, as specified by your vehicle's manufacturer)
- Flare nut wrenches (various sizes, to avoid damaging brake lines)
- Line wrench
- Brake bleeder kit (recommended)
- Wrench set and socket set
- Screwdrivers
- Turkey baster or fluid extractor
- Rags or shop towels
- Gloves and eye protection
- Drain pan
Procedure:
- Preparation: Disconnect the negative battery cable. This is a crucial safety step to prevent electrical shorts.
- Remove Old Brake Fluid: Use a turkey baster or fluid extractor to remove as much brake fluid as possible from the master cylinder reservoir. Dispose of the old fluid properly. Brake fluid is corrosive and harmful to the environment.
- Disconnect Brake Lines: Using the correct size flare nut wrench, carefully loosen the brake lines connected to the master cylinder. Wrap a rag around the fittings to catch any spills. Be patient and avoid rounding off the fittings.
- Disconnect the Electrical Connector (if applicable): Some master cylinders have a fluid level sensor. Disconnect the electrical connector.
- Unbolt the Master Cylinder: Remove the nuts or bolts that secure the master cylinder to the brake booster (or firewall, in some vehicles).
- Remove the Old Master Cylinder: Carefully remove the old master cylinder, being mindful not to spill any remaining brake fluid.
- Bench Bleeding (Critical): Before installing the new master cylinder, it *must* be bench bled. This removes air from the cylinder itself, making the subsequent bleeding process on the car much easier. Most new master cylinders come with plastic plugs and hoses for bench bleeding. Follow the instructions that came with your new master cylinder. Essentially, you'll fill the reservoir with brake fluid, insert the plugs and hoses, and then repeatedly depress the piston(s) until no more air bubbles are present in the fluid flowing through the hoses.
- Install the New Master Cylinder: Install the new master cylinder in the reverse order of removal. Torque the mounting bolts to the manufacturer's specifications.
- Reconnect Brake Lines: Carefully reconnect the brake lines to the master cylinder. Ensure the fittings are properly aligned and tightened securely, but do not overtighten.
- Reconnect Electrical Connector (if applicable): Reconnect the electrical connector for the fluid level sensor.
- Bleed the Brakes: Now you need to bleed the entire brake system to remove any air that may have entered the lines during the master cylinder replacement. Start with the wheel farthest from the master cylinder (usually the right rear), and work your way towards the master cylinder. Use a brake bleeder kit or have an assistant pump the brake pedal while you open and close the bleeder screws at each wheel. Continuously check and refill the master cylinder reservoir to prevent it from running dry.
- Test the Brakes: After bleeding, pump the brakes several times to check for a firm pedal. If the pedal feels spongy, repeat the bleeding process.
- Road Test: Perform a careful road test in a safe, controlled environment. Ensure the brakes are functioning properly before driving in traffic.
- Check for Leaks: After the road test, inspect all connections for leaks.
Real-World Insights and Recommendations
Replacing a brake master cylinder, while a manageable DIY task, demands meticulous attention to detail. Bench bleeding is absolutely critical; skipping this step will make the subsequent brake bleeding process extremely difficult, if not impossible. Invest in a quality brake bleeder kit; it will significantly simplify the bleeding process and improve the overall outcome.
When selecting a replacement master cylinder, consider the brand and quality. While generic, inexpensive options may seem appealing, they often lack the quality control and durability of reputable brands like Brembo, Ate, or Raybestos. Choosing a higher-quality master cylinder will provide better performance and a longer lifespan.
Always use the correct type of brake fluid as specified by your vehicle's manufacturer. Mixing different types of brake fluid can damage the seals and compromise the braking system. Dispose of old brake fluid responsibly at a recycling center or auto parts store.
Finally, remember that brake work is safety-critical. If you have any doubts or uncertainties about the process, seek the assistance of a qualified mechanic. Your safety and the safety of others on the road depend on a properly functioning braking system.