How To Replace A Broken Wheel Stud
Replacing a broken wheel stud might seem like a daunting task best left to professionals, but with the right tools, a little patience, and a solid understanding of the process, it's a manageable DIY project. This article will guide you through the steps involved, providing you with the knowledge and confidence to tackle this repair yourself. A broken wheel stud can lead to wheel instability and even detachment, posing a serious safety hazard. Addressing this issue promptly is crucial for your safety and the well-being of others on the road.
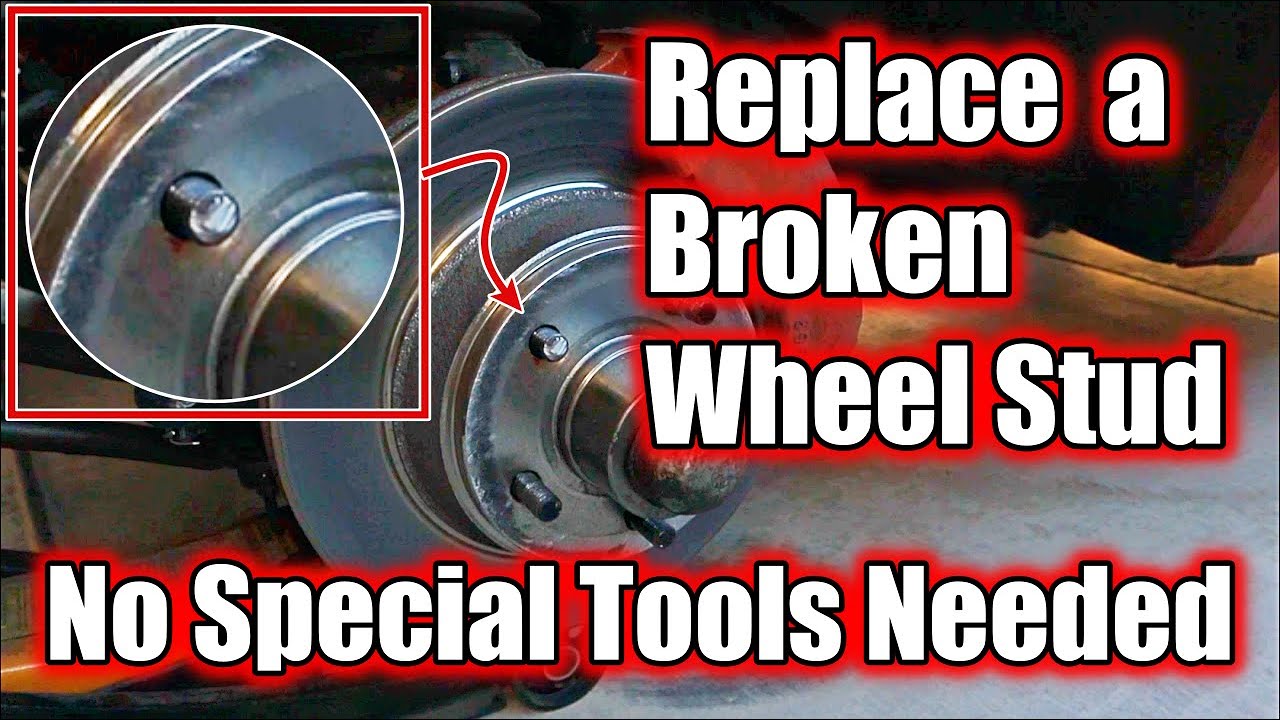
Background: The Wheel Stud and Hub Assembly
Before diving into the replacement process, it's important to understand the function of the wheel stud and its relationship to the hub assembly. The wheel hub assembly is the central mounting point for your wheel. It houses the wheel bearings, which allow the wheel to rotate freely. Protruding from the hub are the wheel studs, hardened steel bolts that secure the wheel to the hub. These studs pass through the wheel's mounting holes, and lug nuts are then tightened onto the studs, clamping the wheel firmly against the hub.
Wheel studs are designed to withstand significant shear and tensile forces generated during driving, braking, and cornering. They are typically made of high-strength alloy steel, heat-treated to enhance their durability and resistance to fatigue. However, they are still susceptible to damage from over-tightening lug nuts, cross-threading, corrosion, or impact.
Technical Breakdown: How it Works
The wheel stud is typically press-fit into the hub. This means that it is installed with an interference fit – the diameter of the stud's knurled section is slightly larger than the hole in the hub. When the stud is pressed into the hub, the knurls bite into the surrounding metal, creating a secure mechanical connection. This friction fit, along with the clamping force of the lug nuts, prevents the stud from rotating or pulling out of the hub during normal operation.
Removing a broken wheel stud requires overcoming this interference fit. Installing a new stud involves pressing it into the hub until it is fully seated. In some cases, space constraints prevent the use of a press. Therefore, an impact wrench and lug nut may be used to draw the stud into the hub. Both the stud and lug nut are considered single-use parts after being installed using this impact wrench/lug nut method because it risks damaging both parts.
Technical Breakdown: Step-by-Step Replacement
Here's a detailed guide to replacing a broken wheel stud:
- Safety First: Always prioritize safety. Park the vehicle on a level surface, engage the parking brake, and use wheel chocks to prevent movement. Wear safety glasses and gloves.
- Loosen the Lug Nuts: Use a lug wrench to loosen the lug nuts on the wheel with the broken stud. Do not remove them completely at this stage. Only loosen them enough to easily remove when lifted.
- Lift the Vehicle: Use a jack to lift the vehicle and secure it with jack stands. Never work under a vehicle supported only by a jack.
- Remove the Wheel: Remove the lug nuts completely and carefully remove the wheel. Set the wheel aside.
- Access the Hub: Depending on the vehicle, you may need to remove the brake caliper and rotor to gain access to the back of the hub. This usually involves removing bolts securing the caliper to the caliper bracket. Hang the caliper out of the way, being careful not to strain the brake hose. Then, remove the rotor. Some rotors may be held in place with small screws or clips.
- Remove the Broken Stud: There are two common methods for removing the broken stud:
- Hammering: If enough of the stud is protruding from the back of the hub, you can try hammering it out. Use a punch or drift and a hammer to strike the stud from the back side, driving it out of the hub. Be careful not to damage the hub or bearings. This method works best when the stud isn't tightly seized.
- Pressing: If hammering doesn't work, or if the stud is broken flush with the hub, a wheel stud removal tool or a hydraulic press is recommended. Position the hub in the press with the broken stud facing down. Use a suitable adapter to push the stud out of the hub.
- Install the New Stud: Clean the stud hole in the hub with a wire brush to remove any corrosion or debris. There are also two ways to install the new stud:
- Pressing: Ideally, use a hydraulic press to press the new stud into the hub. Ensure the stud is aligned straight and press it in until the knurled section is fully seated against the hub.
- Using a Lug Nut (If pressing is impossible): If a press is not available, you can use a lug nut to pull the stud into place. Place the new stud in the hole. Put on a thick, hardened washer over the stud, then thread a *sacrificial* lug nut onto the stud. Important: Use a lug nut you don't intend to use again, as this method can damage the lug nut. Tighten the lug nut using an impact wrench, gradually pulling the stud into the hub. Periodically check the back of the hub to ensure the stud is seating correctly. Be careful not to overtighten, as this can damage the hub or strip the threads. Once the stud is fully seated, remove the sacrificial lug nut and discard it. Use a new lug nut for final tightening once the wheel is back on.
- Reassemble: Reinstall the rotor, brake caliper, and any other components that were removed. Ensure all bolts are tightened to the manufacturer's specified torque.
- Reinstall the Wheel: Carefully mount the wheel onto the hub, aligning the lug holes with the studs.
- Tighten the Lug Nuts: Hand-tighten the lug nuts in a star pattern to ensure even pressure on the wheel.
- Lower the Vehicle: Carefully lower the vehicle to the ground.
- Final Tightening: Use a torque wrench to tighten the lug nuts to the manufacturer's specified torque in a star pattern. This is crucial to prevent over-tightening or under-tightening, which can lead to stud failure or wheel detachment. Consult your vehicle's owner's manual or a reliable repair manual for the correct torque specifications.
- Test Drive: After completing the repair, take the vehicle for a short test drive, listening for any unusual noises or vibrations. Recheck the lug nut torque after approximately 50-100 miles.
Common Issues and Maintenance Concerns
- Over-Tightening Lug Nuts: This is one of the most common causes of wheel stud failure. Over-tightening stretches the stud beyond its yield strength, weakening it and making it prone to breakage. Always use a torque wrench and adhere to the manufacturer's specified torque.
- Cross-Threading Lug Nuts: Cross-threading damages the threads on both the stud and the lug nut, weakening the connection and making it difficult to remove the wheel. Always start the lug nuts by hand to ensure they are properly aligned.
- Corrosion: Corrosion can weaken the wheel studs over time, making them more susceptible to failure. Inspect the studs regularly for signs of rust or corrosion, and apply a thin coat of anti-seize compound to the threads (avoid getting it on the lug nut contact surface) to prevent further corrosion.
- Using the Wrong Lug Nuts: Using lug nuts that are not compatible with your wheels or studs can damage the threads and lead to stud failure. Ensure you are using the correct type of lug nuts for your wheels.
- Impact Damage: Impacts from curbs or other objects can damage wheel studs. If you suspect your wheels have been subjected to impact, inspect the studs for damage and replace them if necessary.
Do's and Don'ts / Best Practices
Do's:
- Use a torque wrench: Always use a torque wrench to tighten lug nuts to the manufacturer's specified torque.
- Tighten in a star pattern: Tighten lug nuts in a star pattern to ensure even pressure on the wheel.
- Inspect regularly: Regularly inspect wheel studs for signs of damage, corrosion, or wear.
- Use the correct lug nuts: Ensure you are using the correct type of lug nuts for your wheels.
- Apply anti-seize: Apply a thin coat of anti-seize compound to the stud threads (avoiding the contact surface).
Don'ts:
- Over-tighten lug nuts: Over-tightening is a major cause of stud failure.
- Cross-thread lug nuts: Cross-threading damages the threads and weakens the connection.
- Use damaged studs: Replace any studs that show signs of damage, corrosion, or wear.
- Ignore unusual noises: Investigate any unusual noises or vibrations coming from the wheels.
- Drive with a missing or broken stud: Driving with a missing or broken stud is extremely dangerous and can lead to wheel detachment.
Conclusion
Replacing a broken wheel stud is a repair that requires careful attention to detail and adherence to proper procedures. By understanding the function of the wheel stud, following the step-by-step instructions outlined in this article, and adhering to best practices, you can successfully complete this repair and ensure the safety and reliability of your vehicle. If you are uncomfortable with any aspect of this repair, or if you encounter difficulties, it is always best to consult a qualified mechanic. Ignoring a broken wheel stud can have catastrophic consequences, so prompt and proper repair is essential.