How To Replace A Camshaft Position Sensor
Replacing a camshaft position sensor (CMP) is a repair that many experienced DIY mechanics can tackle. This guide will walk you through the process, covering everything from understanding the sensor's function to troubleshooting common issues. A faulty CMP sensor can lead to various engine problems, so understanding how to diagnose and replace it is a valuable skill.
Background: Engine Timing and the CMP Sensor
To understand the CMP sensor, it's crucial to grasp the basics of engine timing. Internal combustion engines operate on a four-stroke cycle: intake, compression, combustion (power), and exhaust. The precise timing of each event is critical for optimal engine performance. The crankshaft, connected to the pistons, converts the reciprocating motion into rotational motion, which ultimately powers your vehicle. The camshaft(s), driven by the crankshaft via a timing belt or chain, control the opening and closing of the intake and exhaust valves.
The crankshaft position (CKP) sensor monitors the crankshaft's position and speed (RPM). The Engine Control Unit (ECU) uses this information to determine when to fire the spark plugs and inject fuel. However, in engines with multiple cylinders, the ECU needs to know which cylinder is approaching the power stroke. This is where the camshaft position sensor comes in.
Technical Breakdown: How the CMP Sensor Works
The camshaft position sensor provides the ECU with information about the position of the camshaft. This allows the ECU to synchronize fuel injection and ignition timing with the specific cylinder that's about to fire. There are primarily two types of CMP sensors:
- Hall Effect Sensors: These sensors use a magnetic field and a rotating trigger wheel (also known as a reluctor ring or tone ring) attached to the camshaft. As the trigger wheel passes the sensor, it interrupts the magnetic field, generating a voltage pulse. The ECU interprets these pulses to determine the camshaft's position.
- Variable Reluctance Sensors (VRS): Also known as magnetic pulse sensors, VRS sensors consist of a coil of wire wrapped around a magnetic core. A toothed wheel, similar to the one used with Hall effect sensors, rotates near the sensor. As the teeth pass the sensor, they change the magnetic field, inducing a voltage in the coil. The frequency and amplitude of this voltage signal indicate the camshaft's position and speed.
Regardless of the sensor type, the CMP sensor sends a signal to the ECU, providing critical information for engine management. The ECU then uses this information, along with data from other sensors (like the CKP sensor, mass airflow sensor, and oxygen sensors), to calculate the optimal fuel injection and ignition timing. A correct signal is typically a digital square wave or a sinusoidal wave, depending on the sensor type.
Common Issues and Maintenance Concerns
CMP sensors are generally reliable, but they can fail due to various factors. Here are some common issues:
- Sensor Failure: The sensor itself can simply fail due to age, heat, or physical damage. Internal components may degrade, leading to inaccurate or nonexistent signals.
- Wiring Issues: Damaged or corroded wiring can disrupt the signal between the sensor and the ECU. Look for frayed wires, loose connectors, and signs of corrosion.
- Connector Problems: The connector that plugs into the sensor can become loose or corroded, leading to intermittent or complete signal loss.
- Trigger Wheel Damage: The trigger wheel can become damaged, bent, or corroded, which will disrupt the sensor's ability to accurately detect the camshaft's position. This is rarer, but possible, especially if there was previous work done on the timing system.
- Oil Contamination: Leaking valve cover gaskets or other oil leaks can contaminate the sensor, causing it to malfunction.
Symptoms of a failing CMP sensor can include:
- Check Engine Light (CEL): This is the most common symptom. Diagnostic trouble codes (DTCs) related to the CMP sensor (e.g., P0340, P0341) will be stored in the ECU's memory.
- Engine Stalling: The engine may stall, especially at idle or during deceleration.
- Hard Starting: The engine may be difficult to start, or it may crank for an extended period before starting.
- Poor Engine Performance: The engine may run rough, lack power, or exhibit poor fuel economy.
- Engine Misfires: The engine may misfire, leading to a rough idle and reduced power.
- No Start Condition: In some cases, a completely failed CMP sensor can prevent the engine from starting altogether.
Troubleshooting a suspected CMP sensor issue:
- Read Diagnostic Trouble Codes (DTCs): Use an OBD-II scanner to retrieve any stored DTCs. Record the codes and research their meaning.
- Inspect the Sensor and Wiring: Visually inspect the sensor, connector, and wiring for any signs of damage, corrosion, or oil contamination. Clean the connector with electrical contact cleaner.
- Check the Sensor's Resistance: Use a multimeter to check the sensor's resistance according to the manufacturer's specifications. An open circuit or a short circuit indicates a faulty sensor.
- Check the Sensor's Signal: Use an oscilloscope to monitor the sensor's output signal while the engine is running. A healthy sensor will produce a consistent and clean signal. If you do not have access to an oscilloscope, a digital multimeter with a frequency setting *may* be able to provide some information, but an oscilloscope provides a much clearer picture.
Do's and Don'ts / Best Practices
Do's:
- Disconnect the Battery: Always disconnect the negative battery terminal before working on any electrical components. This prevents accidental shorts and damage to the ECU.
- Use the Correct Tools: Use the appropriate wrenches, sockets, and screwdrivers to avoid damaging the sensor or surrounding components.
- Consult the Service Manual: Refer to your vehicle's service manual for specific instructions and torque specifications.
- Use a Quality Replacement Sensor: Purchase a replacement sensor from a reputable brand to ensure reliability and performance. OEM (Original Equipment Manufacturer) sensors are often the best choice, but quality aftermarket brands can also be suitable.
- Clean the Mounting Surface: Clean the mounting surface where the sensor sits to ensure proper contact and sealing.
- Apply Dielectric Grease: Apply a small amount of dielectric grease to the connector terminals to prevent corrosion.
- Torque to Specification: Tighten the sensor mounting bolts to the specified torque to prevent damage and ensure proper sealing.
- Double-Check Your Work: After installing the new sensor, double-check all connections and wiring before reconnecting the battery.
- Clear the DTCs: Use an OBD-II scanner to clear the stored DTCs after replacing the sensor.
- Test Drive the Vehicle: Take the vehicle for a test drive to ensure that the issue is resolved and that the engine is running smoothly.
Don'ts:
- Force Anything: Don't force any bolts or connectors. If something doesn't seem right, double-check your work and consult the service manual.
- Over-Tighten Bolts: Over-tightening bolts can damage the sensor or the surrounding components. Use a torque wrench to tighten the bolts to the specified torque.
- Use Excessive Force on the Connector: Be gentle when disconnecting and connecting the sensor connector. Excessive force can damage the connector terminals.
- Ignore Other Symptoms: Don't ignore other symptoms that may indicate a more serious issue. If the problem persists after replacing the sensor, further diagnosis is necessary.
- Buy the Cheapest Sensor: Skimping on the cost of the sensor can lead to premature failure and further problems. Invest in a quality replacement sensor.
Step-by-Step Replacement Guide (General Example)
Note: This is a general guide. The specific procedure may vary depending on the make and model of your vehicle. Always consult your vehicle's service manual for specific instructions.
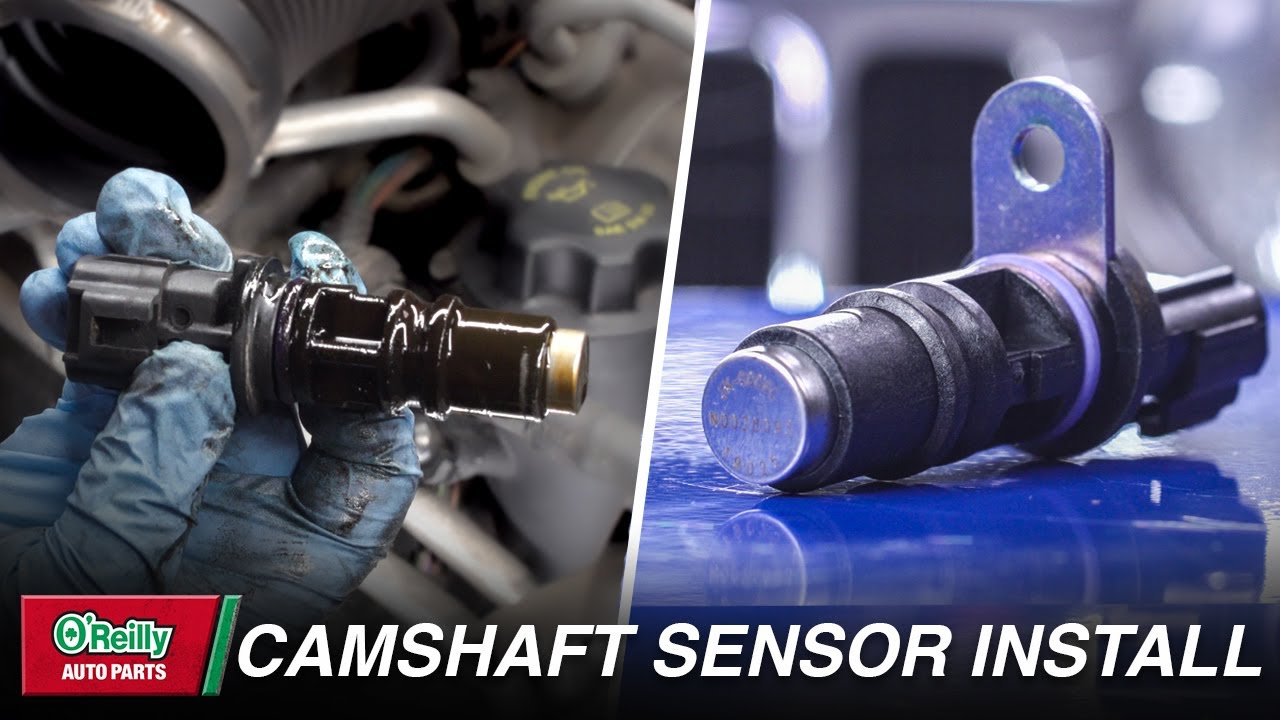
- Locate the CMP Sensor: The CMP sensor is typically located on the cylinder head, near the camshaft sprocket. Refer to your vehicle's service manual for the exact location. It is often near the timing cover.
- Disconnect the Electrical Connector: Carefully disconnect the electrical connector from the sensor. Press the locking tab and pull the connector straight out.
- Remove the Mounting Bolt(s): Remove the bolt(s) that secure the sensor to the cylinder head.
- Remove the Old Sensor: Carefully remove the old sensor. If it's stuck, gently wiggle it back and forth to break it free.
- Install the New Sensor: Install the new sensor in the same orientation as the old sensor.
- Install the Mounting Bolt(s): Install the mounting bolt(s) and tighten them to the specified torque.
- Reconnect the Electrical Connector: Reconnect the electrical connector to the sensor. Make sure it clicks into place.
- Reconnect the Battery: Reconnect the negative battery terminal.
- Clear the DTCs: Use an OBD-II scanner to clear the stored DTCs.
- Test Drive the Vehicle: Take the vehicle for a test drive to ensure that the issue is resolved and that the engine is running smoothly.
Conclusion
Replacing a camshaft position sensor is a manageable task for an experienced DIY mechanic. By understanding the sensor's function, following proper procedures, and using quality replacement parts, you can successfully resolve many engine performance issues. However, if you're not comfortable working on your vehicle's engine, it's always best to consult a qualified mechanic. Remember to always prioritize safety and consult your vehicle's service manual for specific instructions. If problems persist after replacing the sensor, a more in-depth diagnostic procedure might be needed to check other potential causes.