How To Replace A Fog Light Bulb
The pea-soup fog rolls in, clinging to the asphalt and reducing visibility to near zero. Your headlights, normally a beacon, become just a blurry wash reflecting back at you. This is when those seemingly insignificant lights nestled low on your bumper become invaluable: your fog lights. But what happens when one burns out? Do you resign yourself to creeping along at a snail's pace, or worse, taking unnecessary risks? Fear not, replacing a fog light bulb is a surprisingly straightforward task, often achievable with just a few basic tools and a little patience. This guide will walk you through the process, explaining not just *how* to do it, but *why* it works the way it does.
Facing the Fog: A Practical Problem
Imagine this: You're planning a weekend ski trip. The forecast promises pristine slopes, but also dense fog in the mountain passes. Halfway through your journey, you notice one of your fog lights is out. Suddenly, that picturesque drive transforms into a nerve-wracking experience. The road seems to vanish just beyond the hood of your car, and every approaching vehicle is a potential hazard. While functional headlights are crucial, fog lights provide a low, wide beam that cuts *under* the fog, illuminating the road surface and edges, significantly improving visibility. Replacing that burnt-out bulb is no longer just a matter of aesthetics; it's a matter of safety.
The Anatomy of a Fog Light System
Before we dive into the replacement procedure, let's understand how fog lights work. At its core, a fog light system is relatively simple. It consists of:
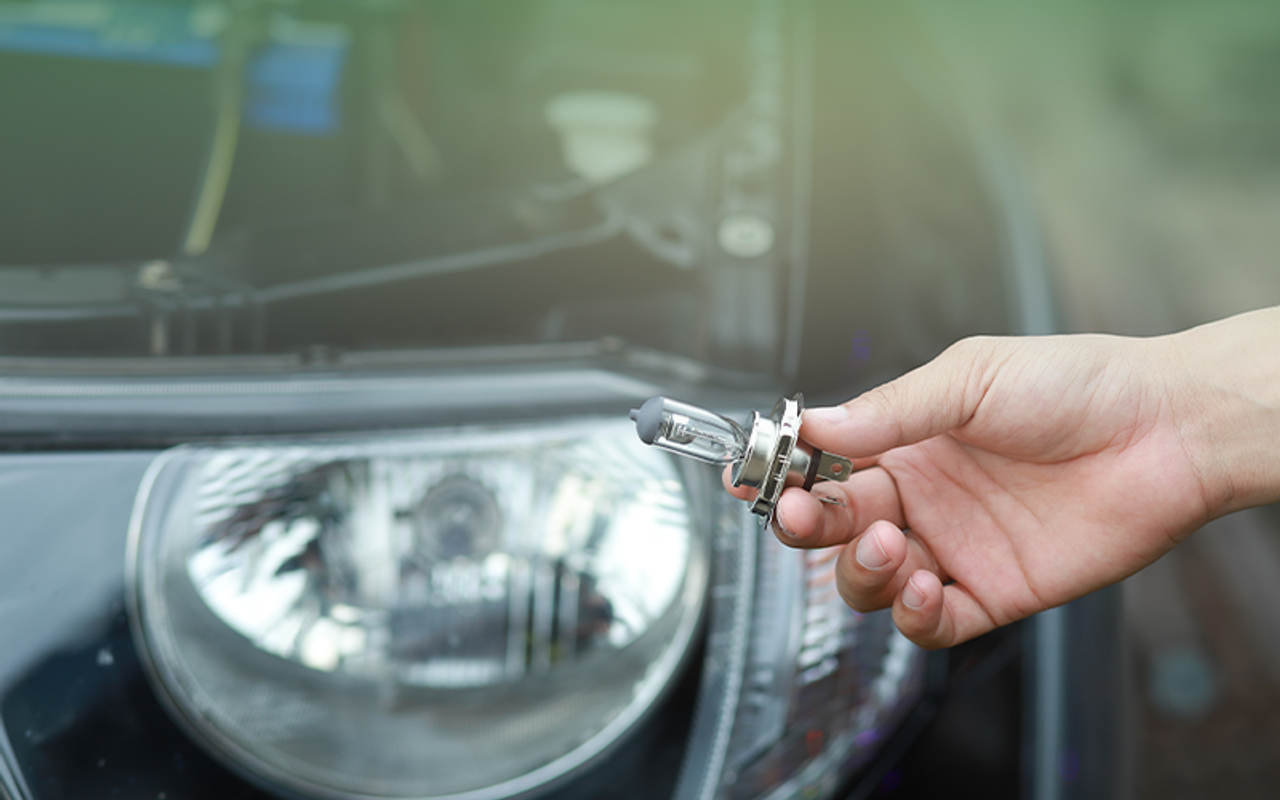
- The Bulb: The heart of the system, typically a halogen, LED, or sometimes even an HID (High-Intensity Discharge) bulb.
- The Housing: A reflector housing designed to focus and direct the light downward and outward. Often made of plastic or metal, and sealed to protect the bulb from the elements.
- Wiring and Connectors: Wires connecting the bulb to the vehicle's electrical system and connectors that allow for easy bulb replacement.
- Switch and Relay: A switch, usually located on the dashboard or steering column, activates the fog lights. A relay is often used to handle the higher current draw of the lights, protecting the switch from damage.
- Fuse: A fuse protects the entire circuit from overloads.
The key to a fog light's effectiveness lies in its design and placement. Unlike headlights, which are mounted higher and project a long, narrow beam, fog lights are positioned low to the ground. This allows them to emit a wide, flat beam that illuminates the road surface *below* the fog layer. The yellowish or amber tint often used in fog lights also helps to reduce glare by filtering out some of the blue light that is scattered by fog particles.
Think of it like this: imagine trying to see through a white curtain. Shining a bright light directly at the curtain makes it even harder to see through. However, if you shine a light *below* the curtain, you can illuminate the area beneath it without the glare. Fog lights work on the same principle.
The Replacement Process: A Step-by-Step Guide
Now, let's get our hands dirty. The exact procedure for replacing a fog light bulb can vary slightly depending on the vehicle make and model, but the general principles remain the same. Always consult your vehicle's owner's manual for specific instructions.
Step 1: Safety First!
Before you even think about touching anything, ensure your vehicle is parked on a level surface, the engine is off, and the parking brake is engaged. Disconnecting the negative terminal of the battery is also a good safety precaution, especially if you're not comfortable working with electrical components. This prevents accidental short circuits.
Step 2: Accessing the Fog Light
This is often the trickiest part. Depending on the vehicle, you may need to:
- Reach from underneath: Many vehicles have access panels in the wheel well that allow you to reach behind the bumper to access the fog light.
- Remove the fog light housing: Some housings are held in place by screws or clips and can be removed entirely.
- Remove the bumper (rare): In some cases, you may need to partially or completely remove the front bumper to access the fog lights. This is usually only necessary for more complex installations or aftermarket lights.
Refer to your vehicle's manual for specific instructions on accessing the fog light assembly. Be careful not to damage any clips or fasteners during removal.
Step 3: Removing the Old Bulb
Once you have access to the fog light, you'll need to remove the old bulb. This typically involves:
- Disconnecting the connector: Gently disconnect the electrical connector from the bulb. Some connectors have a locking tab that you need to depress before pulling it off.
- Unlocking the bulb: The bulb is usually held in place by a bayonet-style mount or a retaining clip. For bayonet mounts, twist the bulb counterclockwise to release it. For retaining clips, gently press and release the clip to free the bulb.
Important: Avoid touching the glass portion of the new bulb with your bare fingers. The oils from your skin can create hotspots and shorten the bulb's lifespan. If you do accidentally touch it, clean it with rubbing alcohol before installation.
Step 4: Installing the New Bulb
Now, simply reverse the removal process. Insert the new bulb into the socket, making sure it's properly seated and locked in place. Reconnect the electrical connector, ensuring it's securely attached.
Step 5: Testing and Reassembly
Before you put everything back together, test the new bulb to make sure it's working. Turn on your fog lights and verify that the new bulb illuminates. If it doesn't, double-check the connections and make sure the bulb is properly seated. If it still doesn't work, check the fog light fuse in the fuse box. Once you've confirmed that the new bulb is working, reassemble the fog light housing and any access panels you removed.
Pros and Cons of DIY Fog Light Replacement
Pros:
- Cost Savings: Replacing a fog light bulb yourself can save you a significant amount of money compared to taking it to a mechanic.
- Convenience: You can do it at your own pace and on your own schedule.
- Familiarity: It gives you a better understanding of your vehicle's systems.
Cons:
- Complexity: Accessing the fog light can be challenging on some vehicles.
- Potential for Damage: If you're not careful, you could damage the fog light housing or other components.
- Time Commitment: It can take longer than you expect, especially if you're unfamiliar with the process.
Use Cases and Manufacturer Examples
The use case for replacing a fog light bulb is simple: to restore visibility in foggy or adverse weather conditions. However, there are different types of fog lights and bulbs to consider.
- Halogen: The most common type, offering a good balance of brightness and affordability. Examples include H11 and H3 bulbs, often found in older vehicles.
- LED: More energy-efficient and longer-lasting than halogen bulbs, with a brighter, whiter light. Many newer vehicles come standard with LED fog lights.
- HID (Xenon): Offer the brightest light output but require a ballast to operate. Less common in fog lights due to their higher cost and complexity.
Manufacturers like Philips and Osram offer a wide range of fog light bulbs in various types and sizes. Some manufacturers, like Rigid Industries, specialize in high-performance LED fog lights for off-road vehicles.
Real-World Insights and Recommendations
While replacing a fog light bulb is generally a straightforward process, there are a few things to keep in mind based on real-world experience:
- Quality Matters: Don't skimp on the bulb. A cheap, low-quality bulb may burn out quickly or produce a weak, uneven light. Invest in a reputable brand for better performance and longevity.
- Consider an Upgrade: If you're replacing a halogen bulb, consider upgrading to an LED bulb. LEDs offer superior brightness, longer lifespan, and lower energy consumption.
- Check the Pair: When one fog light bulb burns out, it's often a good idea to replace both at the same time. This ensures that both lights have the same brightness and color temperature.
- Proper Alignment: After replacing the bulb, make sure the fog light is properly aligned. Misaligned fog lights can be ineffective or even cause glare for other drivers. You can usually adjust the alignment using screws located on the fog light housing.
- Don't Force It: If something doesn't seem right, don't force it. Consult your vehicle's owner's manual or seek professional help.
Ultimately, replacing a fog light bulb is a valuable skill for any car owner. Not only can it save you money, but it can also improve your safety and confidence on the road. By understanding the principles behind the fog light system and following the steps outlined in this guide, you can tackle this task with ease and keep your vehicle ready for whatever the weather throws your way. So, the next time the fog rolls in, you'll be prepared to face it head-on, with clear visibility and peace of mind.