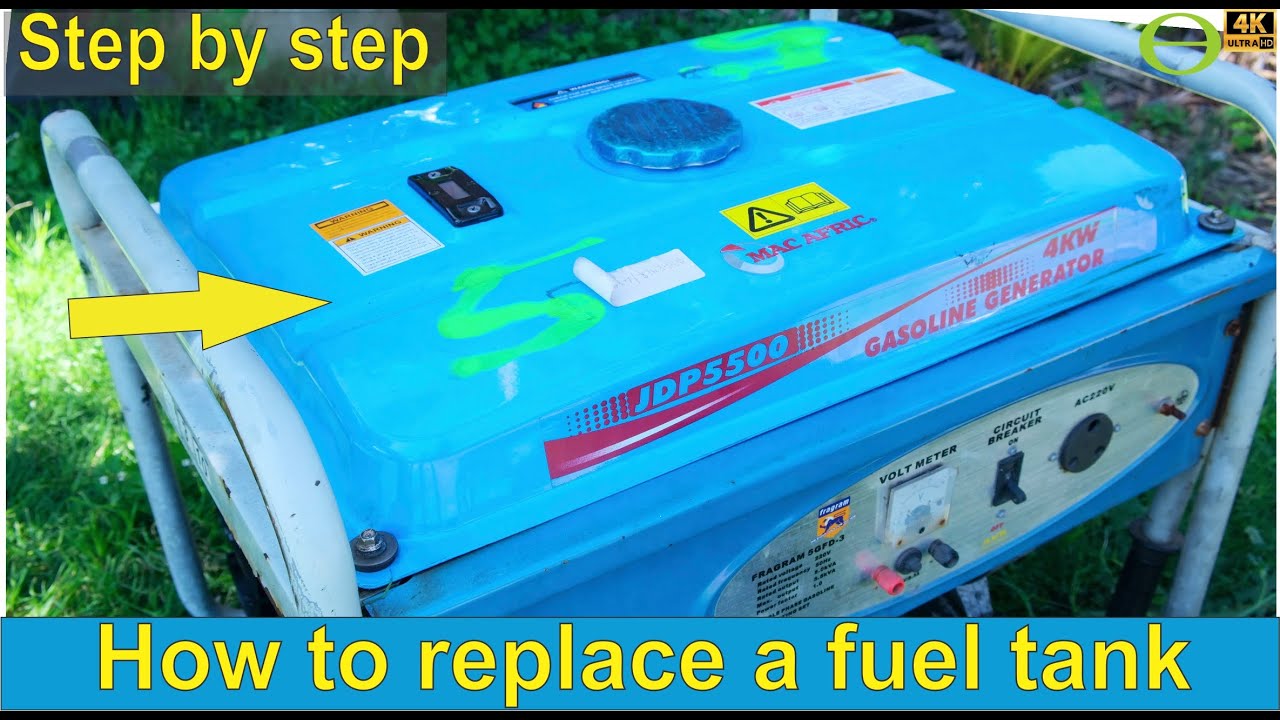
How To Replace A Fuel Tank
Replacing a fuel tank might seem like a daunting task, but with the right preparation, tools, and a bit of patience, it's a project many car owners can tackle themselves. This guide provides a comprehensive overview of the process, helping you understand the steps involved and whether it's a job you feel comfortable undertaking.
Why Replacing Your Fuel Tank Matters
The fuel tank is a crucial component of your vehicle's fuel system, responsible for safely storing gasoline or diesel. A damaged or corroded fuel tank can lead to several serious issues, including:
- Fuel Leaks: This is perhaps the most obvious and dangerous consequence. Fuel leaks are a fire hazard and can also damage the environment. Even small leaks can be costly, wasting fuel and impacting your car's performance.
- Fuel Contamination: Rust, debris, and other contaminants can accumulate inside a damaged fuel tank. These contaminants can clog fuel filters, damage fuel injectors, and ultimately lead to engine problems.
- Decreased Fuel Efficiency: A damaged tank might not vent properly, leading to vapor lock or other issues that reduce fuel efficiency.
- Environmental Damage: Fuel leaks contaminate the soil and water, posing a significant environmental risk.
- Failed Emissions Tests: A damaged fuel tank can cause your vehicle to fail emissions tests, preventing you from legally operating it.
Ignoring a failing fuel tank can lead to more extensive and expensive repairs down the road. Addressing the problem promptly is essential for safety, performance, and environmental responsibility.
How to Choose the Right Fuel Tank Replacement
Selecting the correct replacement fuel tank is paramount for a successful repair. Here's what you need to consider:
1. Vehicle Compatibility:
This is the most crucial factor. The replacement tank must be specifically designed for your vehicle's year, make, and model. Consult your vehicle's owner's manual or an online parts catalog to find the correct part number. Using the wrong tank can lead to fitment issues, fuel system problems, and even safety hazards.
2. Material:
Fuel tanks are typically made of either steel or plastic. Steel tanks are generally more durable and resistant to punctures, but they are also more susceptible to rust and corrosion, especially in areas with harsh weather conditions. Look for steel tanks with a protective coating to minimize rust. Plastic tanks are lighter, corrosion-resistant, and often less expensive than steel tanks. However, they can be more vulnerable to damage from impacts and extreme temperatures. Consider the climate you live in and the typical driving conditions when choosing between steel and plastic.
3. Tank Capacity:
The replacement tank should have the same capacity as the original. Using a tank with a different capacity can affect your fuel gauge accuracy and driving range.
4. Fuel Pump Compatibility:
Some fuel tanks come with the fuel pump pre-installed, while others require you to transfer the existing fuel pump. If you're transferring the fuel pump, ensure that the replacement tank is compatible with your vehicle's fuel pump assembly. If you are purchasing the new fuel pump with the tank, verify that the part is meant to be installed in your car or truck.
5. Brand Reputation:
Opt for a reputable brand known for producing high-quality fuel tanks. Reading online reviews and comparing different brands can help you make an informed decision. While cheaper options may be tempting, investing in a well-made tank will ensure long-lasting performance and reliability.
6. Certifications:
Look for fuel tanks that meet or exceed industry standards, such as those set by the Society of Automotive Engineers (SAE). Certifications indicate that the tank has been tested and meets certain performance and safety requirements.
7. Included Hardware:
Check if the replacement tank comes with any necessary hardware, such as straps, sending unit seals, and mounting bolts. If not, you'll need to purchase these separately. Having all the necessary hardware on hand before you start the repair will save you time and frustration.
Replacing the Fuel Tank: A Step-by-Step Guide
Warning: Working with fuel is dangerous. Always take precautions to prevent fires and explosions. Work in a well-ventilated area, disconnect the negative battery cable, and have a fire extinguisher nearby. If you are not comfortable performing this repair, it's best to seek professional assistance.
- Gather Your Tools and Supplies: You'll need:
- New fuel tank
- New fuel filter (recommended)
- Fuel line disconnect tools
- Wrenches and sockets
- Screwdrivers
- Jack and jack stands
- Safety glasses
- Gloves
- Drain pan
- Siphon pump
- Penetrating oil
- Torque wrench
- Depressurize the Fuel System: Consult your vehicle's repair manual for specific instructions on how to depressurize the fuel system. This usually involves removing the fuel pump fuse and running the engine until it stalls.
- Drain the Fuel Tank: Use a siphon pump to remove as much fuel as possible from the tank. Dispose of the fuel properly according to local regulations.
- Disconnect the Fuel Lines: Use fuel line disconnect tools to carefully disconnect the fuel lines from the tank. Be prepared for some residual fuel to spill. Place a drain pan underneath to catch any drips. Note: Take pictures of the fuel line connections for reference during reassembly.
- Disconnect the Electrical Connectors: Disconnect any electrical connectors attached to the fuel tank, such as the fuel pump wiring harness and the fuel level sending unit.
- Remove the Fuel Tank Straps or Mounting Hardware: Use a wrench or socket to loosen and remove the fuel tank straps or mounting bolts. Have a jack stand ready to support the tank as you remove the straps.
- Lower and Remove the Fuel Tank: Carefully lower the fuel tank onto the jack stand. Once the tank is fully supported, remove it from under the vehicle.
- Transfer Components (If Necessary): If your replacement tank doesn't come with a fuel pump or fuel level sending unit, you'll need to transfer these components from the old tank to the new one. Follow the manufacturer's instructions carefully.
- Install the New Fuel Tank: Lift the new fuel tank into position using the jack stand. Secure the tank with the straps or mounting hardware, tightening the bolts to the specified torque.
- Reconnect the Fuel Lines and Electrical Connectors: Reconnect the fuel lines and electrical connectors, ensuring they are properly seated and secure. Refer to the photos you took earlier for reference.
- Refill the Fuel Tank: Add a few gallons of fuel to the tank.
- Check for Leaks: Start the engine and carefully inspect the fuel lines, fittings, and tank for any leaks. If you find any leaks, shut off the engine immediately and address the problem.
- Top Off the Fuel Tank: Once you're confident that there are no leaks, top off the fuel tank.
Real-World Owner Experiences
Many car owners have successfully replaced their own fuel tanks. Here are a few insights based on their experiences:
- Preparation is Key: Thoroughly research the procedure and gather all the necessary tools and supplies before you start.
- Penetrating Oil is Your Friend: Apply penetrating oil to any rusty bolts or fittings to make them easier to remove.
- Take Your Time: Don't rush the process. Replacing a fuel tank can be time-consuming, so be patient and methodical.
- Proper Disposal: Dispose of the old fuel tank and any contaminated materials properly according to local regulations.
- When in Doubt, Seek Professional Help: If you encounter any difficulties or feel uncomfortable with any part of the process, it's best to seek professional assistance from a qualified mechanic.
Frequently Asked Questions (FAQs)
Q: How much does it cost to have a fuel tank replaced by a professional?
A: The cost can vary depending on the vehicle, the location, and the shop's labor rates. Generally, you can expect to pay between $500 and $1500 for a professional fuel tank replacement, including parts and labor. Call around for quotes.
Q: How long does it take to replace a fuel tank?
A: For a DIY project, expect it to take anywhere from 3 to 6 hours, depending on your experience and the complexity of the job. Professionals can usually complete the repair in 2 to 4 hours.
Q: What are the signs of a bad fuel tank?
A: Common signs include fuel leaks, a strong gasoline smell, rust or corrosion on the tank, and engine problems due to fuel contamination.
Q: Can I repair a fuel tank instead of replacing it?
A: While small leaks might be temporarily patched, it's generally not recommended to repair a fuel tank, especially if it's severely damaged or corroded. Replacing the tank is the safest and most reliable solution.
Q: What should I do with the old fuel tank?
A: Contact your local recycling center or auto parts store to see if they accept used fuel tanks. Proper disposal is important to prevent environmental contamination.
Q: Is it safe to drive with a leaking fuel tank?
A: No. Driving with a leaking fuel tank is extremely dangerous due to the risk of fire and explosion. You should not operate the vehicle.