How To Replace A Window Regulator
The telltale grind, the agonizingly slow ascent or descent, or the dreaded *thud* followed by a lifeless pane of glass – these are the harbingers of a failing window regulator. A malfunctioning window regulator isn't just an inconvenience; it compromises security, exposes you to the elements, and can even be a safety hazard in an emergency. While a visit to the mechanic might seem inevitable, replacing a window regulator is a task often within reach of the dedicated amateur engineer with a bit of patience and the right tools. This guide will delve into the mechanics of window regulators, exploring their inner workings and providing a detailed, step-by-step approach to replacing one yourself.
The Case of the Drooping Door Glass
Imagine this: You're cruising down the highway on a warm summer day, windows down, enjoying the breeze. Suddenly, a summer thunderstorm rolls in. You reach for the window switch, only to be met with silence. Panic sets in as you realize your window is stuck in the open position, and rain is starting to pour into your car. This all-too-common scenario highlights the importance of a functioning window regulator. But what exactly is a window regulator, and why do they fail?
Think of your car window as a miniature drawbridge. The regulator is the intricate mechanism that raises and lowers it. Just like a drawbridge relies on gears and cables to move heavy weights, the window regulator uses a motor and a system of levers or cables to precisely control the movement of the window glass. However, unlike a drawbridge designed for occasional use, window regulators endure constant strain and repeated cycles, making them susceptible to wear and tear.
Deconstructing the System: How Window Regulators Work
At its core, the window regulator is a relatively simple machine. Let's break down the common types:
Scissor Regulators
These are among the oldest and most robust designs. They consist of two pivoting arms, forming a scissor-like mechanism. One arm is attached to the window glass, while the other is driven by a motor. As the motor turns a worm gear, it pushes or pulls on the second arm, causing the scissor mechanism to either extend (raising the window) or retract (lowering the window). Pros: Durable, simple design. Cons: Can be bulky, requiring more space inside the door cavity.
Cable Regulators
More modern vehicles often employ cable regulators to save space and weight. These systems utilize a series of cables, pulleys, and a spool driven by a motor. The cable is attached to the window glass carrier, and as the motor rotates the spool, the cable pulls or releases, raising or lowering the window. Pros: Compact, lightweight. Cons: Cables can stretch or fray over time, leading to failure. They are also often more difficult to repair compared to scissor regulators.
Motor Functionality: The Power Behind the Movement
Regardless of the regulator type, the electric motor is the heart of the system. Typically, a small DC motor is coupled to a gearbox that provides the necessary torque to move the window. When you press the window switch, you're essentially completing an electrical circuit that energizes the motor. The motor's rotation is then translated into linear motion through the regulator mechanism.
The Nitty-Gritty: Replacing a Window Regulator
Now, let's get our hands dirty. Replacing a window regulator involves a few key steps:
- Preparation and Safety: Disconnect the negative terminal of your car battery. This prevents accidental electrical shocks while you're working. Gather your tools: a socket set, screwdrivers (Phillips and flathead), a trim removal tool (or a flathead screwdriver with tape to protect the paint), pliers, work gloves, and safety glasses. It's also helpful to have a shop manual or online resource specific to your vehicle model.
- Door Panel Removal: This is often the trickiest part. Start by removing any screws or bolts holding the door panel in place. These are typically located around the door handle, armrest, and along the bottom edge. Use the trim removal tool to gently pry the panel away from the door frame. Be careful not to break any plastic clips. Once all fasteners are removed, lift the panel upwards to disengage it from the window sill. Disconnect any electrical connectors attached to the door panel, such as those for the power windows, door locks, and speakers.
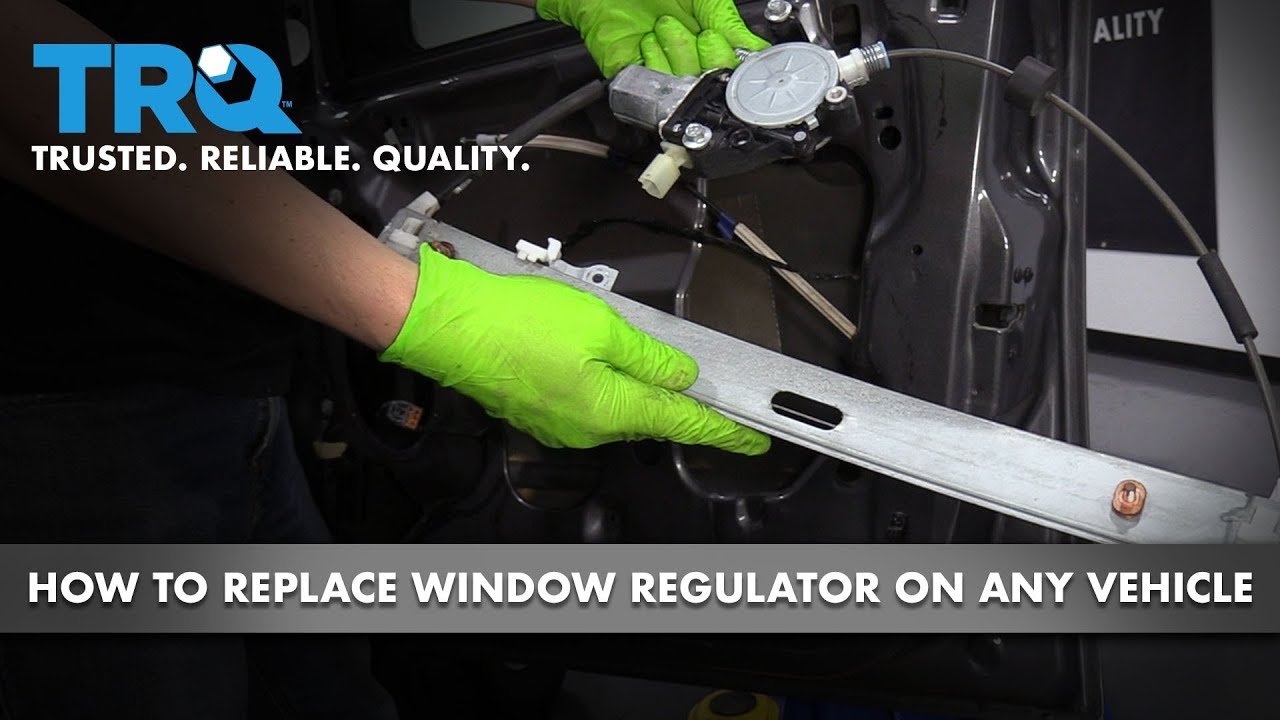
- Accessing the Regulator: With the door panel removed, you'll see a plastic vapor barrier covering the inner door frame. Carefully peel it back, taking care not to tear it. Underneath, you'll find the window regulator assembly.
- Securing the Window Glass: Before removing the old regulator, you need to secure the window glass. Use tape to hold the window in the raised position. This will prevent it from falling down and potentially breaking when you disconnect it from the regulator.
- Disconnecting the Regulator: Disconnect the electrical connector to the window motor. Remove any bolts or screws holding the regulator in place. Carefully detach the window glass from the regulator. This often involves releasing clips or sliding the glass out of a track.
- Installing the New Regulator: Install the new regulator in the reverse order of removal. Attach the window glass to the regulator, making sure it's properly secured. Bolt the regulator to the door frame. Connect the electrical connector to the window motor.
- Testing and Reassembly: Reconnect the car battery. Test the window operation to ensure it moves smoothly up and down. If everything works correctly, reattach the vapor barrier and reinstall the door panel.
Pro Tip: Take photos or videos as you disassemble the door. This will help you remember where everything goes when you reassemble it.
Manufacturer Variations and Common Issues
Window regulator designs vary significantly between manufacturers and even within different models of the same manufacturer. For example, BMW often uses complex cable regulator systems with intricate cable routing, while Ford tends to favor simpler scissor-type regulators in some models. These variations directly impact the difficulty of replacement and the types of problems encountered.
Common issues include:
- Cable Failure: In cable regulator systems, the cables can fray, stretch, or break, rendering the window inoperable.
- Motor Failure: The electric motor can burn out due to overuse or electrical problems.
- Gear Wear: The gears in the regulator mechanism can wear down over time, causing slippage and slow window movement.
- Broken Plastic Components: Many regulators use plastic components, such as clips and guides, which can become brittle and break, leading to window malfunction.
Regulator Replacement: OEM vs. Aftermarket
When choosing a replacement regulator, you have two main options: Original Equipment Manufacturer (OEM) parts and aftermarket parts. OEM parts are manufactured by the original supplier to the vehicle manufacturer and are typically more expensive. However, they often offer superior quality and fitment. Aftermarket parts are produced by third-party manufacturers and can be more affordable. However, quality can vary significantly. It's important to research different brands and read reviews before purchasing an aftermarket regulator. In many cases, a reputable aftermarket brand will provide acceptable if not identical performance at a reduced cost. Consider Dorman or A1 Cardone as popular brands that are not OEM.
Real-World Insights and Recommendations
Replacing a window regulator is a manageable DIY project, but it requires patience and attention to detail. Here are a few final insights and recommendations based on real-world experience:
- Don't Force Anything: If something feels stuck, don't force it. Take a step back and examine the situation carefully. Forcing components can lead to damage and more costly repairs.
- Invest in a Good Trim Removal Tool: A quality trim removal tool will prevent damage to the door panel and trim pieces.
- Lubricate Moving Parts: Before reinstalling the new regulator, lubricate any moving parts with a silicone-based grease. This will help ensure smooth operation and prolong the regulator's lifespan.
- Inspect the Window Tracks: While you have the door panel off, inspect the window tracks for any debris or obstructions. Clean them out thoroughly to ensure smooth window movement.
- Consider a Professional If…: If you're uncomfortable working with electrical components or if you encounter significant resistance during the removal process, it's best to consult a professional mechanic.
By understanding the mechanics of window regulators and following these steps, you can confidently tackle this DIY project and restore the functionality of your car windows. Not only will you save money on labor costs, but you'll also gain a deeper appreciation for the intricate engineering that goes into keeping your vehicle running smoothly.