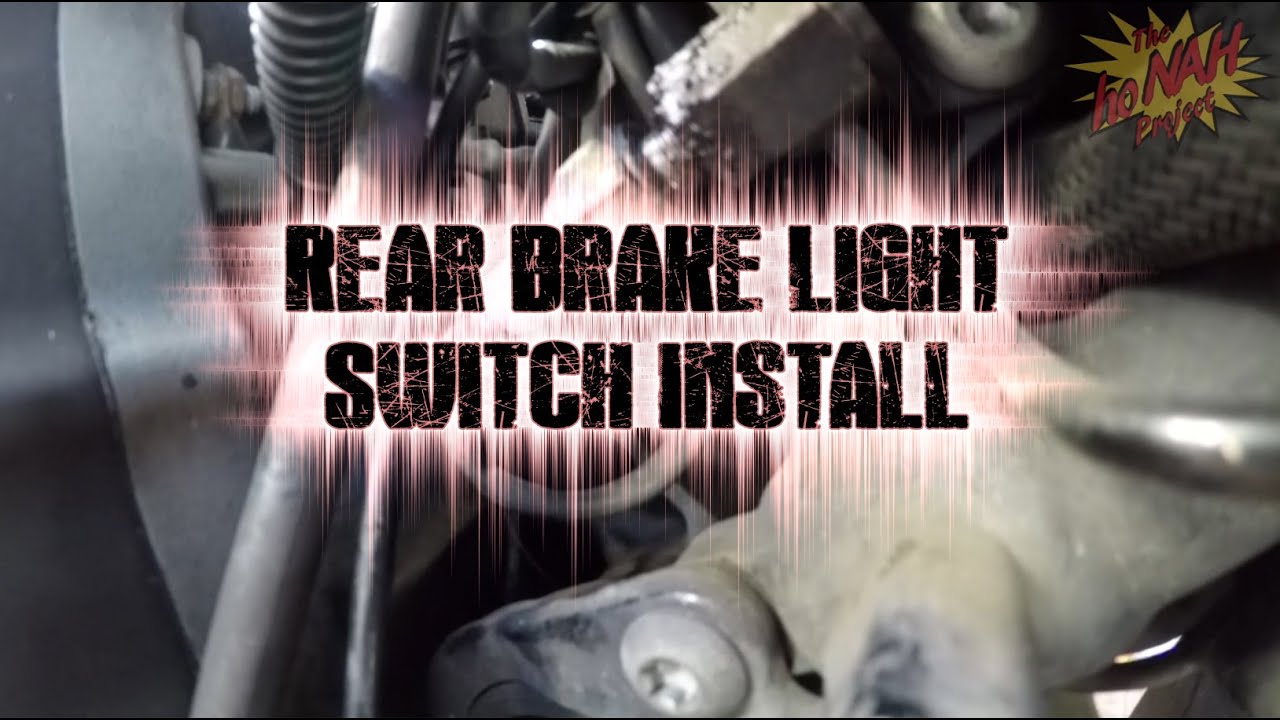
How To Replace Brake Light Switch
Replacing a brake light switch is a surprisingly common repair, and thankfully, one that many experienced DIYers can tackle at home. While it's a relatively inexpensive part, a faulty brake light switch can cause a cascade of problems, from failing a vehicle inspection to creating a dangerous driving situation. This article will guide you through the process, providing the technical know-how and best practices to get the job done right.
Background: The Brake Light System
Before diving into the replacement procedure, let's understand the brake light system and the role of the brake light switch. The system is designed to alert other drivers when you're decelerating or coming to a stop. It's a critical safety feature, and its proper function is paramount.
The core components of the brake light system include:
- Brake Lights: The illuminated red lights at the rear of the vehicle. These are often incandescent bulbs or increasingly, LEDs.
- Brake Light Switch: The electrical switch responsible for activating the brake lights. It's typically located near the brake pedal.
- Wiring Harness: The network of wires that connect the brake light switch to the brake lights, the vehicle's electrical system, and often, other systems like the cruise control or ABS (Anti-lock Braking System).
- Fuse: A safety device that protects the circuit from overcurrent. A blown fuse can disable the brake lights.
- ECU/BCM (Engine Control Unit/Body Control Module): In modern vehicles, the ECU or BCM may monitor the brake light switch signal and use it for various functions, such as disengaging cruise control or activating ABS features.
Technical Breakdown: How the Brake Light Switch Works
The brake light switch is a relatively simple device. Most commonly, it's a single-pole, single-throw (SPST) switch, meaning it has one input and one output, and it can either be open (off) or closed (on). However, some vehicles may use more complex switches with multiple circuits to control different functions.
Here's the typical operating principle:
- Resting State: When the brake pedal is not depressed, the brake light switch is in the "off" position. This means the electrical circuit to the brake lights is open, and no current flows.
- Actuation: When the brake pedal is depressed, it pushes against the brake light switch. This mechanical action closes the switch, completing the electrical circuit.
- Illumination: With the circuit closed, electrical current flows from the vehicle's battery, through the fuse, through the brake light switch, and finally to the brake lights, causing them to illuminate.
- Deactivation: When the brake pedal is released, the pressure on the brake light switch is removed. A spring inside the switch returns it to the "off" position, opening the circuit and turning off the brake lights.
The switch is typically adjustable, either via a threaded body or shims, to ensure proper activation with minimal brake pedal travel. This adjustment is crucial for reliable operation.
Common Issues and Maintenance Concerns
Several factors can lead to brake light switch failure:
- Wear and Tear: Like any mechanical and electrical component, the brake light switch can wear out over time. The internal contacts can become corroded or damaged, leading to intermittent or complete failure.
- Adjustment Issues: If the switch is not properly adjusted, it may not activate when the brake pedal is depressed, or it may remain activated even when the pedal is released. This can be due to the switch slipping, the pedal stop being misaligned, or damage to the pedal assembly.
- Electrical Problems: Voltage spikes, short circuits, or corrosion in the wiring harness can damage the brake light switch.
- Contamination: Dirt, debris, or moisture can get inside the switch, interfering with its operation.
- Physical Damage: Accidental impacts or stress on the switch can cause it to break or malfunction.
Symptoms of a faulty brake light switch can include:
- Brake lights not illuminating when the brake pedal is pressed.
- Brake lights staying on constantly, even when the brake pedal is released.
- Cruise control not engaging or disengaging properly. (Many cruise control systems use the brake light switch signal to disengage when the brakes are applied.)
- ABS or stability control system malfunction lights illuminating on the dashboard. (Some ABS systems monitor the brake light switch signal.)
- Difficulty shifting out of "Park" (on automatic transmissions). Many modern vehicles use the brake light switch signal to release the shift interlock solenoid.
Troubleshooting: Before replacing the brake light switch, it's essential to rule out other potential causes, such as a blown fuse, faulty brake light bulbs, or wiring problems. Use a multimeter to check for voltage at the brake light switch connector and to test the switch's continuity when the brake pedal is pressed and released.
Do's and Don'ts / Best Practices
Here's a guide to best practices for replacing a brake light switch:
Do's:
- Disconnect the Battery: Always disconnect the negative terminal of the battery before working on any electrical components. This prevents accidental short circuits and potential damage to the vehicle's electrical system.
- Use the Correct Replacement Part: Ensure you purchase a brake light switch that is specifically designed for your vehicle's make, model, and year. Using the wrong switch can lead to compatibility issues and safety hazards. Check part numbers carefully.
- Inspect the Wiring and Connector: Before installing the new switch, carefully inspect the wiring harness and connector for any signs of damage, corrosion, or loose connections. Repair or replace any damaged components. Clean the connector terminals with electrical contact cleaner.
- Properly Adjust the Switch: Refer to the vehicle's service manual for the correct procedure for adjusting the brake light switch. Proper adjustment is crucial for ensuring the brake lights activate correctly and that other systems that rely on the switch signal function properly. Most switches are adjustable via a threaded plunger, or by adding/removing shims.
- Test the System: After installing the new switch, thoroughly test the brake lights and any other systems that rely on the brake light switch signal (e.g., cruise control, shift interlock, ABS). Have someone observe the brake lights as you press and release the pedal.
- Consult a Service Manual: A vehicle-specific service manual will provide detailed instructions, diagrams, and torque specifications for your particular vehicle, making the job easier and reducing the risk of errors.
Don'ts:
- Force the Switch: Do not force the brake light switch into its mounting location. This can damage the switch or the surrounding components.
- Over-tighten the Mounting Hardware: Over-tightening the mounting hardware can damage the switch or the mounting bracket. Use the recommended torque specifications.
- Ignore Warning Lights: If any warning lights illuminate on the dashboard after replacing the brake light switch, investigate the cause immediately. Don't ignore potential problems.
- Use a Generic Switch Without Proper Adjustment: Avoid using a "universal" or generic switch unless you are confident you can adjust it properly to meet your vehicle's specific requirements. Improper adjustment can create safety hazards.
- Forget to Reconnect the Battery: Sounds obvious, but double-check that you've reconnected the negative battery terminal securely after completing the repair.
Step-by-Step Replacement (General Guide - Always Consult Your Vehicle's Service Manual):
- Preparation: Gather your tools (socket set, wrenches, screwdrivers, multimeter, electrical contact cleaner, new brake light switch). Park the vehicle on a level surface and engage the parking brake. Disconnect the negative battery terminal.
- Locate the Brake Light Switch: The brake light switch is typically located under the dashboard, near the top of the brake pedal. You may need to remove a lower dash panel to access it.
- Disconnect the Electrical Connector: Carefully disconnect the electrical connector from the brake light switch. Some connectors have a locking tab that needs to be depressed.
- Remove the Old Switch: The brake light switch is typically held in place by a threaded body, a retaining clip, or a combination of both. Rotate the switch (if threaded) or release the retaining clip to remove it. Note the orientation of the old switch for correct installation of the new one.
- Install the New Switch: Install the new brake light switch in the reverse order of removal. Ensure it is properly seated and secured.
- Reconnect the Electrical Connector: Reconnect the electrical connector to the brake light switch, ensuring it is securely latched.
- Adjust the Switch: Adjust the brake light switch according to the vehicle's service manual specifications. This usually involves adjusting the position of the switch relative to the brake pedal.
- Reconnect the Battery: Reconnect the negative battery terminal.
- Test the System: Test the brake lights and any other systems that rely on the brake light switch signal.
Conclusion
Replacing a brake light switch is a manageable task for the experienced DIYer. By understanding the function of the switch, following proper procedures, and using the correct replacement part, you can save money and ensure your vehicle's brake lights are working safely and reliably. However, always prioritize safety. If you're unsure about any aspect of the repair, consult a qualified mechanic. A malfunctioning brake light system is a serious safety concern and should be addressed promptly.