How To Replace Broken Wheel Studs
Wheel studs are those unassuming but absolutely critical fasteners that hold your wheels securely onto your vehicle's hubs. A broken wheel stud isn't just an inconvenience; it's a serious safety hazard. Ignoring a broken stud can lead to wheel wobble, excessive stress on the remaining studs, and potentially even complete wheel separation – a scenario you want to avoid at all costs. This article will guide you through the process of replacing broken wheel studs, providing you with the knowledge and techniques necessary to tackle this repair yourself.
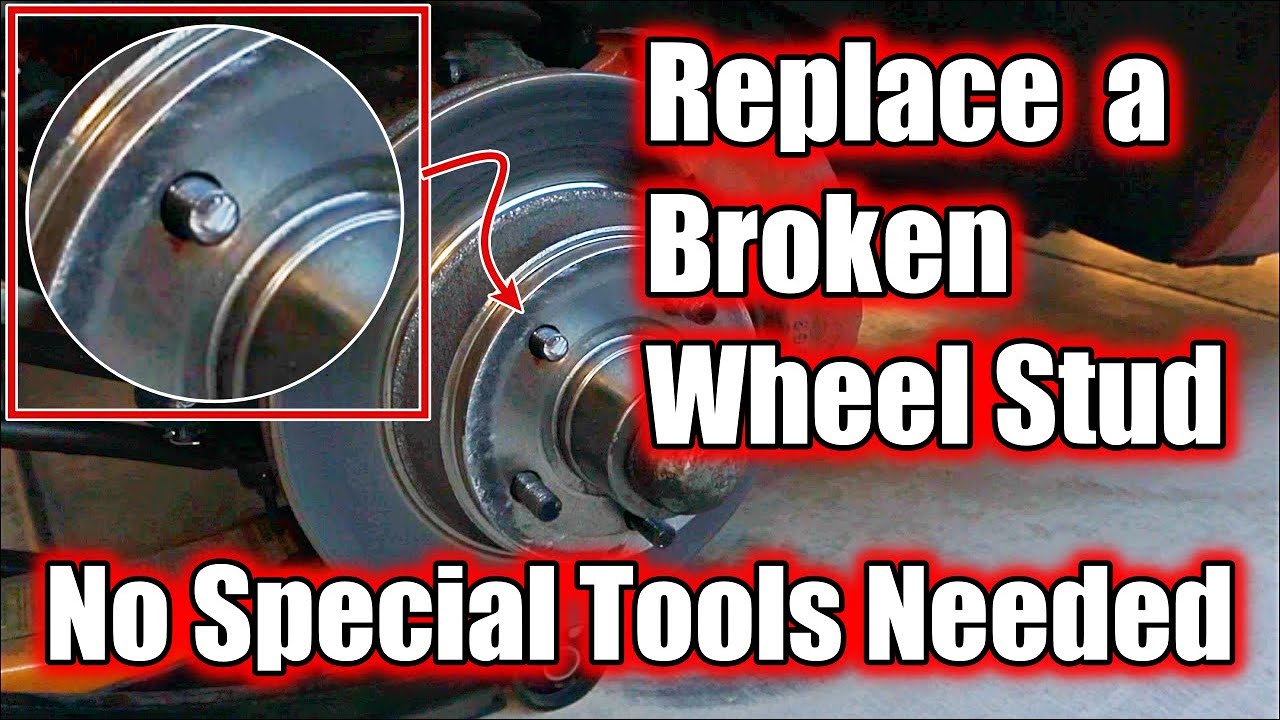
Understanding Wheel Studs and Hubs
Before diving into the replacement procedure, let's establish a solid understanding of the components involved. A wheel stud is essentially a threaded fastener permanently pressed into the wheel hub. The hub itself is a crucial part of your vehicle's suspension and braking system. It's the central point where the wheel bearings rotate, allowing the wheel to spin freely. The wheel hub is typically bolted to the spindle (in front-wheel drive vehicles) or the axle flange (in rear-wheel drive vehicles). The wheel then mounts directly onto the hub, with the wheel studs protruding through the mounting holes. Lug nuts are then tightened onto these studs, clamping the wheel firmly against the hub.
Wheel studs are typically made of high-strength steel, designed to withstand significant shear and tensile forces. They're pressed into the hub using specialized equipment during manufacturing, creating an interference fit that ensures they remain securely in place. However, even with their robust construction, wheel studs can fail due to various factors, including:
- Over-tightening: Applying excessive torque to the lug nuts can stretch and weaken the stud, eventually leading to fracture. Using an impact wrench without a torque stick is a common culprit.
- Corrosion: Rust and corrosion can weaken the metal, making the stud more susceptible to breaking. This is especially prevalent in areas with harsh winters where road salt is used.
- Cross-threading: Forcing a lug nut onto a stud that is not properly aligned can damage the threads, compromising the stud's integrity.
- Impact damage: Hitting a curb or pothole can subject the studs to sudden and excessive force, potentially causing them to break.
- Metal fatigue: Over time, repeated stress and strain can weaken the metal of the stud, leading to fatigue failure.
The Replacement Process: A Step-by-Step Guide
Replacing a broken wheel stud is a relatively straightforward process, but it requires attention to detail and the right tools. Here's a step-by-step breakdown:
1. Safety First!
Safety is paramount. Before you even think about touching your vehicle, ensure it's parked on a level surface, the parking brake is engaged, and the wheels are chocked (preferably both front and rear wheels on the opposite side of the vehicle from the one you're working on). Wear safety glasses and gloves to protect your eyes and hands.
2. Loosen Lug Nuts and Raise the Vehicle
Using a lug wrench, loosen the lug nuts on the wheel with the broken stud. Don't remove them completely yet. Once they're loose, use a jack to raise the vehicle and secure it with jack stands placed under the vehicle's frame or designated jacking points. Never work under a vehicle supported only by a jack.
3. Remove the Wheel
Now, completely remove the lug nuts and carefully take off the wheel. Set it aside in a safe location.
4. Accessing the Hub
This is where things can vary depending on your vehicle. You need to gain access to the back of the wheel hub. Sometimes, you'll have enough clearance without removing anything else. However, in many cases, you'll need to remove the brake caliper and rotor. If so, follow these steps:
- Brake Caliper Removal (if necessary): Disconnect the brake line bracket from the spindle (don't disconnect the brake line itself!). Remove the caliper bolts and carefully slide the caliper off the rotor. Support the caliper with a bungee cord or wire to prevent it from hanging by the brake line, which could damage the line.
- Brake Rotor Removal (if necessary): The rotor is usually held in place by the wheel studs themselves. With the caliper removed, the rotor should slide off the hub. If it's stuck, you can try gently tapping it with a rubber mallet or using penetrating oil. Be careful not to damage the rotor or the hub. Some rotors may have small screws holding them in place; remove these before attempting to remove the rotor.
5. Removing the Broken Stud
Now you should have a clear view of the back of the hub and the broken stud. There are a few methods you can use to remove it:
- Hammer and Punch: This is the most common method. Place a drift punch (a metal rod with a blunt end) against the back of the broken stud and use a hammer to drive it out. Be firm but controlled. If the stud is particularly stubborn, try using penetrating oil.
- Hydraulic Press (if available): If you have access to a hydraulic press, this is the easiest and most efficient method. Position the hub in the press and use a suitable adapter to press the stud out.
6. Installing the New Stud
With the broken stud removed, it's time to install the new one. There are two primary methods:
- Using an Impact Wrench and Lug Nut: This is the most common DIY method. Apply a small amount of anti-seize compound to the splines of the new stud. Align the stud with the hole in the hub and insert it from the back. Place a lug nut (preferably an old one) on the stud from the front and tighten it using an impact wrench. The tightening action will pull the stud through the hub. Continue tightening until the stud is fully seated and flush with the back of the hub. Be careful not to over-tighten and strip the threads. Periodically check the back of the hub to ensure the stud is seating properly.
- Using a Stud Installation Tool: These specialized tools make the installation process much easier and safer. They typically consist of a bearing and nut that are used to pull the stud through the hub. Follow the instructions provided with the tool.
7. Reassemble Everything
Once the new stud is installed, reassemble everything in reverse order. This includes:
- Reinstalling the brake rotor (if removed).
- Reinstalling the brake caliper (if removed), ensuring the brake line bracket is properly secured.
- Mounting the wheel.
- Hand-tightening the lug nuts.
- Lowering the vehicle.
- Torquing the lug nuts to the manufacturer's specifications using a torque wrench. This is crucial to prevent over-tightening and damaging the new stud.
8. Double-Check and Test Drive
After completing the repair, double-check that all lug nuts are properly torqued. Take the vehicle for a short test drive and listen for any unusual noises or vibrations. Re-torque the lug nuts after approximately 50-100 miles to ensure they remain tight.
Common Issues and Maintenance Concerns
- Stubborn Studs: If the broken stud is particularly difficult to remove, try using penetrating oil and allowing it to soak for several hours. You can also try heating the area around the stud with a torch (carefully!) to help loosen it.
- Damaged Hub: If the hub is damaged during the removal or installation process, it may need to be replaced.
- Incorrect Stud Size: Ensure you are using the correct size and thread pitch for your vehicle. Consult your owner's manual or a reputable parts supplier.
- Lug Nut Compatibility: Use lug nuts that are specifically designed for your wheels. Using the wrong lug nuts can damage the studs and wheels.
Do's and Don'ts / Best Practices
Do's:
- Do use a torque wrench to tighten lug nuts to the manufacturer's specifications.
- Do use anti-seize compound on the splines of the new stud to prevent corrosion and make future removal easier.
- Do use safety glasses and gloves.
- Do double-check your work.
- Do re-torque the lug nuts after 50-100 miles.
Don'ts:
- Don't use an impact wrench to tighten lug nuts without a torque stick.
- Don't work under a vehicle supported only by a jack.
- Don't cross-thread lug nuts.
- Don't over-tighten lug nuts.
- Don't use damaged or worn lug nuts.
Conclusion
Replacing a broken wheel stud is a manageable task for the experienced DIYer. By following these steps and adhering to safety precautions, you can restore your vehicle's wheel security and ensure safe driving. Invest in a quality torque wrench and always double-check your work. If you're uncomfortable with any part of the process, don't hesitate to consult a qualified mechanic. Remember, your safety and the safety of others on the road depends on properly functioning wheel studs.