How To Replace Camshaft Position Sensor
So, you're thinking about tackling a camshaft position sensor replacement? Good on you! It’s a job that, with the right preparation and understanding, is well within the reach of a seasoned DIYer. This guide will walk you through the process, explaining the "why" behind each step so you're not just turning wrenches, but truly understanding what's going on inside your engine.
Why Replace a Camshaft Position Sensor?
The camshaft position sensor (CMP sensor) is a crucial component in modern internal combustion engines. A failing or faulty CMP sensor can lead to a variety of performance issues, ranging from a rough idle to a no-start condition. Replacing it can restore your engine's proper timing and performance, saving you a trip to the mechanic and potentially preventing more serious engine damage.
Engine Management System Background
Before we dive into the replacement process, let's quickly recap how your engine's timing system works and the CMP sensor's role in it. Modern engines rely on a sophisticated Engine Control Unit (ECU) – the brain of your engine. The ECU controls virtually every aspect of engine operation, from fuel injection to ignition timing.
To make intelligent decisions, the ECU needs to know the precise position of the crankshaft (using the crankshaft position sensor, CKP) and the camshaft(s) (using the CMP sensor). The crankshaft position sensor tells the ECU the engine's RPM (revolutions per minute) and the piston's position. The camshaft position sensor, on the other hand, identifies the position of the camshaft, which controls the opening and closing of the engine's valves.
How the CMP Sensor Works (Technical Breakdown)
Most modern CMP sensors are either Hall-effect sensors or variable reluctance sensors. Let's break down how each works:
- Hall-Effect Sensors: These sensors utilize the Hall effect. A Hall-effect sensor contains a semiconductor material with a constant current flowing through it. A rotating trigger wheel, attached to the camshaft, passes near the sensor. This trigger wheel has notches or teeth. As a tooth passes by, it interrupts a magnetic field, creating a voltage change within the sensor. The ECU detects this voltage change and interprets it as a specific camshaft position. Hall-effect sensors require a power supply from the ECU to operate.
- Variable Reluctance Sensors: These sensors are simpler and more passive. They consist of a coil of wire wrapped around a magnet. As a tooth on the camshaft's trigger wheel passes near the sensor, it changes the magnetic field, inducing a voltage signal in the coil. The ECU reads this signal to determine the camshaft position. Variable reluctance sensors don't need an external power supply; they generate their own signal.
Regardless of the type, the CMP sensor sends a pulsed signal to the ECU. The frequency and pattern of these pulses tell the ECU exactly where the camshaft is in its rotation cycle. This information is crucial for the ECU to accurately time the fuel injection and ignition events for each cylinder.
Common Issues and Maintenance Concerns
CMP sensors are generally reliable, but they can fail over time due to several factors:
- Heat: Constant exposure to high engine temperatures can degrade the sensor's internal components.
- Vibration: Engine vibrations can damage the sensor or its wiring.
- Contamination: Oil leaks or other contaminants can foul the sensor.
- Wiring Issues: Damaged or corroded wiring can prevent the sensor from sending a proper signal to the ECU.
Symptoms of a Failing CMP Sensor:
- Check Engine Light: This is the most common symptom. The ECU will typically store a diagnostic trouble code (DTC) related to the CMP sensor, such as P0340 (Camshaft Position Sensor Circuit Malfunction).
- Rough Idle: The engine may idle erratically or stall.
- Reduced Fuel Economy: Incorrect timing can lead to inefficient combustion and lower fuel mileage.
- Difficulty Starting: In some cases, a faulty CMP sensor can prevent the engine from starting altogether.
- Misfires: Incorrect timing can cause misfires, which can be felt as a hesitation or jerking during acceleration.
- Decreased Engine Performance: Overall engine power and responsiveness may be reduced.
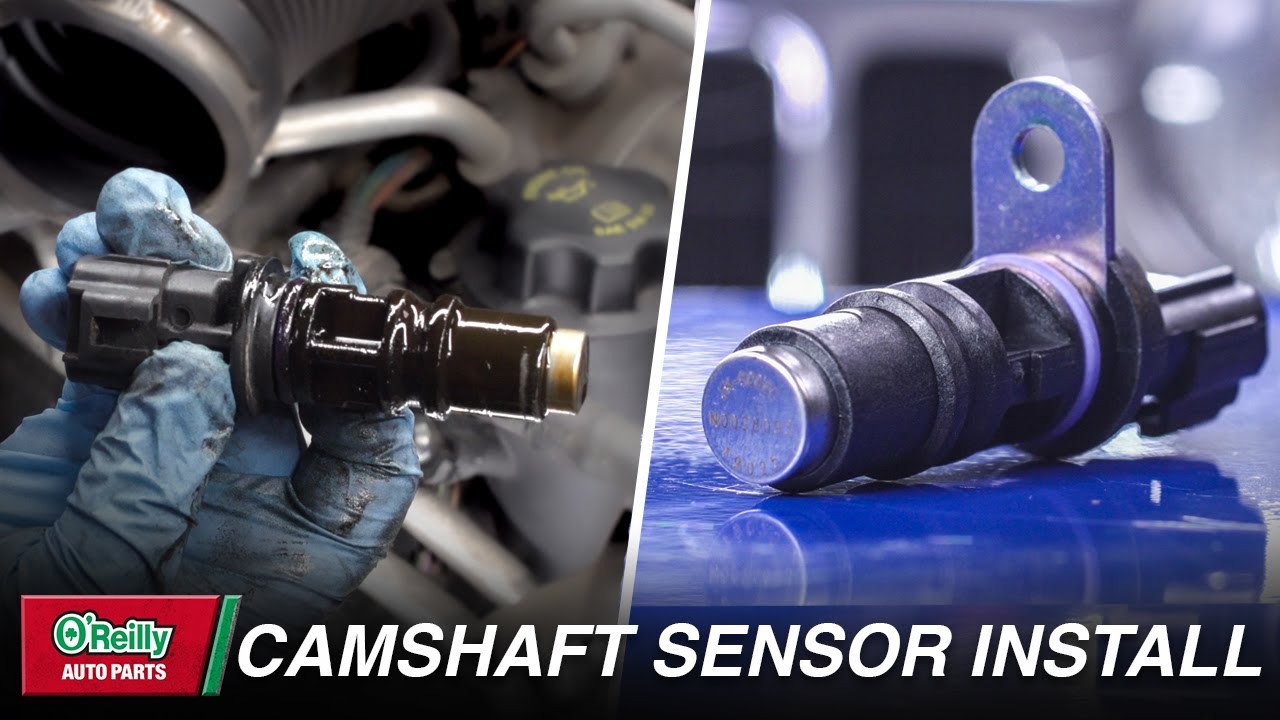
Replacing the Camshaft Position Sensor: Step-by-Step
Okay, let's get down to business. Here's a detailed guide to replacing your CMP sensor:
- Gather Your Tools: You'll need the following:
- New Camshaft Position Sensor (Ensure it's the correct part for your vehicle. Double-check the part number!)
- Socket Set (Metric or Standard, depending on your car)
- Wrench Set (Same as above)
- Screwdrivers (Flathead and Phillips)
- Scan Tool (to read and clear diagnostic trouble codes)
- Multimeter (Optional, for testing the sensor)
- Penetrating Oil (If the sensor is stuck)
- Shop Rags
- Safety Glasses
- Gloves
- Locate the CMP Sensor: The location of the CMP sensor varies depending on the engine. It's usually located on the cylinder head, near the camshaft. Consult your vehicle's service manual or a reliable online resource (like ALLDATA or a vehicle-specific forum) to find the exact location. Common locations include:
- The front of the cylinder head, near the timing cover.
- The rear of the cylinder head, near the transmission.
- On the valve cover.
- Disconnect the Battery: This is a crucial safety step. Disconnect the negative (-) battery terminal to prevent electrical shorts.
- Disconnect the Electrical Connector: Carefully disconnect the electrical connector from the CMP sensor. There may be a retaining clip or latch that you need to release. Avoid pulling on the wires themselves.
- Remove the Old Sensor: Use the appropriate socket or wrench to remove the sensor's mounting bolt(s). Be careful not to strip the bolt head. If the sensor is stuck, apply some penetrating oil and let it soak for a few minutes before attempting to remove it. Gently wiggle the sensor as you pull it out.
- Inspect the Sensor Mounting Area: Check the area where the sensor sits for any debris or damage. Clean the area with a clean rag. If there's an O-ring or gasket on the old sensor, make sure the new sensor comes with one, and install it correctly.
- Install the New Sensor: Install the new CMP sensor in the reverse order of removal. Tighten the mounting bolt(s) to the specified torque value (consult your service manual). Overtightening can damage the sensor or the cylinder head.
- Reconnect the Electrical Connector: Reconnect the electrical connector to the new sensor, making sure it clicks into place securely.
- Reconnect the Battery: Reconnect the negative (-) battery terminal.
- Clear Diagnostic Trouble Codes: Use your scan tool to clear any diagnostic trouble codes related to the CMP sensor.
- Start the Engine: Start the engine and let it idle for a few minutes. Check for any leaks or unusual noises.
- Test Drive: Take the vehicle for a test drive to ensure that the problem is resolved and that the engine is running smoothly.
Do's and Don'ts / Best Practices
- DO use the correct CMP sensor for your vehicle. Double-check the part number before purchasing.
- DO disconnect the battery before starting the repair.
- DO use penetrating oil if the sensor is stuck.
- DO tighten the mounting bolts to the specified torque value.
- DO clear any diagnostic trouble codes after the repair.
- DON'T pull on the wires to disconnect the electrical connector.
- DON'T overtighten the mounting bolts.
- DON'T reuse old O-rings or gaskets.
- DON'T ignore other potential problems. A faulty CMP sensor could be a symptom of a larger issue, such as timing chain wear.
Conclusion
Replacing a camshaft position sensor is a manageable task for an experienced DIYer. By understanding the sensor's function, following the proper procedures, and adhering to best practices, you can successfully complete this repair and restore your engine's performance. Remember to always consult your vehicle's service manual for specific instructions and torque values. If you're unsure about any aspect of the repair, it's always best to consult a qualified mechanic. Good luck, and happy wrenching!