How To Replace The Air Filter
So, you're ready to tackle replacing your air filter? Excellent choice! It's a simple job that can significantly improve your engine's performance and fuel economy. This guide will walk you through the process, covering everything from identifying the components to some handy troubleshooting tips.
Purpose of Replacing Your Air Filter
Why bother with this seemingly small task? The air filter's primary function is to protect your engine from particulate matter – dust, dirt, pollen, and even small insects – that can enter the intake system. Without a clean air filter, these contaminants can cause several problems:
- Reduced engine performance due to restricted airflow.
- Decreased fuel economy.
- Increased engine wear and tear from abrasive particles.
- Potential damage to sensitive components like the Mass Air Flow (MAF) sensor.
Regular air filter replacement, usually every 12,000 to 15,000 miles or as recommended by your vehicle's manufacturer, is a crucial part of preventative maintenance. Think of it as giving your engine a fresh breath of air!
Key Specs and Main Parts
Before we dive into the replacement process, let's cover the key components involved:
Air Filter Housing
This is the enclosure that houses the air filter. It's typically a plastic box with a lid secured by clips, screws, or clamps. The housing is usually located near the engine, connected to the intake system via ducting.
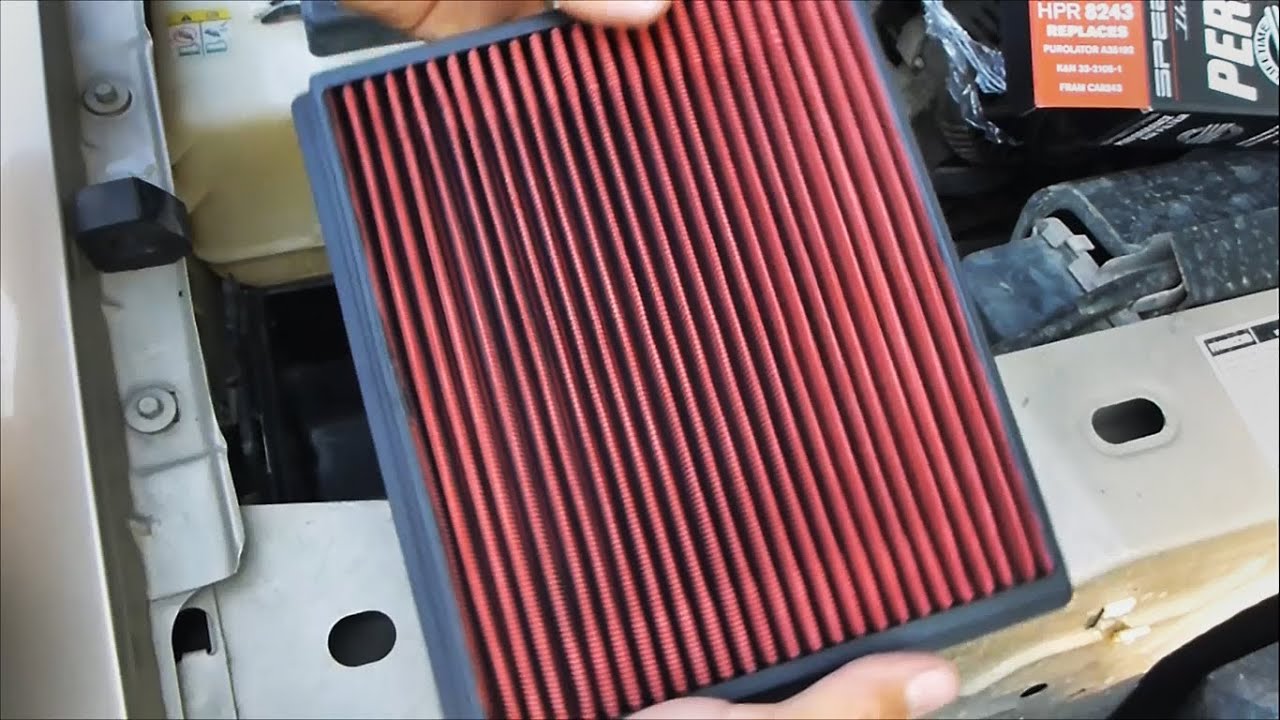
Air Filter
The filter itself! These come in various shapes and sizes, depending on your vehicle's make and model. Common types include:
- Panel filters: Flat, rectangular filters common in modern cars.
- Cylindrical filters: Round or cone-shaped filters often found in older vehicles or performance applications.
- Conical filters: Typically aftermarket performance filters with increased surface area.
The filter media is usually made of pleated paper or a synthetic material designed to trap contaminants while allowing air to flow through.
Air Intake Ducting
These hoses or tubes connect the air filter housing to the throttle body or intake manifold. They carry the filtered air to the engine.
Clamps and Fasteners
These secure the air filter housing lid and air intake ducting. You'll need the appropriate tools (screwdriver, socket wrench, etc.) to loosen and tighten them.
Mass Air Flow (MAF) Sensor (Potentially)
Some vehicles have a MAF sensor located either inside the air filter housing or directly connected to it. The MAF sensor measures the amount of air entering the engine, providing crucial data to the engine control unit (ECU). Be extremely careful when handling the MAF sensor, as it is fragile and expensive to replace. Disconnecting the connector before removing the housing is always a good idea.
How It Works
The process is fairly straightforward:
- Locate the Air Filter Housing: Consult your vehicle's owner's manual if you're unsure where it is. It's usually a black plastic box near the engine.
- Open the Housing: Release the clips, screws, or clamps securing the lid. Sometimes you need to disconnect the MAF sensor connector first.
- Remove the Old Filter: Carefully remove the old air filter. Note its orientation (which way it was facing) for proper installation of the new filter.
- Clean the Housing: Use a vacuum cleaner or a clean cloth to remove any debris from inside the air filter housing.
- Install the New Filter: Insert the new air filter, ensuring it's oriented correctly. It should fit snugly within the housing.
- Reassemble the Housing: Reattach the lid, securing it with the clips, screws, or clamps. If you disconnected the MAF sensor, reconnect it.
Real-World Use – Basic Troubleshooting Tips
Even with a straightforward procedure, issues can sometimes arise:
- The Air Filter Housing Won't Open: Check for hidden screws or clamps. Sometimes, the housing is secured with multiple fasteners.
- The New Filter Doesn't Fit: Double-check that you have the correct air filter for your vehicle's make and model. Compare the old and new filters side-by-side.
- The Engine Runs Rough After Replacement: This could indicate a vacuum leak. Ensure all clamps and fasteners are properly tightened and that the MAF sensor connector is securely connected. Also, double check the position of the filter; sometimes, especially with aftermarket filters, they require more precise positioning to seal properly.
- Check Engine Light (CEL) Illuminates: A loose MAF sensor connection or a damaged MAF sensor can trigger a CEL. Use an OBD-II scanner to read the error code and diagnose the issue.
Safety
While replacing an air filter is generally safe, keep these points in mind:
- Engine Temperature: Ensure the engine is cool before starting. Working on a hot engine can cause burns.
- Electrical Connections: When disconnecting the MAF sensor, be gentle to avoid damaging the connector or the sensor itself. Disconnect the negative battery terminal to ensure no shorts occur.
- Sharp Edges: Be mindful of sharp edges on the air filter housing or surrounding components. Wear gloves to protect your hands.
- Airbag System: Though unlikely, be aware of the proximity of any SRS (Supplemental Restraint System) components. Mishandling sensors near airbags can lead to unexpected deployment.
Replacing your air filter is a simple yet crucial maintenance task that can improve your vehicle's performance and longevity. By following these steps and being mindful of the troubleshooting tips, you can confidently tackle this project yourself. And remember, when in doubt, consult your vehicle's service manual or a qualified mechanic.