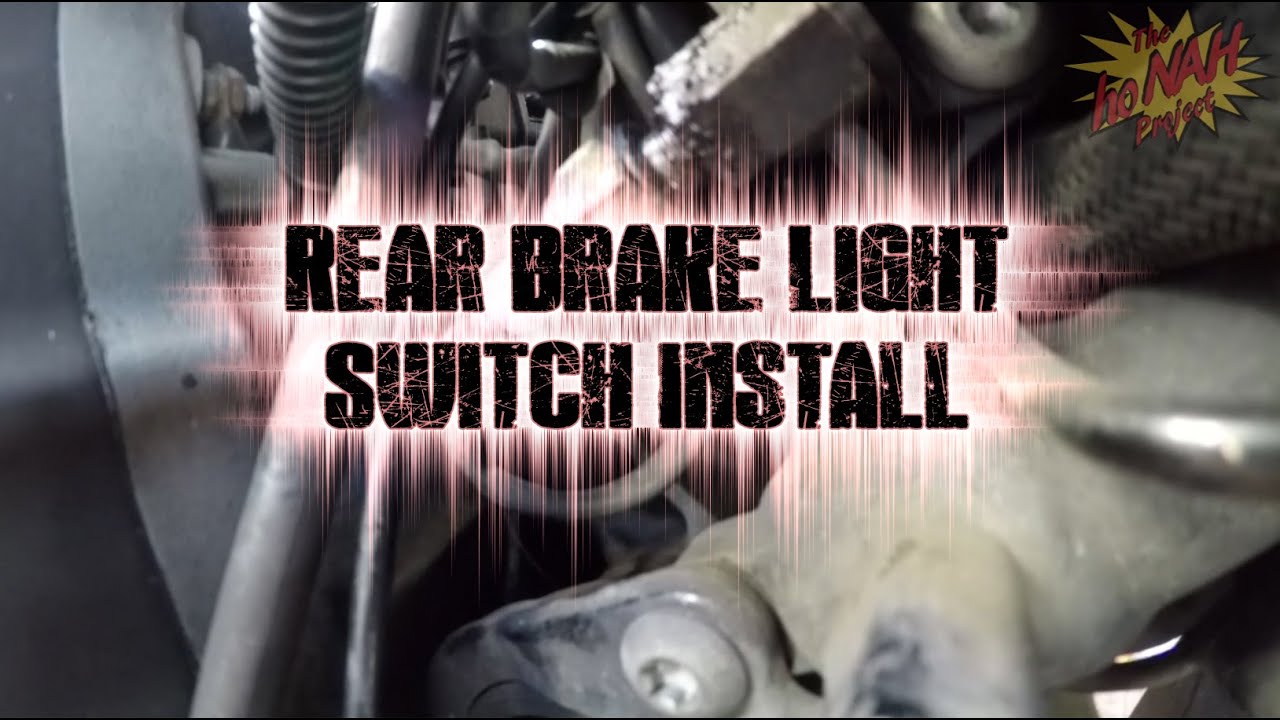
How To Replace The Brake Light Switch
Imagine you're cruising down the highway, tap the brakes, and… nothing. No reassuring glow of red light to alert the driver behind you. More than just an inconvenience, a malfunctioning brake light is a serious safety hazard. Often, the culprit is a simple, inexpensive component: the brake light switch. This guide will dissect the brake light switch, explaining its function, how to diagnose a faulty one, and provide a step-by-step walkthrough of the replacement process.
Why Your Brake Lights Might Be Failing: The Case of the Silent Signal
Think of your car's electrical system as a complex network of roads. The brake light switch acts as a toll booth, controlling the flow of electricity to your brake lights only when the brake pedal is pressed. When it fails, this 'toll booth' either stays permanently open (lights always on, draining your battery) or permanently closed (no lights at all), creating a dangerous situation for you and other drivers. A common scenario goes like this: you notice your brake lights aren't working during a routine check, or a fellow motorist kindly points it out. You might initially suspect the bulbs, but replacing them doesn't solve the issue. This is a strong indicator of a faulty brake light switch.
Under the Hood: How the Brake Light Switch Works
The brake light switch is typically a simple electromechanical device, usually located near the brake pedal arm, either under the dashboard or attached to the brake booster. Internally, it contains a spring-loaded plunger and electrical contacts. Here's a breakdown of its operation:
- Resting State: When the brake pedal is released, the plunger is extended, and the electrical contacts are separated. This breaks the circuit, and no current flows to the brake lights.
- Activation: When you press the brake pedal, the plunger is depressed. This action closes the electrical contacts, completing the circuit.
- Signal Transmission: With the circuit complete, electricity flows from the battery, through the switch, to the brake light bulbs, causing them to illuminate.
There are two main types of brake light switches:
- Normally Open (NO): These switches, the most common type, keep the circuit open until the brake pedal is pressed, activating the lights.
- Normally Closed (NC): These switches keep the circuit closed until the brake pedal is pressed, opening the circuit and deactivating the lights. These are less common, generally used in more complex braking systems.
The switch's operation is directly tied to the brake pedal position. Some vehicles may even incorporate a brake pedal position sensor (BPPS) into the system, offering more sophisticated control and feedback to the vehicle's computer. The BPPS provides information about the amount the pedal is depressed, which can be used for features like adaptive cruise control or collision avoidance systems.
Diagnosing a Faulty Brake Light Switch: Spotting the Signs
Before diving into replacement, confirm the brake light switch is the problem. Here's how:
- Visual Inspection: Check the switch's physical condition. Look for cracks, broken wires, or loose connections.
- Brake Light Observation: Have someone check your brake lights while you depress the pedal. If they don't illuminate, proceed to the next step.
- Multimeter Test: This is the most reliable method. Set your multimeter to continuity mode (often represented by a sound wave symbol). With the ignition off, disconnect the switch. Place the multimeter probes on the switch's terminals.
- Normally Open Switch: You should get no continuity (an open circuit) until you depress the switch plunger manually.
- Normally Closed Switch: You should get continuity (a closed circuit) until you depress the switch plunger manually.
- Check Fuses: A blown fuse can mimic a faulty switch. Locate the brake light fuse in your fuse box (consult your owner's manual) and check its condition.
Replacing the Brake Light Switch: A Step-by-Step Guide
Safety First: Disconnect the negative terminal of your car battery before starting any electrical work. This prevents accidental shorts and potential damage.
- Locate the Switch: As mentioned earlier, the switch is usually under the dashboard near the brake pedal arm. You might need to contort yourself to get a good view and access.
- Disconnect the Electrical Connector: Carefully disconnect the electrical connector from the switch. There's usually a small tab or clip that needs to be pressed or lifted.
- Remove the Old Switch: The switch is typically held in place by a threaded body or a bayonet-style mount.
- Threaded Switch: Unscrew the switch from its mounting bracket. You might need pliers or a wrench if it's tightly secured.
- Bayonet-Style Switch: Twist the switch a quarter-turn to release it from the bracket, then pull it straight out.
- Install the New Switch: Align the new switch with the mounting bracket and secure it in the reverse order of removal. Ensure it's firmly seated.
- Reconnect the Electrical Connector: Plug the electrical connector back into the new switch until it clicks securely.
- Adjust the Switch (if necessary): Some switches require adjustment to ensure proper operation. Consult your vehicle's service manual for specific instructions. This usually involves adjusting the switch's position relative to the brake pedal arm.
- Test the Lights: Reconnect the battery's negative terminal. Have someone check your brake lights while you depress the pedal. They should illuminate correctly.
Pros and Cons of DIY Brake Light Switch Replacement
Pros:
- Cost Savings: Replacing the switch yourself can save you money on labor costs at a mechanic shop.
- Convenience: You can do the job at your own pace and on your own schedule.
- Learning Experience: It's a great way to learn about your car's electrical system.
Cons:
- Potential for Errors: If you're not familiar with automotive electrical systems, you might make mistakes that could damage other components.
- Accessibility Issues: The switch's location can be awkward and difficult to access.
- Time Commitment: It can take longer to do the job yourself, especially if you're a beginner.
Use Cases and Manufacturer Examples
Brake light switches are used in every vehicle equipped with hydraulic brakes. Different manufacturers use slightly different designs and mounting methods, but the fundamental principle remains the same. For example:
- Toyota: Often uses threaded switches with a simple adjustment procedure.
- Ford: May employ bayonet-style switches that are easier to install and remove.
- GM: Frequently uses switches integrated with the brake pedal position sensor.
The specific switch type and location will vary depending on the vehicle model and year. Always consult your vehicle's service manual for detailed instructions and diagrams.
Real-World Insights and Recommendations
Based on practical experience, here are a few tips to keep in mind:
- Buy a Quality Replacement: Don't skimp on a cheap, low-quality switch. A reputable brand will ensure reliable operation and longevity. Brands like BWD, Standard Motor Products, and ACDelco are generally recommended.
- Clean the Area: Before installing the new switch, clean the mounting area and the electrical connector to remove any dirt or debris.
- Use Dielectric Grease: Apply a small amount of dielectric grease to the electrical connector to prevent corrosion and improve conductivity.
- Double-Check Your Work: After completing the replacement, thoroughly test the brake lights and ensure they function correctly in all driving conditions.
Replacing a brake light switch is a relatively straightforward repair that can be tackled by most DIY enthusiasts. By understanding the switch's function, following the steps outlined in this guide, and taking appropriate safety precautions, you can save money and ensure your vehicle's brake lights are working properly, keeping you and other drivers safe on the road. If you're uncomfortable working on your car's electrical system, it's always best to consult a qualified mechanic.