How To Replace The Camshaft Position Sensor
Ever been caught in that frustrating situation? You turn the key, the engine cranks, but refuses to fire. Or maybe it starts, but runs rough, like it's gasping for air. There are many potential culprits, but one often overlooked is the Camshaft Position Sensor (CMP sensor). While a seemingly small component, its failure can bring your vehicle to a complete standstill. This guide delves into the CMP sensor, providing a comprehensive understanding of its function, troubleshooting, and replacement process.
The Camshaft Position Sensor: Your Engine's Timekeeper
Think of your engine as an orchestra, with each cylinder firing in a precise sequence to create harmonious power. The crankshaft sets the overall tempo, while the camshaft ensures the valves open and close at the correct moments to let air and fuel in, and exhaust gases out. The CMP sensor is like the conductor ensuring that the engine control unit (ECU) knows exactly where the camshaft is in its rotation. Without this information, the ECU is essentially blind, unable to time fuel injection and ignition events accurately.
Scenario: The Case of the Hesitant Honda
Imagine you're driving a 2012 Honda Civic. One morning, it takes several attempts to start, and when it finally does, the engine idles roughly and the check engine light illuminates. You scan the OBDII port and retrieve a P0340 code: "Camshaft Position Sensor 'A' Circuit Malfunction." This indicates a problem with the sensor or its associated wiring. The car might still be drivable, but performance is compromised, and leaving the issue unresolved can lead to further damage to other engine components.
How the Camshaft Position Sensor Works: A Mechanical Perspective
The CMP sensor works in conjunction with a reluctor wheel (also known as a tone ring or trigger wheel) attached to the camshaft. This wheel typically has teeth or notches strategically placed around its circumference. As the camshaft rotates, these teeth pass by the sensor, creating a change in the magnetic field. The CMP sensor then converts this change into an electrical signal that is sent to the ECU.
There are two main types of CMP sensors:
- Hall Effect Sensors: These sensors use a semiconductor material that produces a voltage when exposed to a magnetic field. As a tooth on the reluctor wheel passes by, it disrupts the magnetic field, causing the sensor to output a voltage signal.
- Variable Reluctance (VR) Sensors: These sensors consist of a coil of wire wrapped around a permanent magnet. When a tooth on the reluctor wheel passes by, it changes the magnetic field, inducing a voltage in the coil.
The ECU analyzes the frequency and pattern of these signals to determine the camshaft's position. This information is crucial for:
- Fuel Injection Timing: The ECU uses the CMP sensor signal to determine when to inject fuel into each cylinder.
- Ignition Timing: The ECU uses the CMP sensor signal to determine when to fire the spark plugs.
- Sequential Fuel Injection: Some engines use sequential fuel injection, where fuel is injected into each cylinder individually, rather than all at once. The CMP sensor is essential for this system to function correctly.
- Misfire Detection: By comparing the CMP sensor signal to the crankshaft position sensor (CKP) signal, the ECU can detect misfires.
Pros and Cons of Replacing a CMP Sensor
Pros:
- Restored Engine Performance: Resolves issues like rough idling, stalling, and reduced power.
- Improved Fuel Efficiency: Correct timing leads to more efficient combustion.
- Prevention of Further Damage: Addressing the issue prevents potential damage to other engine components.
- Relatively Inexpensive Repair: CMP sensors are typically affordable.
- DIY-Friendly: With basic tools and mechanical knowledge, many owners can replace the sensor themselves.
Cons:
- Misdiagnosis: Symptoms of a faulty CMP sensor can overlap with other issues, leading to unnecessary replacement.
- Potential for Damage During Installation: Improper installation can damage the sensor or surrounding components.
- Aftermarket Sensor Quality: Lower-quality aftermarket sensors may not perform as reliably as OEM parts.
- Hidden Wiring Issues: The problem might not be the sensor itself, but a wiring harness fault.
Use Cases and Manufacturer Examples
The need to replace a CMP sensor arises in a wide range of vehicles, across various manufacturers. Here are a few examples:
- Ford: Ford vehicles, particularly those with the 4.6L or 5.4L engines, are known to experience CMP sensor failures, often manifesting as hard starting or stalling.
- GM: GM's popular 3.8L V6 engines in models like the Buick LeSabre and Pontiac Grand Prix can suffer from CMP sensor issues, leading to a "crank, no start" condition.
- Toyota: Toyota vehicles, while generally reliable, are not immune to CMP sensor failures. Symptoms might include a check engine light and reduced fuel economy.
- BMW: BMW engines, known for their precision, are highly dependent on accurate CMP sensor readings. A faulty sensor can cause significant performance issues, including rough idling and misfires.
In each of these cases, the specific design and location of the CMP sensor will vary, but the underlying principle remains the same: to provide the ECU with crucial information about the camshaft's position.
Step-by-Step Guide to Replacing a CMP Sensor
Disclaimer: This guide provides general information. Always consult your vehicle's repair manual for specific instructions and safety precautions.
- Gather Your Tools: You'll need a socket set, wrench set, screwdrivers, OBDII scanner (to clear codes), and potentially a multimeter for testing. Safety glasses and gloves are also recommended.
- Locate the CMP Sensor: Refer to your vehicle's repair manual to find the exact location of the CMP sensor. It's typically located on the cylinder head, near the camshaft.
- Disconnect the Electrical Connector: Carefully disconnect the electrical connector from the sensor. Be sure to inspect the connector and wiring for any signs of damage.
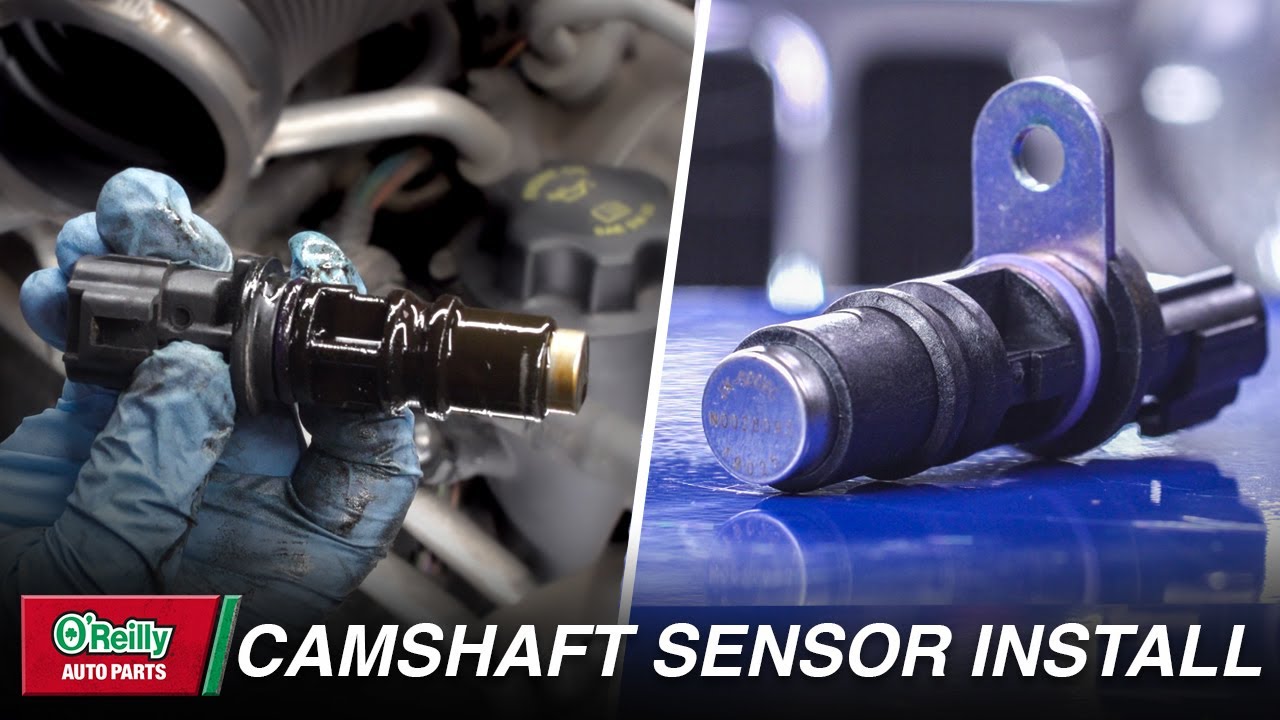
- Remove the Old Sensor: Use the appropriate socket or wrench to remove the bolt or fasteners securing the sensor. Carefully remove the sensor, noting its orientation.
- Install the New Sensor: Install the new sensor in the reverse order of removal. Ensure it is properly seated and that the bolt or fasteners are tightened to the manufacturer's specified torque.
- Reconnect the Electrical Connector: Reconnect the electrical connector to the sensor, ensuring it is securely attached.
- Clear the Diagnostic Trouble Codes: Use an OBDII scanner to clear the diagnostic trouble codes related to the CMP sensor.
- Start the Engine: Start the engine and check for any signs of problems. If the engine runs smoothly and the check engine light remains off, the repair was successful.
Real-World Insights and Recommendations
Based on real-world experience, here are some additional insights and recommendations:
- Use OEM or High-Quality Aftermarket Sensors: While cheaper aftermarket options exist, investing in an OEM or reputable aftermarket sensor can save you headaches in the long run. These sensors are typically more reliable and accurate.
- Inspect the Wiring Harness: Before replacing the sensor, carefully inspect the wiring harness and connector for any signs of damage, such as corrosion, broken wires, or loose connections. A faulty wiring harness can mimic the symptoms of a bad sensor.
- Check the Reluctor Wheel: While less common, the reluctor wheel can sometimes become damaged or misaligned. If you suspect a problem with the reluctor wheel, consult a qualified mechanic.
- Consider the Crankshaft Position Sensor: The CMP sensor and CKP sensor work together. If you're experiencing CMP sensor issues, it's also worth checking the CKP sensor, as a failure in one can sometimes affect the other.
- Use a Multimeter to Verify Signal: Use a multimeter to verify the CMP sensor signal. This requires knowledge of how to use a multimeter and understand the expected signal characteristics for your specific vehicle. Consult your vehicle's repair manual for details.
- Proper Torque: Using a torque wrench ensures proper installation and prevents damage to the sensor or engine components.
Replacing a camshaft position sensor is a task that many DIY enthusiasts can tackle. However, accurate diagnosis is crucial. Don't hesitate to consult a qualified mechanic if you're unsure about any aspect of the process. By understanding the function of the CMP sensor and following the proper procedures, you can restore your engine's performance and keep your vehicle running smoothly.