How To Replace The Throttle Position Sensor
So, your engine's acting up? Stalling, hesitating, or throwing a check engine light? There's a good chance your Throttle Position Sensor (TPS) is the culprit. Replacing it isn't rocket science, and with a little know-how, you can save yourself a trip to the shop. This article will guide you through the process, step-by-step.
Understanding the Throttle Position Sensor
Before we dive in, let's get a handle on what the TPS is and what it does. It's a crucial component of your engine's electronic fuel injection (EFI) system. Think of it as the throttle's "eyes and ears," constantly telling the Engine Control Unit (ECU) how far the throttle plate is open.
The Engine Management System Context
Modern engines rely heavily on computer control. The ECU, the brain of the operation, takes inputs from various sensors, including the TPS, Mass Airflow Sensor (MAF), Oxygen (O2) sensors, and more. It then uses this information to calculate the optimal air-fuel mixture, ignition timing, and other critical parameters for efficient and powerful engine operation.
How the TPS Works: A Technical Deep Dive
The TPS is typically a potentiometer, a variable resistor. It's mounted directly on the throttle body, mechanically linked to the throttle plate shaft. As you press the accelerator pedal, the throttle plate opens, rotating the TPS's internal wiper arm. This movement changes the resistance of the potentiometer. The ECU sends a reference voltage (usually 5 volts) to the TPS. As the resistance changes, the voltage signal returning to the ECU changes proportionally to the throttle plate angle.
Here's the breakdown:
- Reference Voltage (Vref): A stable voltage supplied by the ECU, typically 5V.
- Ground: Provides a return path for the current.
- Signal Wire: The wire carrying the voltage signal back to the ECU. This voltage varies based on throttle position.
At closed throttle (idle), the TPS sends a low voltage signal (e.g., 0.5V). As the throttle opens, the voltage increases linearly, reaching a higher voltage (e.g., 4.5V) at wide-open throttle (WOT). The ECU interprets these voltage changes to determine how much fuel to inject and adjust ignition timing accordingly.
Common TPS Issues and Maintenance Concerns
Like any electronic component, the TPS can fail over time. Here are some common problems:
- Wear and Tear: The wiper arm inside the TPS can wear down, leading to erratic or inaccurate readings.
- Contamination: Dirt, oil, or moisture can get inside the TPS, affecting its performance.
- Loose Connections: The electrical connector can become loose or corroded, causing signal disruptions.
- Internal Failure: The potentiometer itself can fail internally.
Symptoms of a failing TPS:
- Rough Idling: The engine may idle erratically or stall.
- Hesitation or Stumbling: The engine may hesitate or stumble during acceleration.
- Poor Fuel Economy: Incorrect throttle position readings can lead to inefficient fuel consumption.
- Check Engine Light: A faulty TPS will often trigger a check engine light, with diagnostic trouble codes (DTCs) related to the TPS (e.g., P0121, P0122, P0123).
- Surging: The engine's RPM may fluctuate unexpectedly.
- Transmission Issues: In some vehicles, a faulty TPS can affect automatic transmission shifting.
Replacing the TPS: A Step-by-Step Guide
Now, let's get our hands dirty. Here's how to replace the TPS:
- Gather Your Tools and Supplies:
- New TPS (Make sure it's the correct part for your vehicle!)
- Screwdrivers (usually Phillips head or Torx)
- Wrenches or sockets (if needed to remove the throttle body or access the TPS)
- Multimeter (for testing, optional but recommended)
- Penetrating oil (if needed to loosen screws)
- Shop towels or rags
- Safety glasses
- Gloves
- Disconnect the Negative Battery Terminal: Safety first! This prevents accidental shorts and protects your ECU.
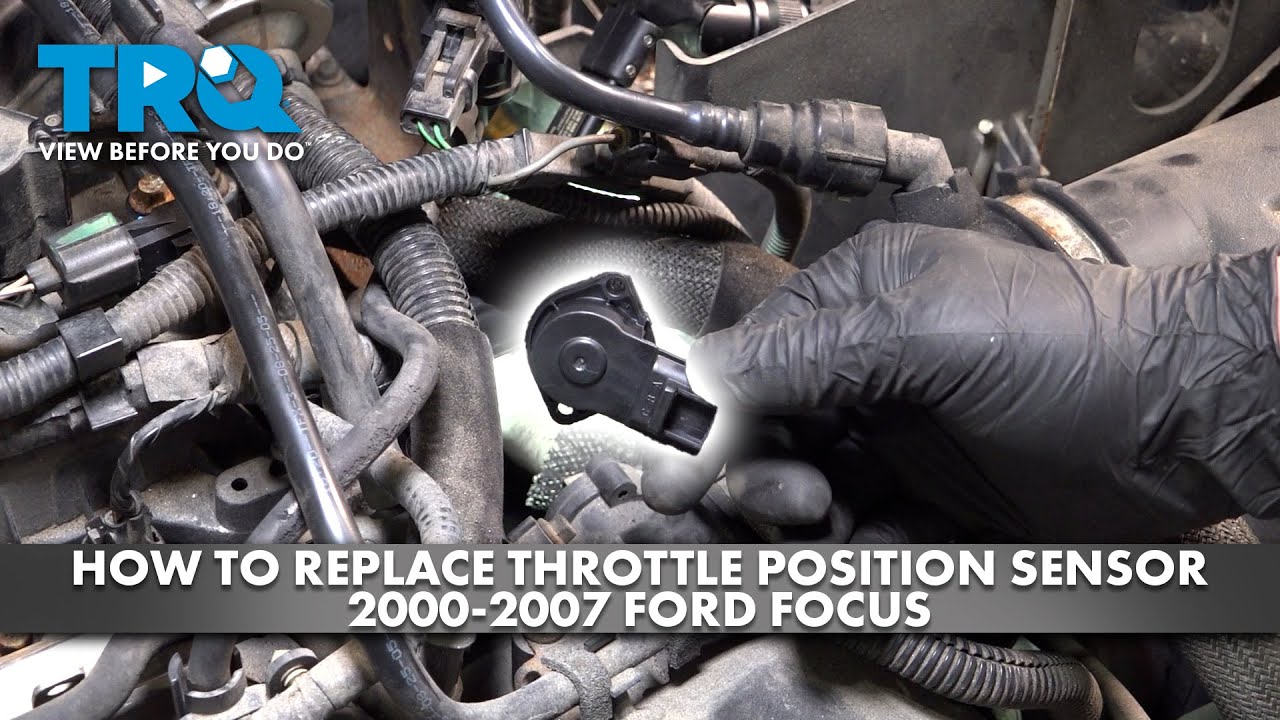
- Locate the TPS: The TPS is usually mounted on the throttle body, near where the throttle cable attaches. Refer to your vehicle's repair manual if you're unsure of its location.
- Disconnect the Electrical Connector: Gently disconnect the TPS connector. Be careful not to damage the connector or wiring. Some connectors have a locking mechanism that needs to be released.
- Remove the Old TPS: The TPS is typically held in place by two or three screws. Use the appropriate screwdriver or wrench to remove the screws. If the screws are stuck, apply some penetrating oil and let it soak for a few minutes before attempting to remove them.
- Install the New TPS: Align the new TPS with the mounting holes on the throttle body. Install the screws and tighten them securely, but don't overtighten. Torque specifications for these screws are typically very low, so avoid stripping the threads.
- Connect the Electrical Connector: Reconnect the electrical connector to the TPS. Make sure it clicks into place securely.
- Optional: Test the TPS with a Multimeter: This step helps ensure the new TPS is functioning correctly. With the ignition off, set your multimeter to measure DC voltage. Connect the black lead to ground and the red lead to the signal wire of the TPS connector (you might need to consult your vehicle's wiring diagram to identify the signal wire). Slowly open and close the throttle manually. The voltage reading should increase smoothly and linearly as the throttle opens, and decrease smoothly as it closes. If the voltage jumps erratically or remains constant, there may be a problem with the TPS or its wiring.
- Reconnect the Negative Battery Terminal: Reconnect the negative battery terminal.
- Start the Engine: Start the engine and let it idle for a few minutes. Listen for any unusual noises or rough idling.
- Check for Diagnostic Trouble Codes (DTCs): Use an OBD-II scanner to check for any new DTCs. Clear any codes that may have been set during the repair process.
- Throttle Position Sensor Calibration (if required): Some vehicles require you to perform a throttle position sensor calibration or throttle body relearn procedure after replacing the TPS. This allows the ECU to learn the new TPS's voltage range and ensure proper engine operation. The procedure varies depending on the vehicle make and model. Consult your vehicle's repair manual or a reputable online resource for specific instructions. This might involve using a scan tool or performing a series of specific steps with the ignition key and accelerator pedal.
Do's and Don'ts / Best Practices
- Do use the correct TPS for your vehicle. Check the part number and compatibility before purchasing.
- Do be gentle when handling the TPS and its connector.
- Do disconnect the negative battery terminal before starting the repair.
- Do clean the throttle body while you have the TPS removed. Use a throttle body cleaner and a soft cloth.
- Don't overtighten the screws holding the TPS in place.
- Don't force anything. If something is not coming apart easily, take a step back and reassess the situation.
- Don't reuse the old screws if they are damaged or corroded.
- Do consult a repair manual or online resource for specific instructions for your vehicle.
- Do consider having a professional mechanic perform the repair if you are not comfortable working on your vehicle's engine.
- Do test drive the car after the replacement to confirm everything is working properly
Conclusion
Replacing your car's Throttle Position Sensor is a manageable task for the experienced DIYer. By understanding the TPS's function, symptoms of failure, and carefully following these steps, you can get your engine running smoothly again and potentially save yourself a decent amount of money. However, if you're unsure about any part of the process, don't hesitate to consult a qualified mechanic. Incorrect installation can lead to further engine problems. Good luck, and happy wrenching!