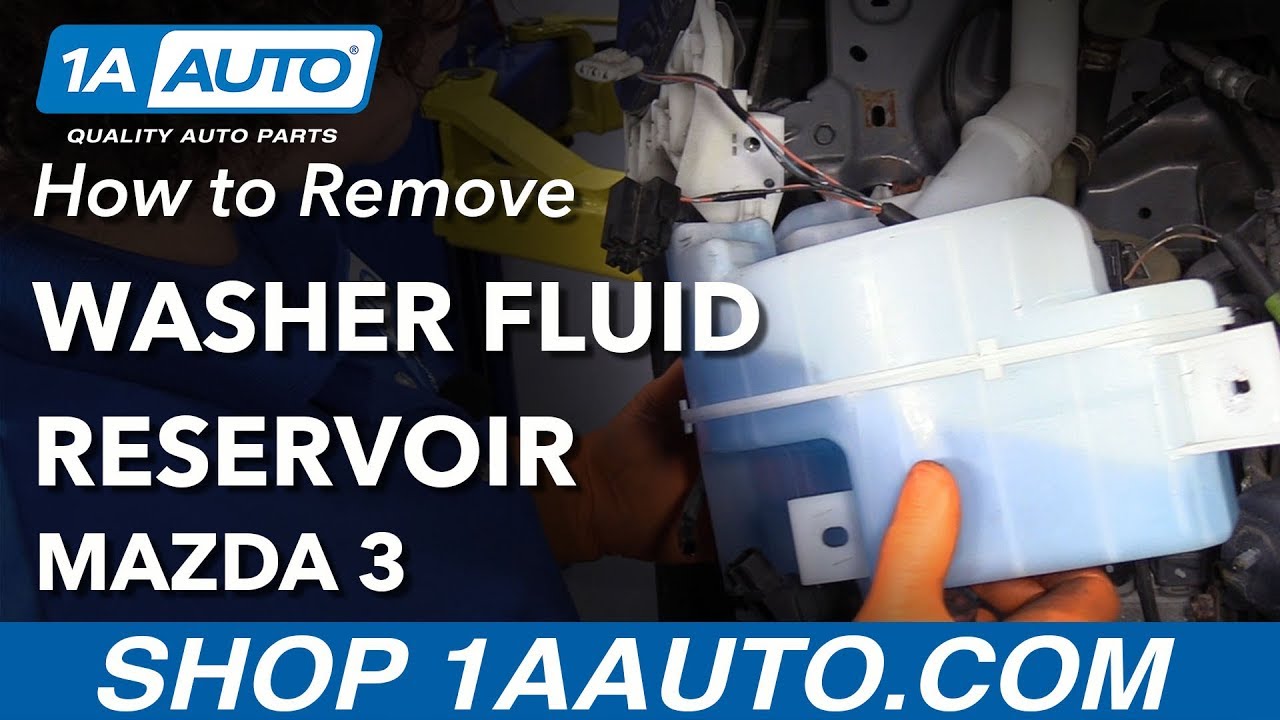
How To Replace Washer Fluid Reservoir
Is your windshield perpetually streaked, leaving you struggling to see through the grime, even after hitting the washer button? Or perhaps you're constantly refilling your washer fluid, only to have it disappear as quickly as you pour it in? A faulty or cracked washer fluid reservoir could be the culprit. In this guide, we'll walk you through the symptoms of a damaged reservoir, explain the common causes, and provide step-by-step instructions on how to replace it yourself, saving you potentially hundreds of dollars.
Symptoms of a Faulty Washer Fluid Reservoir
Identifying the symptoms early can prevent further complications. Here's what to look for:
- Low Washer Fluid Warning Light: This is the most obvious sign. The warning light illuminates on your dashboard, indicating that the fluid level is critically low, even after you've recently filled it.
- Visible Leakage: Look for puddles of blue or green liquid (washer fluid) underneath the front of your vehicle, especially near the front bumper or wheel wells.
- Constant Need to Refill: If you're constantly adding washer fluid, more frequently than usual, that's a strong indicator of a leak somewhere in the system.
- Weak or No Washer Fluid Spray: A cracked reservoir can sometimes lead to a loss of pressure in the system, resulting in a weak spray or no spray at all. Although, it's also possible that clogged washer nozzles or a faulty washer pump are the problem.
- Distinct Washer Fluid Odor: You might notice a sweet, chemical smell of washer fluid inside your car or around the front of your vehicle.
Understanding the Root Cause
The washer fluid reservoir is typically made of plastic and is located in the engine bay, often near the front wheel well or bumper. Several factors can contribute to its failure:
- Age and Deterioration: Over time, the plastic can become brittle and prone to cracking, especially in extreme temperatures. Constant exposure to heat and cold cycles degrades the plastic.
- Impact Damage: Small accidents, road debris (rocks, gravel), or even a slight bump into a parking curb can cause cracks or holes in the reservoir.
- Freezing Temperatures: If you use water instead of proper washer fluid with antifreeze properties, the water can freeze inside the reservoir during winter. This can cause the plastic to expand and crack. Always use washer fluid rated for your climate.
- Improper Installation: If the reservoir was previously replaced and not installed correctly, it could be under stress, leading to premature failure.
- Component Failure: The pump which sits inside the reservoir can fail. Replacements can be performed separately. The grommet or seal where the pump enters the reservoir can fail, leading to leakage.
What Happens If You Ignore the Problem?
Ignoring a leaking washer fluid reservoir might seem insignificant, but it can lead to several issues:
- Reduced Visibility: The primary function of washer fluid is to clean your windshield. A leak means you won't have adequate fluid when you need it most, potentially compromising your visibility and safety, especially in inclement weather.
- Washer Pump Damage: Running the washer pump when the reservoir is empty can damage the pump motor, as it will be running dry. Replacing the pump is an additional expense.
- Environmental Concerns: Washer fluid is a chemical substance. Leaking fluid can contaminate the soil and potentially affect local water sources.
- Inconvenience: Constantly refilling the reservoir is time-consuming and frustrating.
- Legal Issues: In some jurisdictions, operating a vehicle with impaired visibility due to a lack of washer fluid can result in a traffic violation.
Recommended Fixes: Replacing the Washer Fluid Reservoir
The best solution is to replace the damaged washer fluid reservoir. Here’s a step-by-step guide. Remember to consult your vehicle's repair manual for specific instructions and torque specifications.
Tools and Materials Needed:
- New Washer Fluid Reservoir (ensure it's the correct part for your vehicle's make, model, and year)
- New Washer Fluid Pump (If necessary, often a good time to replace if old)
- Jack and Jack Stands (for accessing the reservoir if it's behind the wheel well)
- Socket Set and Ratchet
- Screwdrivers (Phillips and Flathead)
- Pliers
- Drain Pan
- New Washer Fluid
- Gloves
- Safety Glasses
Step-by-Step Instructions:
- Safety First: Park your vehicle on a level surface, engage the parking brake, and wear safety glasses and gloves. Disconnect the negative battery terminal to prevent any electrical issues.
- Drain the Remaining Fluid: If there's any fluid left in the reservoir, drain it into a drain pan. You can disconnect the washer fluid hose and let it drain, or use a siphon.
- Access the Reservoir: Depending on your vehicle, you might need to remove the front bumper, inner fender liner, or other components to access the reservoir. Consult your vehicle's repair manual for specific instructions. Use a jack and jack stands to safely lift the vehicle if necessary.
- Disconnect Electrical Connectors: Disconnect the electrical connector(s) for the washer pump(s). Be careful not to damage the connectors.
- Disconnect Washer Fluid Hoses: Disconnect the washer fluid hoses from the pump(s) and the reservoir itself. Some hoses might be held in place with clips or clamps. Use pliers to remove them if necessary.
- Remove the Old Reservoir: Unbolt or unscrew the reservoir from its mounting points. Be careful not to drop it, as it might contain residual fluid.
- Transfer the Washer Pump (If reusing): If your new reservoir doesn't come with a washer pump, carefully remove the pump from the old reservoir. It's usually held in place by a rubber grommet or seal. Clean the pump and the grommet before installing it into the new reservoir. Consider replacing the pump with a new one.
- Install the New Reservoir: Position the new reservoir in its mounting location and secure it with the bolts or screws you removed earlier. Ensure it's properly aligned and securely fastened.
- Reconnect Washer Fluid Hoses: Reconnect the washer fluid hoses to the pump(s) and the reservoir. Make sure the hoses are securely attached and properly routed to avoid kinks or leaks.
- Reconnect Electrical Connectors: Reconnect the electrical connector(s) for the washer pump(s). Ensure they are securely connected and properly seated.
- Reinstall Removed Components: Reinstall the front bumper, inner fender liner, or any other components you removed to access the reservoir.
- Refill the Reservoir: Fill the new reservoir with the appropriate type of washer fluid.
- Test the System: Reconnect the negative battery terminal. Start the engine and test the washer fluid system by activating the windshield washer. Check for leaks around the reservoir, hoses, and pump(s).
- Clean Up: Dispose of the old reservoir and any spilled washer fluid properly.
Cost Estimates and Shop Advice
The cost of a new washer fluid reservoir can vary depending on the make, model, and year of your vehicle, as well as the brand of the replacement part. Generally, you can expect to pay between $30 and $150 for the reservoir itself. A new washer pump, if needed, can cost an additional $20 to $80.
If you choose to have a professional mechanic replace the reservoir, labor costs can add another $50 to $200, depending on the complexity of the job and the shop's hourly rate. Therefore, the total cost could range from $80 to $350 or more. The DIY approach can save you a significant amount of money, especially if you're comfortable working on your vehicle.
When to Seek Professional Help:
- If you're not comfortable working on your vehicle or lack the necessary tools.
- If you encounter difficulty accessing the reservoir or removing other components.
- If you suspect there might be other underlying issues, such as a faulty washer pump or clogged nozzles.
Credibility and Common Failure Points
While there aren't widespread recalls specifically for washer fluid reservoir failures, some vehicles are known to have more frequent issues than others. Online forums and vehicle-specific communities often discuss common problem areas. For example, some older models of certain manufacturers have reservoirs located in areas prone to impact damage. Keep an eye on those areas.
Although a TSB (Technical Service Bulletin) might not be issued for a general reservoir leak, TSBs are sometimes released addressing related issues such as washer pump failures or nozzle clogging, which can put extra stress on the system. Always check for TSBs related to your vehicle's washer system before starting any repairs.
The lifespan of a washer fluid reservoir can vary, but they typically last between 5 and 10 years. However, factors like climate, driving conditions, and the quality of the plastic can affect its longevity. Regular inspections of the reservoir and surrounding area can help identify potential problems early on.
By following these steps, you can effectively diagnose and replace a faulty washer fluid reservoir, ensuring clear visibility and safe driving conditions. Remember to prioritize safety and consult your vehicle's repair manual for specific instructions.