How To Replace Windshield Washer Fluid Reservoir
The dreaded moment arrives: you're driving down a dusty road, hit the windshield washer button, and...nothing. Or worse, a pathetic dribble. Your windshield washer fluid reservoir is likely the culprit. Replacing it might seem daunting, but with a bit of know-how, it's a task achievable for the average DIY enthusiast. This guide will break down the process, the mechanics, and the considerations involved.
The Empty Promise: Why a New Reservoir?
Imagine your car's windshield washer system as a miniature plumbing network. The reservoir is the water tower, the pump is the pressure system, and the hoses are the pipes. A crack in the water tower renders the whole system useless. That's precisely what happens with a damaged reservoir. Common scenarios leading to replacement include:
- Impact Damage: Road debris, collisions, even a runaway shopping cart can crack or shatter the reservoir.
- Age and Weathering: Over time, the plastic becomes brittle and susceptible to cracking, especially in extreme temperatures.
- Pump Failure: A seized pump can strain the reservoir, potentially leading to leaks.
- Contamination: Although less common, contamination can necessitate replacing the reservoir to fully purge the system.
Understanding the System: From Reservoir to Spray Nozzle
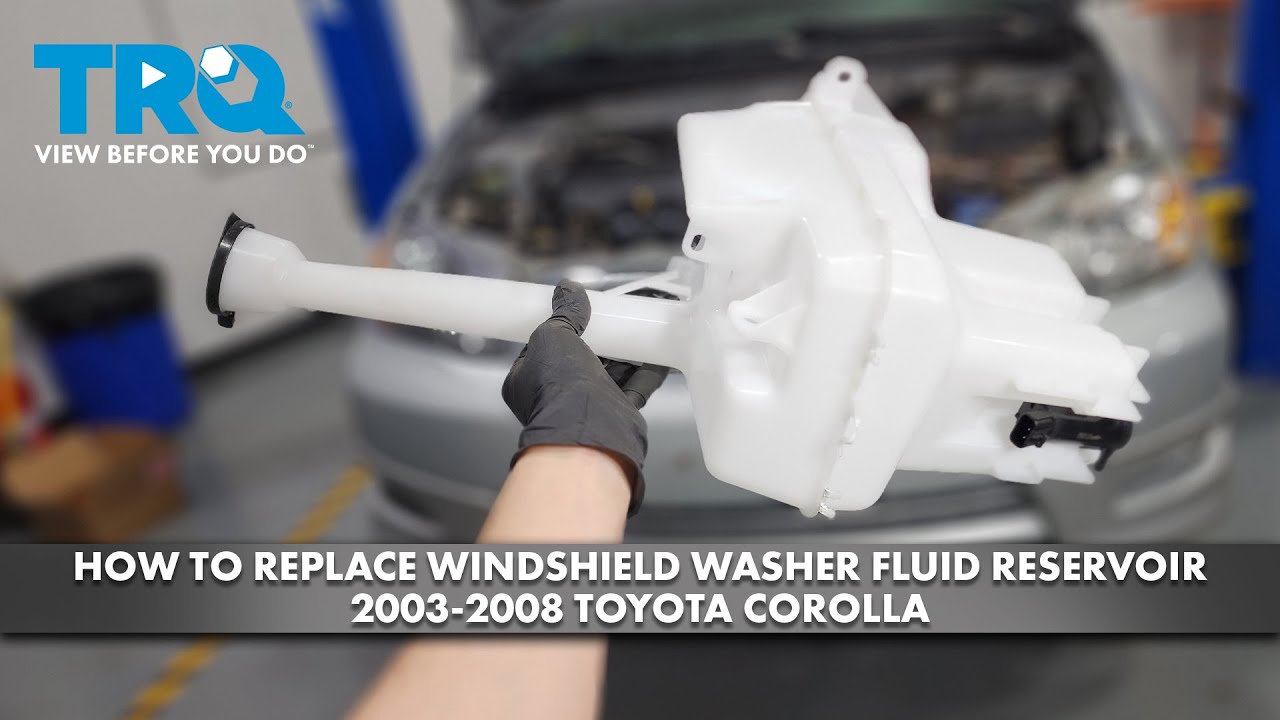
The windshield washer system is deceptively simple. It starts with the reservoir, typically a plastic container located in the engine bay, often near a fender well. This reservoir holds the washer fluid, a mixture of water, antifreeze (to prevent freezing), and detergents (to clean the windshield). Submerged within the reservoir, or attached to its exterior, is the washer pump. This electric pump, powered by the car's electrical system, draws fluid from the reservoir and forces it through a series of hoses to the washer nozzles, strategically positioned on the hood or cowl near the windshield. These nozzles, often adjustable, spray the fluid onto the windshield when activated by the driver via a stalk on the steering column or a dashboard button.
The electrical circuit is equally straightforward. When the driver activates the washer system, the switch completes a circuit, sending power to the washer pump. The pump motor spins, creating suction and pressure, and the fluid is propelled towards the nozzles. A malfunctioning pump can be diagnosed with a multimeter, and should be replaced if it's not functioning correctly; otherwise you risk burning out the motor of your brand new reservoir pump.
Mechanical Breakdown: The Reservoir in Detail
The reservoir itself is typically made from high-density polyethylene (HDPE) or similar durable plastic. Its design often incorporates features like:
- Fill Neck: A wide opening for easy filling, usually with a cap to prevent spillage and contamination.
- Level Sensor: Some reservoirs include a level sensor that alerts the driver when the fluid is low.
- Pump Mounting Point: A specific location, often with a rubber grommet, for securely mounting the washer pump.
- Overflow Tube: A small tube to prevent overfilling and pressure build-up.
The complexity of the reservoir depends on the vehicle. Some vehicles have a single reservoir for both the windshield and rear window washers (if equipped), while others have separate reservoirs. Some even incorporate a headlight washer system, further adding to the system's complexity.
Pros and Cons of DIY Replacement
Replacing a windshield washer fluid reservoir is generally a straightforward task, but it's essential to weigh the pros and cons before diving in.
Pros:
- Cost Savings: Avoid labor costs associated with a professional mechanic.
- Learning Experience: Gain valuable experience working on your car.
- Control: Ensure the job is done to your satisfaction.
Cons:
- Time Commitment: It can take several hours, especially for beginners.
- Potential for Mistakes: Improper installation can lead to leaks or damage.
- Special Tools: While not always required, some vehicles may require specialized tools.
- Access Issues: Some reservoirs are located in difficult-to-reach areas.
Use Cases and Manufacturer Examples
The design and location of the washer fluid reservoir vary significantly across different makes and models. Here are a few examples:
- Honda Civic: The reservoir is typically located behind the front bumper, requiring removal of the bumper cover for access.
- Ford F-150: The reservoir is often located in the fender well, accessible after removing the inner fender liner.
- BMW 3 Series: The reservoir may be located behind the headlight assembly, requiring partial disassembly of the front end.
- Tesla Model 3: The reservoir is located behind the front wheel arch liner and is accessible after removing the wheel.
Aftermarket manufacturers like Dorman and ACDelco offer a wide range of replacement reservoirs designed to meet or exceed OEM specifications. When choosing a replacement reservoir, ensure it's compatible with your vehicle's year, make, and model. Check reviews and consider purchasing from a reputable brand.
The Replacement Process: A Step-by-Step Guide
While the exact steps may vary depending on your vehicle, the general procedure for replacing a windshield washer fluid reservoir is as follows:
- Gather Your Supplies: You'll need a new reservoir, a socket set, screwdrivers, pliers, a drain pan, and possibly some replacement hose clamps. Safety glasses and gloves are also highly recommended.
- Drain the Existing Fluid: Disconnect the hose leading from the reservoir to the pump and let the fluid drain into a drain pan. Alternatively, if possible, remove the pump from the reservoir and use a siphon to remove the fluid. Never allow washer fluid to spill onto the ground. It is environmentally irresponsible and potentially harmful.
- Disconnect the Electrical Connections: Disconnect the electrical connector(s) to the washer pump and any level sensors.
- Disconnect the Hoses: Carefully disconnect the hoses from the pump and any other fittings on the reservoir. Use pliers to loosen hose clamps if necessary. Take pictures before removing any hoses so you have a reference on which hoses go where.
- Remove the Old Reservoir: Unbolt or unclip the old reservoir from its mounting points. Be prepared for any residual fluid to spill.
- Install the New Reservoir: Position the new reservoir in its mounting location and secure it with the bolts or clips.
- Reconnect the Hoses: Reconnect the hoses to the pump and any other fittings, ensuring they are securely clamped. Refer to the pictures you took earlier to make sure hoses are connected correctly.
- Reconnect the Electrical Connections: Reconnect the electrical connector(s) to the washer pump and any level sensors.
- Install the Washer Pump: Reinstall the washer pump (or install the new one if you are also replacing it) into the new reservoir. Use a dab of silicone grease on the rubber grommet to make the process easier.
- Fill the Reservoir: Fill the reservoir with the appropriate windshield washer fluid.
- Test the System: Activate the windshield washer system to ensure it's working correctly. Check for leaks.
- Clean Up: Dispose of the old reservoir and any spilled fluid properly.
Real-World Insights and Recommendations
Based on experience, here are some valuable insights to consider:
- Don't Overfill: Overfilling the reservoir can lead to spills and potential damage to surrounding components.
- Use the Right Fluid: Always use windshield washer fluid specifically designed for automotive use. Avoid using household cleaners or water alone, as they can damage the pump and freeze in cold weather.
- Inspect the Hoses: While replacing the reservoir, inspect the hoses for cracks or leaks. Replace them if necessary. Deteriorating hoses can lead to low flow or pressure issues.
- Consider a New Pump: If your old pump is showing signs of weakness or is nearing the end of its lifespan, consider replacing it along with the reservoir. It's often easier to replace both at the same time.
- Proper Disposal: Dispose of old washer fluid responsibly. Check with your local auto parts store or recycling center for proper disposal methods.
- Take Your Time: Rushing the job can lead to mistakes. Take your time, follow the instructions carefully, and double-check your work.
Replacing a windshield washer fluid reservoir is a manageable DIY project that can save you money and provide a sense of accomplishment. By understanding the system's mechanics, carefully following the steps, and considering the real-world insights, you can confidently tackle this task and restore clear visibility on the road.