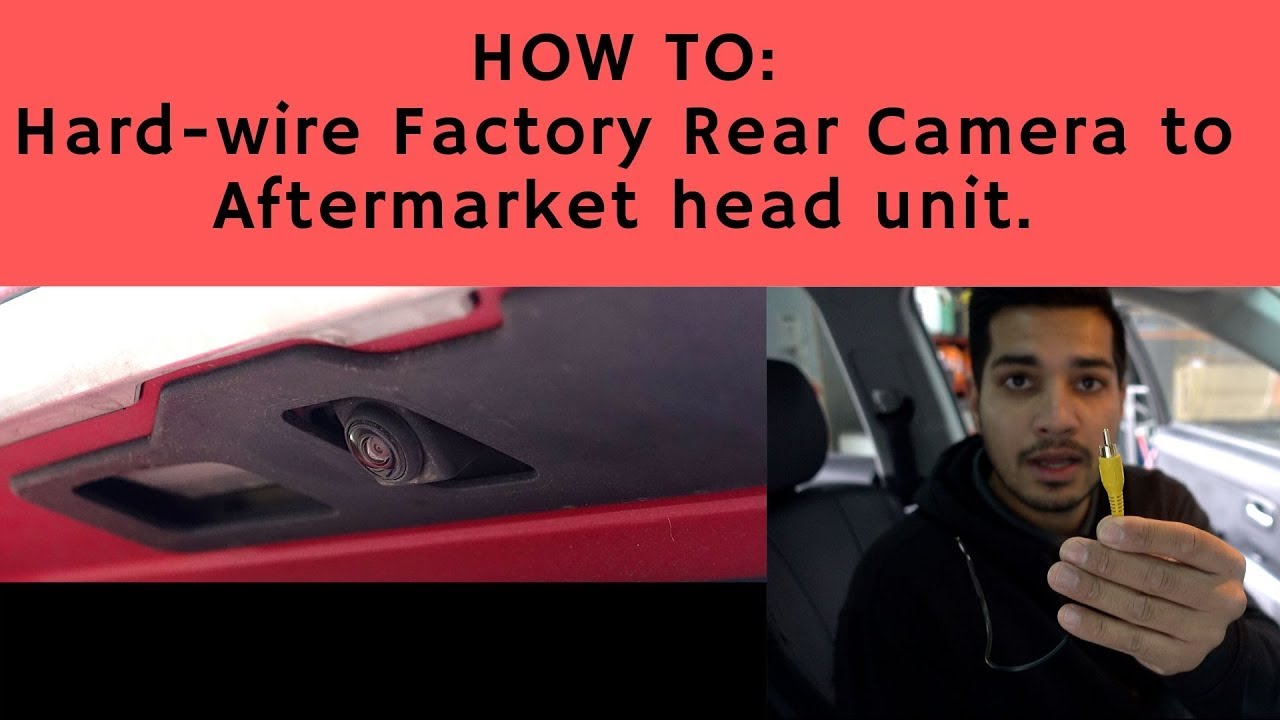
How To Retain Factory Backup Camera With Aftermarket Radio
So, you're upgrading your car's infotainment system with a shiny new aftermarket radio – excellent choice! But there's that nagging detail: your factory backup camera. Nobody wants to lose that invaluable safety feature, especially after spending good money on a new head unit. This article will guide you through the process of retaining your factory backup camera functionality when installing an aftermarket radio. We'll delve into the technical aspects, common hurdles, and best practices to ensure a smooth integration.
Understanding the Challenge: Bridging the Gap
Before diving into the wiring, it's crucial to understand why this isn't always a plug-and-play situation. Your factory backup camera and radio are designed to communicate using specific protocols and voltage levels unique to your car manufacturer. Aftermarket radios, on the other hand, adhere to more standardized interfaces. The challenge, therefore, lies in translating the factory camera's output to be compatible with your new radio's input.
The Anatomy of a Factory Backup Camera System
A typical factory backup camera system consists of several key components:
- Backup Camera: This is the actual camera unit, usually mounted near the rear license plate. It captures the video feed.
- Video Signal Cable: Transmits the video signal from the camera to the head unit. Often a composite video signal (RCA), but newer systems may use digital interfaces.
- Trigger Wire: A wire that signals to the head unit that the car is in reverse. This is usually connected to the reverse light circuit. When the reverse lights illuminate, voltage is sent through this wire, prompting the radio to switch to the backup camera display.
- Head Unit (Factory Radio): Processes the video signal and displays it on the screen. It also provides power to the camera and interprets the trigger signal.
The Aftermarket Radio Perspective
Aftermarket radios generally expect a standard RCA (Radio Corporation of America) video input for the backup camera. They also require a dedicated reverse trigger wire. These radios operate on a standard 12V DC power system.
Technical Breakdown: The Wiring and Integration Process
Here’s the step-by-step process of retaining your factory backup camera:
- Identify the Factory Camera Wiring: This is the most crucial step. You'll need a wiring diagram specific to your vehicle. These diagrams can be found in your car's service manual, online forums dedicated to your car model, or through reputable online wiring diagram databases. Look for the wires related to the backup camera: the video signal (+ and - if it's a shielded cable), the power wire (typically 6V or 12V, depending on the vehicle), and the ground wire. Crucially, identify the reverse trigger wire – this is essential for automatic camera activation.
- Determine the Video Signal Type: Many older factory cameras use a composite video signal, which can be directly connected to the aftermarket radio's RCA input using an adapter if necessary. However, newer vehicles often utilize a proprietary digital video signal format (e.g., LVDS - Low-Voltage Differential Signaling). If this is the case, you will need a video signal converter.
- Video Signal Conversion (If Necessary): If your factory camera uses a digital video signal, you'll need a converter specifically designed to translate that signal to a standard composite video signal. These converters typically have input connections for the factory camera's wiring and an RCA output that connects to the aftermarket radio. They also require a 12V power supply and ground connection. Be extremely careful when purchasing a converter – ensure it’s compatible with your vehicle's make and model and the factory camera's signal type.
- Power Supply Adaptation: Factory cameras often operate on a different voltage than the aftermarket radio (e.g., 6V instead of 12V). Supplying the wrong voltage will damage the camera. Use a DC-DC voltage converter to step down the voltage from 12V to the required voltage for the camera. Connect the 12V input of the converter to a suitable 12V source in the car (e.g., the radio's 12V accessory wire). Connect the ground wire to a suitable grounding point. Then, connect the converter's output to the camera's power wire.
- Wiring the Video Signal: If your camera outputs a standard composite video signal (or you've converted it), connect the RCA output of the camera (or converter) to the RCA video input on the back of your aftermarket radio designated for the backup camera. Ensure you connect the center pin of the RCA cable to the video signal wire and the outer shield to the ground wire.
- Connecting the Reverse Trigger Wire: Connect the reverse trigger wire from your aftermarket radio to the reverse trigger wire you identified in the factory wiring harness. This is usually a light green wire located in the car's wiring harness. This wire gets +12V when the car is put into reverse. You can confirm this using a multimeter.
- Grounding: Ensure all ground wires are properly connected to a clean, reliable grounding point in the vehicle's chassis. A poor ground connection can cause all sorts of problems, including video signal interference.
- Testing: Before buttoning everything up, test the system. Put the car in reverse (with the parking brake engaged and the ignition on!) and verify that the backup camera image appears on the aftermarket radio's screen. If it doesn't, double-check all your wiring connections and the voltage levels.
Common Issues and Maintenance Concerns
- Incorrect Wiring: This is the most common problem. Double and triple-check your wiring against the wiring diagrams. A single wrong connection can lead to damage or malfunction.
- Voltage Mismatch: Supplying the wrong voltage to the camera will likely damage it. Always use a voltage converter if necessary.
- Signal Interference: Poor grounding or poorly shielded video cables can cause interference in the video signal, resulting in a fuzzy or distorted image. Use high-quality shielded cables and ensure a good ground connection.
- Compatibility Issues with Converters: Not all video signal converters are created equal. Choose a converter specifically designed for your vehicle and camera system.
- Flickering or Black Screen: This can be caused by a loose connection, insufficient power, or a faulty trigger wire.
Do's and Don'ts / Best Practices
- DO use a wiring diagram specific to your vehicle.
- DO use a multimeter to verify voltage levels and wire continuity.
- DO use a DC-DC voltage converter if the camera requires a different voltage than the aftermarket radio provides.
- DO use shielded video cables to minimize interference.
- DO solder and heat shrink all wire connections for a secure and reliable connection.
- DO test the system thoroughly before reassembling the dashboard.
- DON'T guess at wiring connections.
- DON'T supply the wrong voltage to the camera.
- DON'T use cheap, unshielded cables.
- DON'T skip the grounding step.
- DON'T work on the electrical system with the car battery connected (disconnect the negative terminal first).
Conclusion: Retain Your Backup Camera with Careful Planning
Retaining your factory backup camera when upgrading to an aftermarket radio requires careful planning, attention to detail, and a solid understanding of your vehicle's electrical system. By following the steps outlined in this article and adhering to the best practices, you can successfully integrate your factory camera with your new radio, preserving a crucial safety feature and enhancing your driving experience. If you're uncomfortable with any part of this process, it's always best to consult with a professional car audio installer. While it might cost more upfront, it will save you potential headaches and ensure the job is done right. Specifically, if you are unsure what voltage the factory camera operates at, consult a professional. You should also always disconnect the negative battery terminal before working on the electrical system. With the correct tools and knowledge, you can confidently upgrade your audio system and keep your backup camera functioning seamlessly.