How To Set Up Dash Cam
So, you're ready to up your car's surveillance game and install a dash cam? Excellent choice. A dash cam can be a lifesaver in documenting accidents, recording road trips, or even capturing unexpected events. This guide will walk you through the process step-by-step, assuming you have some basic automotive electrical knowledge and are comfortable working with your vehicle's wiring. Think of this as leveling up your existing DIY car skills.
Purpose
The main purpose of this guide is to equip you with the knowledge and confidence to install a dash cam correctly and safely. While many dash cams can be plugged into a cigarette lighter socket, a proper hardwire installation provides several advantages:
- Clean Installation: Hides the wiring for a neater look.
- Parking Mode: Allows the dash cam to record even when the ignition is off (if supported by the camera). This requires a constant power source.
- Free Up Cigarette Lighter: Keeps your 12V socket available for other devices.
- Voltage Protection: Some hardwire kits offer voltage cutoff to prevent draining your car battery.
By understanding the wiring and connection process, you'll not only be able to install the dash cam but also troubleshoot potential issues down the line, saving you time and money.
Key Specs and Main Parts
Before we dive in, let's cover the essential components and their specifications:
Main Parts:
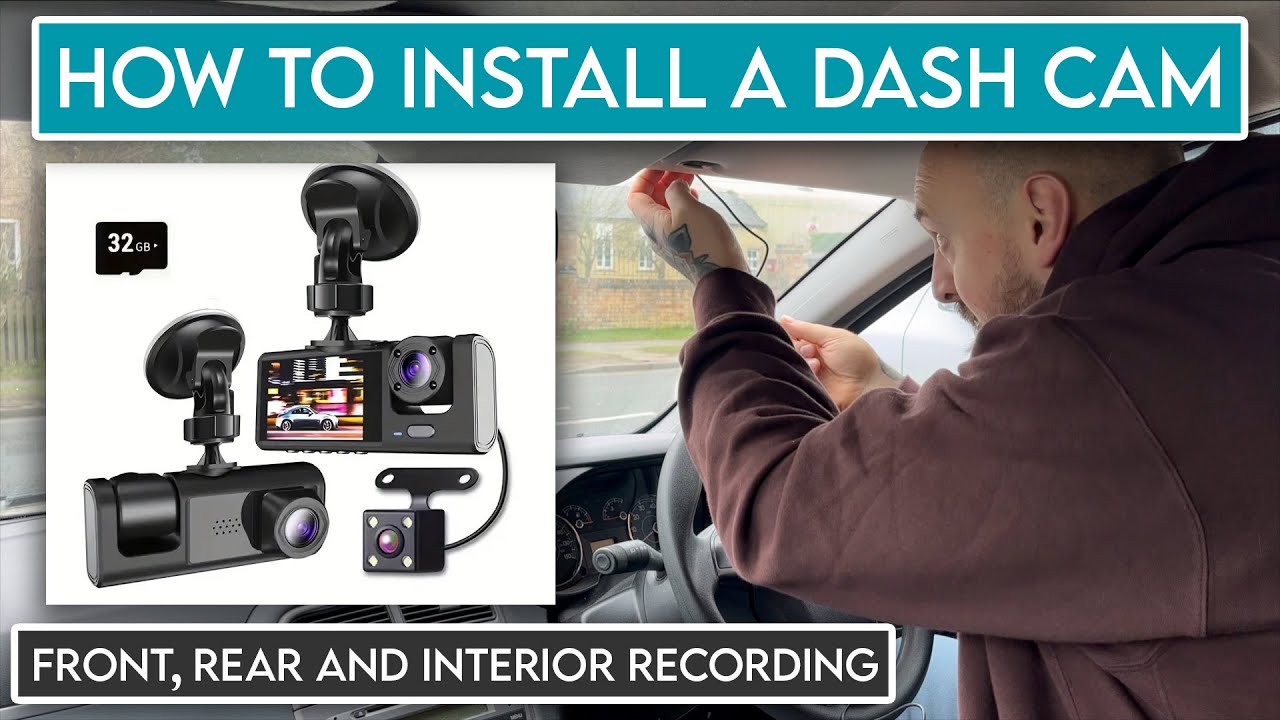
- Dash Cam Unit: The camera itself, responsible for recording video. Pay attention to its video resolution (1080p, 1440p, 4K), viewing angle, and features like GPS, Wi-Fi, and parking mode.
- Hardwire Kit: This is the key to a clean and functional installation. It typically includes:
- Step-Down Converter: Converts the car's 12V (or 24V in some vehicles) to the 5V typically required by the dash cam.
- Fuse Taps (Add-a-Circuit): Allow you to safely tap into existing circuits in your car's fuse box.
- Ground Wire: Connects to a solid grounding point in the vehicle's chassis.
- Power Wires (ACC and BATT): These connect to the car's Accessory (switched power) and Battery (constant power) circuits respectively.
- MicroSD Card: For storing the recorded video footage. Ensure it's a high-endurance card specifically designed for dash cams.
- Cable Management Clips: To neatly route and secure the wiring.
Key Specs:
- Voltage Input (Hardwire Kit): Should match your vehicle's voltage (12V or 24V).
- Voltage Output (Hardwire Kit): Usually 5V to match the dash cam's requirements.
- Amperage Rating (Fuse Taps): Choose fuse taps with an amperage rating that matches the circuit you're tapping into. Never exceed the original fuse rating.
- MicroSD Card Capacity and Speed: Higher capacity allows for more recording time. A higher speed (Class 10 or UHS-I) ensures smooth video recording.
Symbols
Understanding the wiring is essential. The common symbols you will encounter are:
- Solid Lines: Represent wires. The thickness of the line may indicate the wire gauge, but this isn't always the case.
- Dashed Lines: Often indicate connections that are optional or related to specific features (e.g., parking mode wiring).
- Circles with a "G" or ground symbol: Indicate a ground connection point. This *must* be connected to the car's chassis for proper operation.
- Battery Symbol: Indicates a direct connection to the vehicle's battery (constant power).
- Ignition Symbol or "ACC": Indicates a connection to a circuit that is only powered when the ignition is on (switched power).
- Fuse Symbol: Represents a fuse. You'll likely see these in the fuse box diagram and potentially in the hardwire kit wiring.
Color Coding: While not standardized across all manufacturers, some common color conventions exist:
- Red: Typically indicates a positive (+) power wire.
- Black: Typically indicates a ground (-) wire.
- Yellow: Often used for the constant power (battery) wire.
- Blue or White: May be used for the accessory (ACC) wire.
Important Note: Always refer to the specific wiring diagram provided with your dash cam and hardwire kit, as color coding can vary.
How It Works
The hardwire kit acts as an intermediary between your car's electrical system and the dash cam. Here's the breakdown:
- Power Source: The hardwire kit taps into two circuits in your car's fuse box: one that provides constant power (for parking mode) and one that provides power only when the ignition is on (for normal recording).
- Voltage Conversion: The step-down converter within the hardwire kit lowers the car's 12V (or 24V) voltage to the 5V required by the dash cam. This is crucial, as directly connecting 12V to a 5V device will damage it.
- Fuse Protection: The fuse taps provide a safe and reliable way to connect to the car's electrical system without overloading existing circuits. The fuses protect both the dash cam and the car's electrical system from overcurrent.
- Ground Connection: A solid ground connection is essential for proper circuit operation. It provides a return path for the electrical current.
Parking Mode Functionality: When the ignition is off, the dash cam draws power from the constant power (battery) circuit. The hardwire kit typically includes a low-voltage cutoff feature that automatically shuts off the dash cam when the battery voltage drops below a certain threshold, preventing the battery from being completely drained.
Real-World Use – Basic Troubleshooting Tips
Even with careful installation, issues can arise. Here are some basic troubleshooting tips:
- Dash Cam Not Turning On:
- Check Fuses: The most common cause is a blown fuse. Inspect the fuses in the fuse taps and the fuse within the hardwire kit. Replace any blown fuses with the correct amperage rating.
- Verify Connections: Ensure all connections are secure, especially the ground connection.
- Test Voltage: Use a multimeter to check the voltage at the dash cam's power connector. You should see approximately 5V. If not, the hardwire kit may be faulty.
- Parking Mode Not Working:
- Check Constant Power Connection: Verify that the fuse tap connected to the constant power circuit is properly installed and the fuse is intact.
- Voltage Cutoff Settings: Some hardwire kits have adjustable voltage cutoff settings. Ensure the setting is appropriate for your vehicle's battery. A too-high cutoff voltage might prevent parking mode from activating.
- Dash Cam Parking Mode Settings: Check the dash cam's settings to ensure parking mode is enabled and configured correctly.
- Interference with Other Electronics:
- Grounding Issues: A poor ground connection can sometimes cause interference. Ensure the ground connection is clean, secure, and connected to a solid metal part of the chassis.
- Cable Routing: Avoid routing the dash cam wiring near sensitive electronic components or antennas.
Safety
Working with automotive electrical systems can be risky. Observe these safety precautions:
- Disconnect the Battery: Before working on the electrical system, disconnect the negative terminal of the car battery to prevent accidental shorts.
- Use Proper Tools: Use insulated tools to prevent electric shock.
- Never Exceed Fuse Ratings: When replacing fuses, always use the correct amperage rating. Using a higher amperage fuse can overload the circuit and cause a fire.
- Protect Wires: Ensure that the wiring is properly protected from chafing and damage. Use cable ties or electrical tape to secure the wiring and prevent it from rubbing against sharp edges.
- Airbags: Be extremely cautious when working near airbags. Consult your vehicle's service manual for proper procedures to disable the airbag system if necessary. Improper handling of airbags can result in serious injury.
Disclaimer: Modifying car electrical systems can be dangerous if you are not familiar with electrical wiring practices. Incorrect wiring can damage your car, cause fire, or result in personal injury. Proceed with caution and at your own risk.
Remember to always consult the specific documentation provided with your dash cam and hardwire kit. Every vehicle is different, and you might need to adjust the installation process based on your specific car model.
We have a comprehensive wiring diagram available that visually illustrates the concepts discussed in this article. You can download the diagram by clicking [link to diagram]. It provides a clear visual reference for connecting the hardwire kit to your car's electrical system.