How To Show Image In Html
So, you want to get an image displayed on your website, huh? Think of it like adding a custom spoiler or racing stripes to your code – it's all about customizing the appearance to achieve a specific look. In the world of web development, showing an image on an HTML page is a fundamental skill, similar to understanding the basics of engine mechanics. It's crucial for displaying logos, product photos, diagrams, and generally making your website visually appealing. Without images, websites can feel a bit like driving a stripped-down race car – functional, but lacking the visual flair that engages users.
Key Specs and Main Parts: The <img> Tag
The workhorse for displaying images in HTML is the <img> tag. This tag is an inline element, meaning it doesn't create a new line before or after it. It's a self-closing tag (no </img> needed), and its functionality is driven by attributes. Think of attributes like the settings on your engine control unit (ECU); they tell the <img> tag how to display the image.
The two most important attributes are:
src(source): This attribute specifies the path to the image file. Just like you need the correct fuel line connected to the engine, thesrcattribute needs a valid path to your image for it to display correctly. The path can be either a relative path (referencing a file within your website's directory structure) or an absolute path (referencing an image on another website, although this is generally discouraged for performance and control reasons).alt(alternative text): This attribute provides a text description of the image. It's crucial for accessibility (users with screen readers) and SEO (search engine optimization). Think of it as the label on your engine parts – it describes what the image is. If the image fails to load for any reason, thealttext will be displayed instead. Always include descriptivealttext.
Other useful attributes include:
widthandheight: These attributes specify the width and height of the image in pixels. Setting these attributes explicitly can improve page loading speed, as the browser doesn't have to calculate the image dimensions. Think of it like pre-setting your suspension – it optimizes performance.title: This attribute provides a tooltip that appears when the user hovers the mouse over the image. It's like a little extra info tag.loading: This attribute controls how the image is loaded. Setting it tolazycan improve initial page load performance by only loading images when they are about to enter the viewport (the visible area of the screen). It's like using a turbocharger to get extra power when you need it.
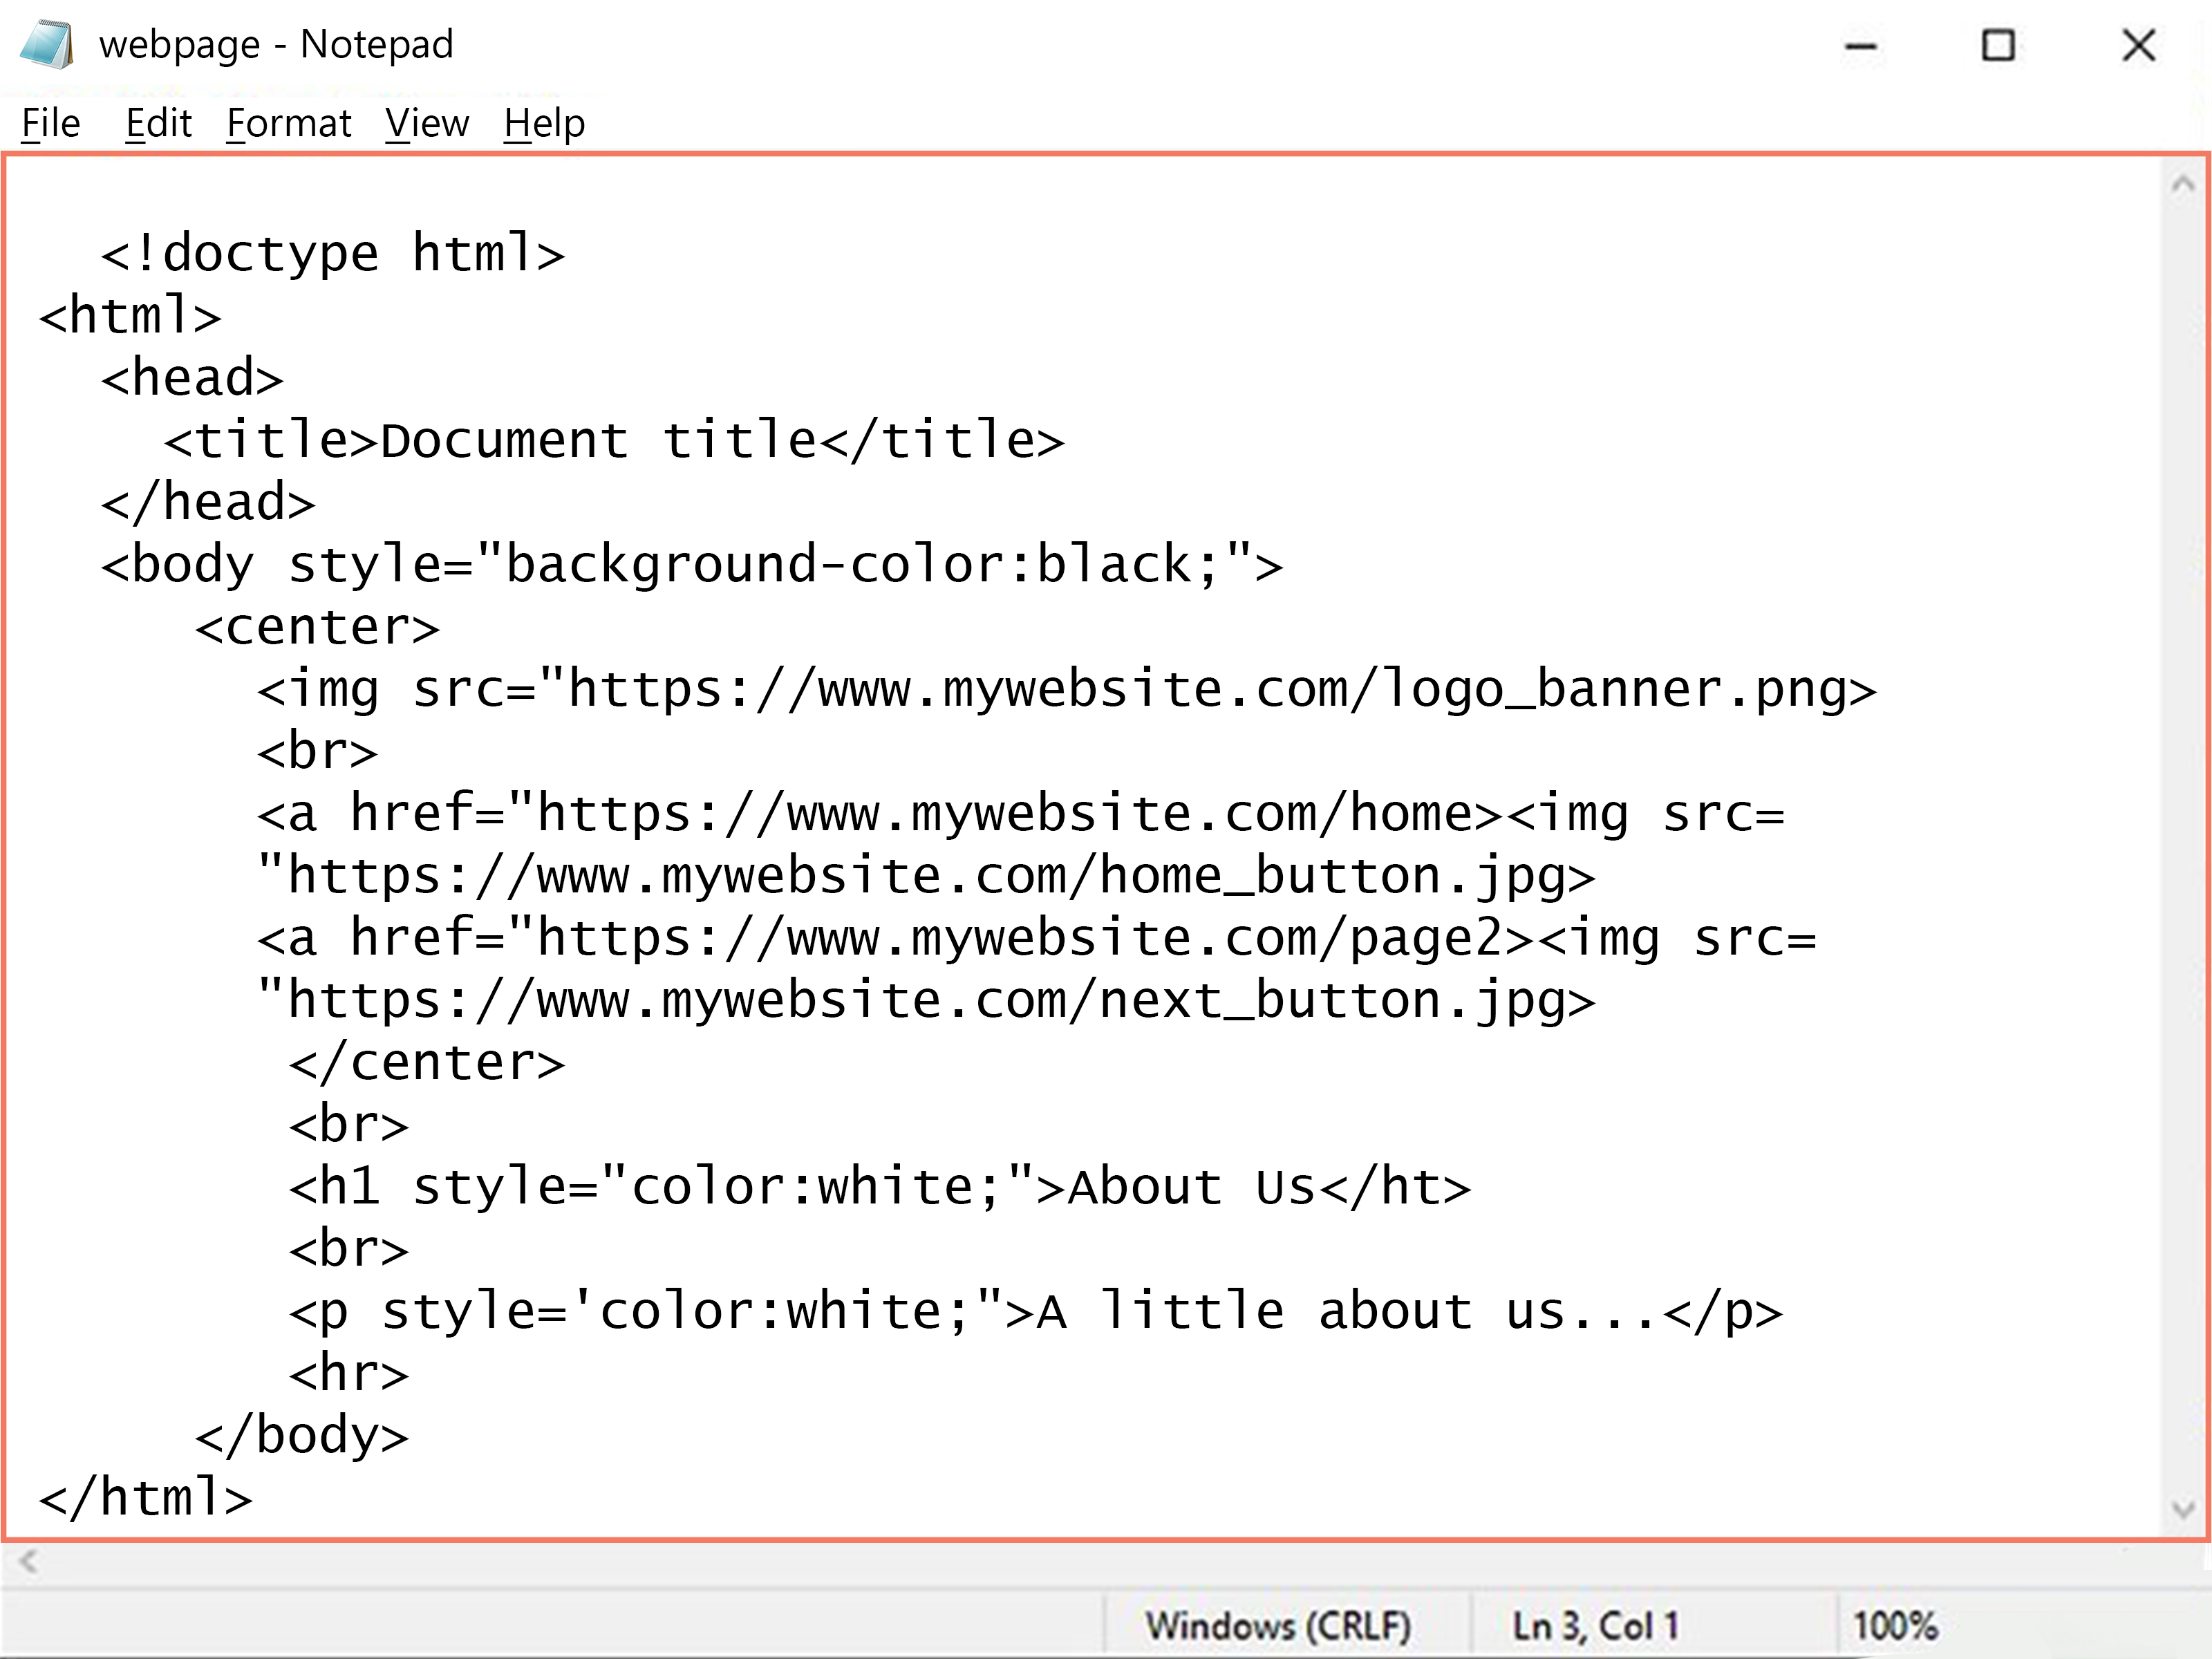
Here's a basic example:
<img src="images/logo.png" alt="Company Logo" width="200" height="100">In this example, the src attribute points to an image file named "logo.png" located in an "images" folder within the same directory as the HTML file. The alt text is "Company Logo," and the image will be displayed with a width of 200 pixels and a height of 100 pixels.
How It Works: The Rendering Process
When a browser encounters an <img> tag, it initiates a separate request to the server to retrieve the image file specified in the src attribute. This is similar to your car's engine needing fuel – the browser needs the image data from the server to display it. Once the browser receives the image data, it renders the image on the page at the specified location and dimensions. The browser caches the image, so subsequent visits to the page will load the image faster.
The browser's rendering engine uses the width and height attributes (if provided) to reserve space for the image before the image is actually downloaded. This prevents the page layout from shifting around as images load. Without these attributes, the browser has to wait for the image to download before it knows how much space to allocate, which can lead to a jumpy user experience. Providing these attributes is akin to setting the proper alignment on your car’s wheels – it ensures things run smoothly.
Real-World Use: Troubleshooting Image Display Issues
Sometimes, things don't go as planned. Just like with a car, problems can arise. Here are some common issues and how to troubleshoot them:
- Image Not Showing Up: The most common cause is an incorrect
srcattribute. Double-check the path to the image file. Is the filename spelled correctly? Is the file in the correct directory? Is the case (uppercase/lowercase) correct? File systems are case-sensitive. Verify the server has the correct permissions set on the image directory. Use your browser's developer tools (usually accessed by pressing F12) to inspect the element. The "Network" tab will show you if the image request failed and what the error code was (e.g., 404 Not Found). This is like using a diagnostic tool to check for engine error codes. - Broken Image Icon: This usually indicates that the browser couldn't find the image file specified in the
srcattribute. See troubleshooting steps above. - Image Showing Up Too Big or Too Small: Adjust the
widthandheightattributes to the desired dimensions. Be aware that if you distort the aspect ratio (the ratio of width to height), the image may appear stretched or squashed. Using CSS to control image sizing is often preferred for more complex layouts. This is like making fine adjustments to your suspension settings for optimal handling. - Alt Text Displayed Instead of Image: This means the browser couldn't load the image. Check the
srcattribute and ensure the image file is accessible. Ensure file is not corrupted. This is like your backup system kicking in.
Browser Caching: Sometimes, even after fixing an image issue, the browser might still display the old, broken image. This is because the browser has cached the image. Try clearing your browser's cache or performing a "hard refresh" (usually Ctrl+Shift+R or Cmd+Shift+R). This is like clearing the memory of your ECU after making changes.
Safety: Image File Types and Security
While displaying images is generally safe, it's important to be aware of potential security risks, similar to knowing which parts of your car can get dangerously hot.
File Types: Stick to common image formats like JPEG, PNG, and GIF. While other formats exist (like SVG or WebP), ensure they are supported by the browsers you are targeting. Using unusual image formats can lead to display issues and potential security vulnerabilities. Avoid BMP files. Use compressed formats.
Image Hosting: Be cautious about hosting images on external websites, especially if you don't trust the source. Malicious images could potentially contain embedded scripts or other harmful code that could compromise your website or your users' computers. Think of this as avoiding cheap, unreliable aftermarket parts. Always use a reputable Content Delivery Network (CDN) when possible, as they offer improved performance and security.
Image Optimization: Large image files can significantly slow down your website's loading speed. Optimize your images by compressing them without sacrificing too much quality. Tools like TinyPNG or ImageOptim can help with this. This is like tuning your engine for maximum efficiency.
We have a handy image display cheat sheet available for download, providing a quick reference guide to all the attributes and best practices discussed here. Think of it as your comprehensive shop manual – a valuable resource for any web development project.
Remember, just like a well-maintained car performs better, a well-optimized and correctly displayed image enhances the user experience and contributes to a more professional and engaging website.