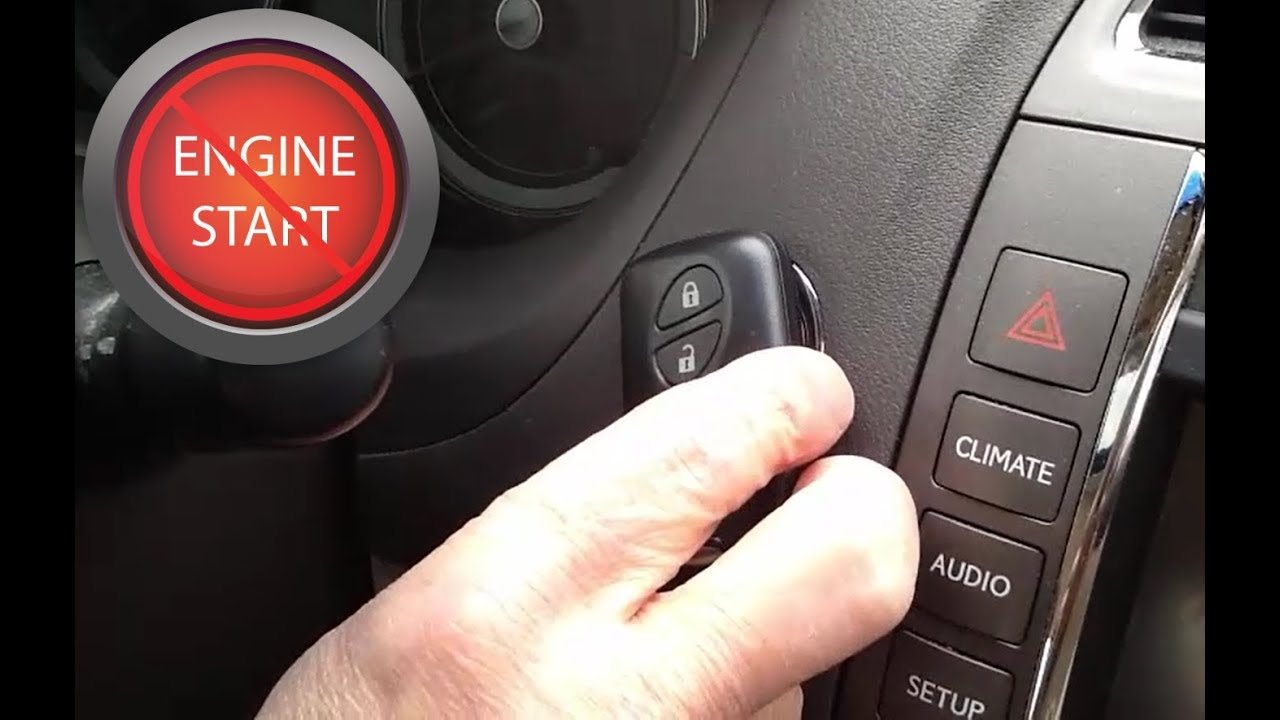
How To Start The Car With Key
So, you want to understand how your car starts with a key? Excellent! This knowledge is invaluable, whether you're diagnosing a starting problem, planning a modification, or simply want a deeper understanding of your vehicle. We're going to break down the starting circuit, component by component, providing a detailed explanation that bridges the gap between basic understanding and real-world troubleshooting. Consider this your comprehensive guide to the conventional key-start system.
Purpose: Why Understanding the Starting Circuit Matters
Knowing the ins and outs of the starting circuit is crucial for several reasons:
- Diagnostics & Repair: When your car won't start, understanding the circuit allows you to pinpoint the faulty component. Is it the battery? The starter? The ignition switch? This knowledge saves time and money on potentially unnecessary repairs.
- Modifications & Upgrades: Planning to install a remote starter, an aftermarket alarm, or an anti-theft system? Understanding the starting circuit is paramount to avoid damaging your car's electrical system or rendering it inoperable.
- General Automotive Knowledge: Even if you're not actively repairing your car, understanding its core systems increases your overall automotive literacy and empowers you to make informed decisions about maintenance and repair.
Key Specs and Main Parts
The core components of a key-start system haven't fundamentally changed in decades, although modern vehicles add layers of security. Let's look at these components:
- Battery: The heart of the electrical system, providing the initial power to crank the engine. 12 volts DC (Direct Current) is standard in most modern vehicles. Consider the battery's Cold Cranking Amps (CCA) rating, which indicates its ability to deliver power in cold weather.
- Ignition Switch: The central control point, activated by the key. It has multiple positions: LOCK, ACC (Accessory), ON (Run), and START. Each position energizes different circuits.
- Starter Motor: A high-torque electric motor that rotates the engine's crankshaft, initiating the combustion cycle.
- Solenoid (Starter Solenoid): An electromagnetic switch, usually integrated into the starter motor, that engages the starter motor's pinion gear with the engine's flywheel and provides high-current power to the starter motor itself.
- Wiring & Fuses/Relays: The conductors that carry electricity between the components. Fuses protect the circuit from overloads, and relays act as remote switches, allowing a low-current signal from the ignition switch to control a high-current circuit (like the starter motor).
- Neutral Safety Switch (Automatic Transmissions) / Clutch Switch (Manual Transmissions): A safety device that prevents the engine from starting unless the transmission is in Park or Neutral (automatic) or the clutch pedal is depressed (manual). This prevents accidental starts and potential vehicle movement.
Symbols: Decoding the Diagram
Electrical diagrams use a standardized set of symbols to represent components and wiring. Here's a brief overview:
- Straight Lines: Represent wires. Thicker lines usually indicate wires carrying higher current.
- Dashed Lines: Often indicate control wires or signal paths, carrying lower current.
- Colors: Wires are often color-coded (e.g., Red for battery +, Black for ground). Color codes vary between manufacturers, so always consult the specific diagram for your vehicle.
- Resistors: Zigzag line. Limit current flow.
- Capacitors: Two parallel lines. Store electrical energy.
- Ground: A symbol resembling an upside-down tree or a series of decreasing horizontal lines. Indicates a connection to the vehicle's chassis, which serves as the return path for the electrical circuit.
- Fuses: A short, wavy line inside a rectangle.
- Relays: A coil symbol (representing the electromagnet) and a switch symbol (representing the contacts).
- Switches: A break in a line with a lever arm connecting or disconnecting the circuit.
- Motors: A circle with an "M" inside.
Understanding these symbols is crucial for interpreting the wiring diagram and tracing the flow of electricity.
How It Works: The Starting Sequence
The starting process unfolds as follows:
- Key Insertion & Ignition Switch: You insert the key into the ignition switch and turn it to the START position.
- Power to the Starter Solenoid: Turning the key to the START position sends a low-current signal (typically through a relay) to the starter solenoid. This signal often passes through the neutral safety switch or clutch switch.
- Solenoid Activation: The solenoid's electromagnetic coil is energized, creating a magnetic field. This field performs two critical functions:
Mechanical Engagement: The solenoid's plunger pushes the starter motor's pinion gear forward, engaging it with the teeth on the engine's flywheel or flexplate.
High-Current Connection: The solenoid acts as a heavy-duty switch, connecting the battery directly to the starter motor. This is where the high current required to crank the engine flows.
- Starter Motor Cranking: With the solenoid engaged, the starter motor receives a massive surge of power and begins to rotate. This rotation turns the engine's crankshaft, drawing air and fuel into the cylinders.
- Engine Start-up: As the crankshaft rotates, the engine's combustion cycle begins. Once the engine is running on its own power, you release the key from the START position. The ignition switch returns to the ON (Run) position, and the starter disengages.
Note: Modern vehicles incorporate more complex systems, including immobilizers (which require a transponder chip in the key to be recognized) and electronic control units (ECUs) that monitor and manage the starting process. However, the fundamental principles remain the same.
Real-World Use: Basic Troubleshooting
Let's say your car won't start. Here's a simplified troubleshooting process:
- Check the Battery: Use a voltmeter to check the battery voltage. It should be at least 12.4 volts. If it's lower, the battery may be dead or discharged. Consider jump-starting the car or replacing the battery.
- Check the Fuses: Consult your car's owner's manual to locate the fuse(s) for the starter circuit. Use a multimeter or a test light to check for continuity. A blown fuse indicates a short circuit in the system.
- Listen for the Click: When you turn the key to the START position, listen for a "click" from the starter solenoid.
- Click, but no crank: This often indicates a problem with the starter motor itself (worn brushes, faulty windings) or a poor connection to the starter.
- No Click: This could indicate a problem with the ignition switch, the neutral safety switch/clutch switch, the starter relay, or the wiring leading to the solenoid.
- Check the Starter Motor Connections: Visually inspect the wires connected to the starter motor and solenoid. Look for corrosion, loose connections, or damaged insulation. Clean and tighten any suspect connections.
- Bypass the Neutral Safety Switch (Advanced, Use Caution): For testing purposes *only* (and with extreme caution!), you can temporarily bypass the neutral safety switch (on automatic transmissions) or clutch switch (on manual transmissions). However, ensure the vehicle is in park or neutral with the parking brake firmly engaged. Refer to your vehicle's wiring diagram for instructions. This helps determine if the switch is the problem.
Important: Always disconnect the negative battery terminal before working on the electrical system to prevent accidental shorts.
Safety: Proceed with Caution
Working on the starting system involves dealing with high-current electrical circuits. Here are some critical safety precautions:
- Disconnect the Battery: Before working on any part of the electrical system, disconnect the negative (-) battery terminal. This prevents accidental shorts and potential electrical shocks.
- High-Current Wires: Be extremely careful when handling wires connected to the starter motor and solenoid. These wires carry very high current and can cause severe burns if shorted to ground.
- Fuel System: Be aware that repeated cranking of the engine can flood the cylinders with fuel. Take breaks to allow the fuel to evaporate and prevent a potential fire hazard.
- Neutral Safety Switch Bypass: Bypassing the neutral safety switch or clutch switch is *extremely* dangerous if done improperly. The vehicle could start in gear, causing it to lurch forward and potentially causing serious injury or damage. Only perform this test with extreme caution and with the vehicle properly secured.
- Consult the Manual: Always refer to your vehicle's service manual for specific wiring diagrams, component locations, and safety procedures.
Remember, if you're not comfortable working with electrical systems, it's best to consult a qualified mechanic.
Disclaimer: Working on automotive electrical systems can be dangerous. The information provided here is for educational purposes only and should not be considered a substitute for professional advice. Always follow proper safety procedures and consult a qualified mechanic if you are unsure about any aspect of the repair.
We have a detailed starting circuit diagram available for download to help you visualize the concepts discussed above. Feel free to reach out if you require it.