How To Take A Steering Wheel Cover Off
The steering wheel, the primary interface between driver and machine, often gets overlooked in the grand scheme of automotive maintenance. But its condition, feel, and aesthetics significantly impact the driving experience. Whether you're replacing a worn-out cover, upgrading to a fancier one, or performing steering wheel repairs, knowing how to safely and effectively remove a steering wheel cover is a crucial skill. This article provides a detailed, technically informed guide for intermediate car owners, modders, and DIY mechanics looking to tackle this task.
Understanding Steering Wheel Construction & Cover Attachment
Before diving into the removal process, it's beneficial to understand the basic construction of a steering wheel and how the cover is typically attached. A steering wheel fundamentally consists of a central hub that mounts to the steering column, a spoke structure that connects the hub to the outer rim, and the rim itself, which is what you grip. The cover, the focus of our attention, is the outermost layer designed for comfort, grip, and aesthetics.
Steering wheel covers come in a variety of materials like leather, vinyl, fabric, and even carbon fiber. The method of attachment varies widely. Common attachment methods include:
- Stitched-On Covers: These are typically high-end covers that are sewn directly onto the steering wheel rim. Removing these requires careful cutting of the stitching.
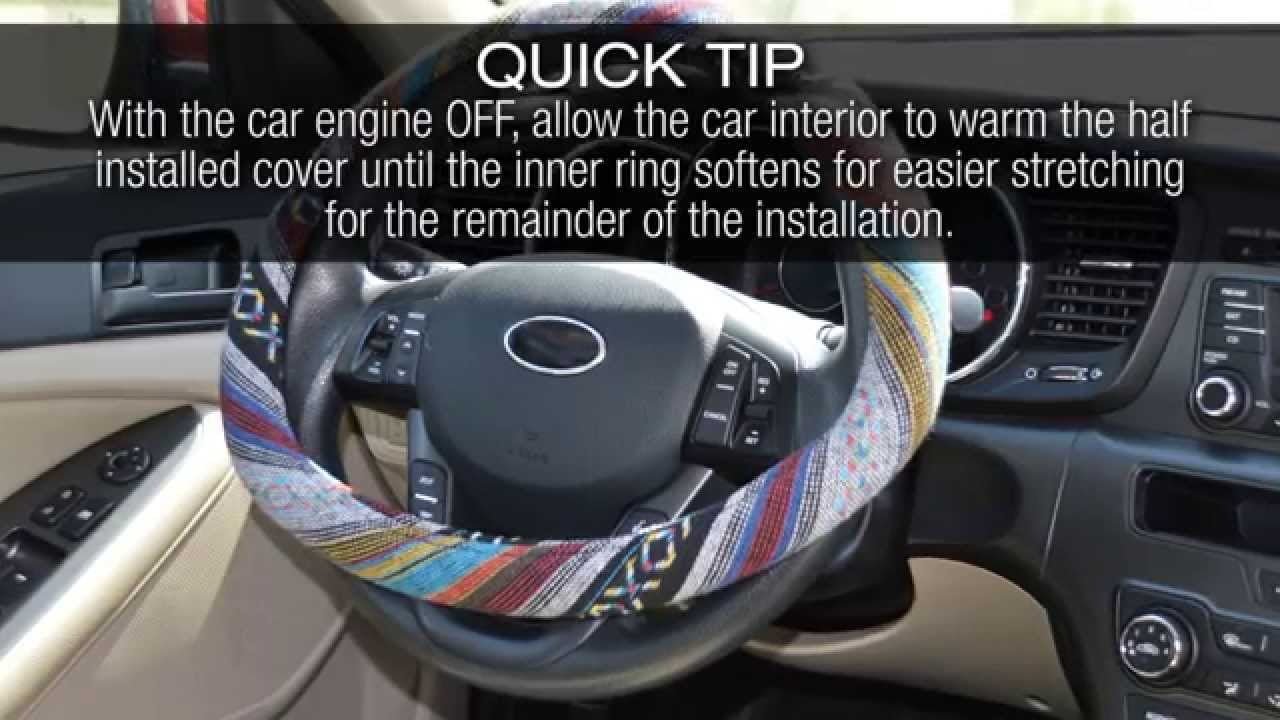
- Slip-On Covers: These covers are designed to stretch over the steering wheel. Removal usually involves stretching and pulling.
- Lace-Up Covers: These are similar to stitched-on covers but utilize a lacing system, often with a leather or synthetic cord, to secure the cover.
- Adhesive-Backed Covers: Less common, these covers rely on adhesive to stick to the steering wheel rim. Removal can be tricky and may leave residue.
- Wraps: Leather or synthetic wraps that are glued to the steering wheel.
Removing a Steering Wheel Cover: A Step-by-Step Guide
The specific procedure for removing a steering wheel cover depends on its attachment method. We'll cover the most common scenarios:
1. Slip-On Covers
Slip-on covers are generally the easiest to remove. Here's the process:
- Inspect the Cover: Examine the cover to identify any seams, weak points, or areas where it's particularly tight.
- Loosen the Cover: Begin by trying to stretch the cover away from the rim at one point. You may need to use some force, but avoid tearing the cover if you intend to reuse it.
- Work Around the Rim: Once you've loosened one section, work your way around the rim, stretching and pulling the cover off little by little. A rubber mallet or a plastic trim removal tool might be useful to gently pry the cover if it's particularly stubborn, but be extremely careful not to damage the steering wheel rim.
- Complete Removal: Continue until the cover is completely free from the steering wheel.
2. Lace-Up Covers
Removing a lace-up cover is straightforward, but requires patience:
- Locate the Lacing: Identify the beginning and end of the lacing cord. It's usually tied in a knot or secured with a small clip.
- Untie or Unclip: Carefully untie the knot or unclip the fastener.
- Unlace the Cover: Begin to carefully unlace the cord, working your way around the steering wheel. Try to keep the cord intact if you plan to reuse the cover.
- Remove the Cover: Once the lacing is completely removed, the cover should easily slip off the steering wheel.
3. Stitched-On Covers
Removing a stitched-on cover is more involved and requires more care. This process is irreversible – you will be destroying the existing cover. If you want to preserve it, this is not the method to use.
- Gather Your Tools: You'll need a sharp utility knife or seam ripper, and potentially a pair of small scissors. A good light source is also essential.
- Locate the Seam: Identify the main seam where the cover is stitched together.
- Carefully Cut the Stitching: Using the utility knife or seam ripper, carefully cut the stitching along the seam. The goal is to cut the threads without damaging the steering wheel rim underneath. Take your time and use small, controlled movements. It is often easier to use the seam ripper and get under the thread and pop it, than trying to slice the thread directly.
- Separate the Cover: As you cut the stitching, gently separate the two halves of the cover.
- Remove Remaining Sections: Once the main seam is cut, you may need to cut additional stitching or seams to completely remove the cover.
- Clean Up: After the cover is removed, inspect the steering wheel rim for any remaining threads or adhesive residue. Clean the rim with a suitable solvent (isopropyl alcohol is often effective) to remove any residue.
4. Adhesive-Backed Covers and Wraps
Removing adhesive-backed covers or wraps can be particularly challenging. The adhesive can be stubborn and may leave residue behind. In some cases, the adhesive will damage the underlying material. Proceed with caution!
- Heat Application (Optional): Gently heating the cover with a heat gun or hairdryer *might* soften the adhesive. Be extremely careful not to overheat the steering wheel or damage any surrounding components. Use low heat and keep the heat source moving.
- Prying and Peeling: Use a plastic trim removal tool to gently pry the cover away from the steering wheel rim. Work slowly and carefully to avoid tearing the cover or damaging the rim.
- Solvent Application: If the adhesive is particularly stubborn, you can try applying a solvent such as isopropyl alcohol, mineral spirits, or a dedicated adhesive remover. Apply the solvent to a clean cloth and gently dab it onto the adhesive. Allow the solvent to dwell for a few minutes to soften the adhesive. *Always test the solvent in an inconspicuous area first* to ensure it doesn't damage the steering wheel material.
- Repeat and Clean: Repeat the prying and solvent application process until the cover is completely removed. After the cover is removed, thoroughly clean the steering wheel rim with a solvent to remove any remaining adhesive residue.
Common Issues and Maintenance Concerns
- Damaging the Steering Wheel Rim: This is a primary concern, especially when removing stitched-on or adhesive-backed covers. Use extreme caution and avoid using excessive force.
- Adhesive Residue: Adhesive residue can be difficult to remove. Experiment with different solvents and cleaning methods. A plastic scraper can be helpful, but avoid using metal scrapers, as they can scratch the rim.
- Airbag Concerns: Some steering wheels contain airbags. Disconnecting the battery is crucial before working on a steering wheel with an airbag to prevent accidental deployment. Refer to your vehicle's service manual for specific instructions on safely disabling the airbag system. If you are not comfortable working with airbags, consult a professional.
- Broken Stitching (Lace-Up Covers): If the lacing cord on a lace-up cover is broken, you may need to replace it with a similar cord.
Do's and Don'ts / Best Practices
- DO disconnect the battery if working on a steering wheel with an airbag.
- DO use appropriate tools for the job. A sharp utility knife, seam ripper, and plastic trim removal tools are essential.
- DO work in a well-lit area.
- DO take your time and be patient. Rushing the process can lead to mistakes and damage.
- DO clean the steering wheel rim after removing the cover.
- DON'T use excessive force. If a cover is particularly stubborn, try a different approach.
- DON'T use metal tools to pry or scrape the steering wheel rim, as this can cause scratches.
- DON'T ignore safety precautions. Working with airbags requires extreme caution.
- DON'T assume all covers are the same. Inspect the cover carefully to determine the best removal method.
- DON'T use harsh chemicals or abrasive cleaners on the steering wheel rim.
Conclusion
Removing a steering wheel cover is a manageable task for the experienced DIYer, but it requires patience, the right tools, and a solid understanding of the attachment method. By following the steps outlined in this guide and adhering to the do's and don'ts, you can successfully remove your steering wheel cover without damaging your vehicle. Remember to prioritize safety, especially when dealing with airbags. If you are ever unsure about any step in the process, consult a qualified mechanic. Good luck!