How To Take Exhaust Hangers Off
Alright, let's talk about exhaust hangers. They're often overlooked, but knowing how to deal with them is essential for a variety of automotive tasks, from basic repairs to full exhaust system upgrades. This guide will provide you with the know-how to safely and effectively remove exhaust hangers, minimizing frustration and maximizing your project's success.
Purpose of Understanding Exhaust Hanger Removal
Why bother learning about exhaust hangers? Simple. They're in the way! Whether you're replacing a rusty muffler, installing a performance exhaust system, or just need to drop the exhaust to access something else (like the driveshaft or fuel lines), you'll need to disconnect the exhaust from the vehicle's chassis. Incorrect removal can damage the hangers, the exhaust system, or even yourself. This guide aims to prevent that.
Key Specs and Main Parts
Exhaust hangers are deceptively simple, but understanding their components is crucial. The system typically involves these parts:
- Rubber Insulators (or Isolators): These are the most common type. They're made of heat-resistant rubber and absorb vibrations from the exhaust system, preventing them from transmitting to the chassis. They come in various shapes and sizes – round, oval, elongated, and with different mounting hole configurations.
- Metal Brackets (Hangers): These are typically welded to the exhaust pipes and provide the point of attachment for the rubber isolators. The shape and design vary depending on the vehicle and the exhaust system design.
- Chassis Mounting Points: These are brackets or studs welded to the vehicle's frame or undercarriage, where the rubber isolators connect.
- Exhaust Clamps: While not strictly part of the hanger system, clamps often need loosening or removal to allow the exhaust to move enough to detach the hangers. These connect sections of exhaust pipe together.
- Spring Hangers: Some vehicles, especially older models or heavy-duty trucks, use spring hangers. These utilize a spring to provide additional flexibility and isolation for the exhaust system. They're less common on modern passenger vehicles.
How It Works: The Physics of Hanging
The exhaust system is subjected to significant stress from engine vibrations, heat expansion, and road impacts. The hangers' primary function is to isolate the exhaust system from the vehicle's chassis, preventing vibrations from being transmitted into the cabin and reducing stress on the exhaust components themselves. The rubber isolators absorb vibrations and allow for slight movement as the exhaust heats up and cools down. The metal brackets provide a strong and secure connection point. A properly functioning hanger system ensures a quieter and longer-lasting exhaust system.
The Removal Process: Step-by-Step
Here's a detailed breakdown of how to remove exhaust hangers, focusing on the most common rubber isolator type:
Tools You'll Need:
- Penetrating Oil (e.g., PB Blaster, Liquid Wrench): This is your best friend.
- Pry Bar (various sizes): For gently levering the hangers off.
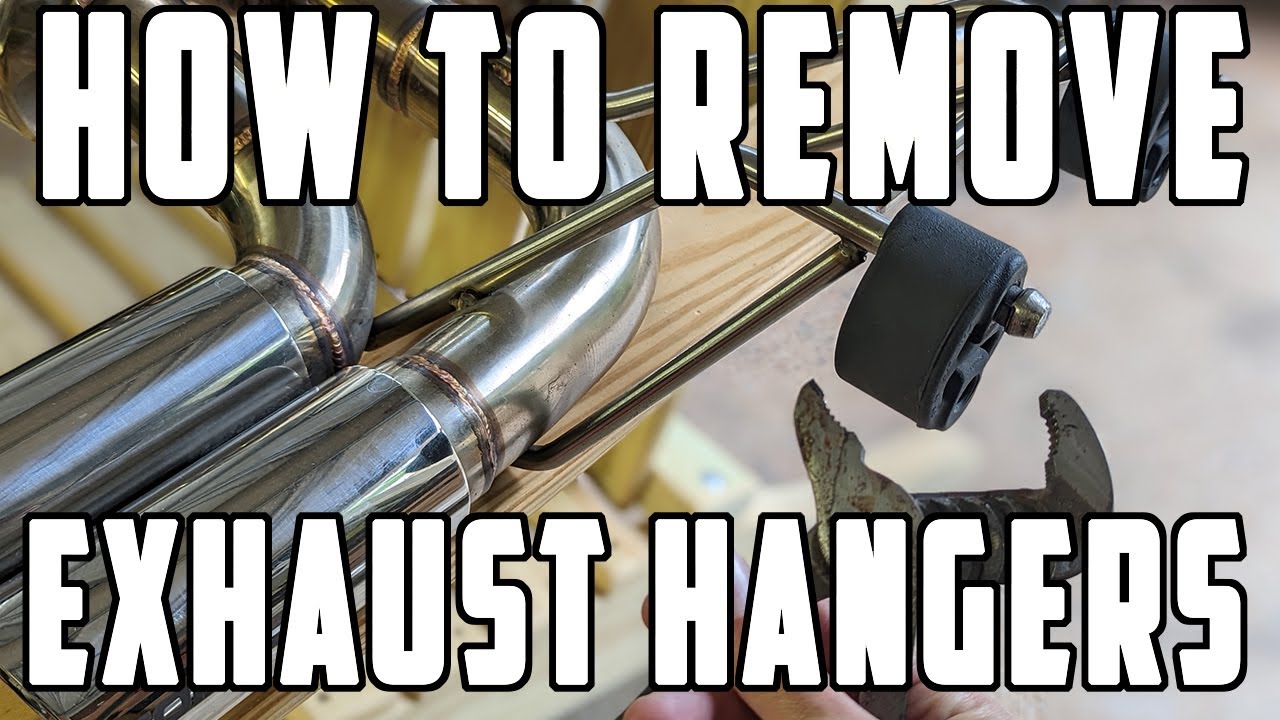
- Hanger Removal Tool (Pliers): These specialized pliers are designed to easily push the hanger off the mounting stud, a great investment.
- Flathead Screwdriver: Can be used to gently pry, but be careful not to damage the rubber.
- Socket Set & Wrenches: For loosening exhaust clamps.
- Gloves: Protect your hands.
- Safety Glasses: Always protect your eyes.
- Jack Stands: To safely support the vehicle. Never work under a vehicle supported only by a jack!
Steps:
- Safety First: Ensure the vehicle is parked on a level surface, the parking brake is engaged, and the wheels are chocked. Use a jack to lift the vehicle and securely support it with jack stands.
- Apply Penetrating Oil: Generously spray penetrating oil onto the rubber isolators and the metal brackets where they connect. Let it soak for at least 15-20 minutes. This will significantly ease removal. Reapply if needed.
- Loosen Exhaust Clamps: If you need to remove the entire exhaust system (or a large section of it), loosen the clamps connecting the exhaust pipes.
- Identify Hanger Types and Locations: Before you start yanking, take a look at the hangers. Note their style and how they're attached. Plan your approach.
- Removing Rubber Isolators: This is where the hanger removal tool shines. Position the tool around the rubber isolator and squeeze to push the metal bracket off the mounting stud. If you don't have the tool:
- Pry Bar Method: Use a pry bar to gently lever the rubber isolator off the mounting stud. Be careful not to tear the rubber. Work slowly and incrementally.
- Screwdriver Method: Use a flathead screwdriver to carefully pry between the rubber isolator and the metal bracket. Again, be cautious not to damage the rubber.
- Dealing with Stubborn Hangers: If the hangers are particularly stubborn, try twisting the rubber isolator while applying pressure with the pry bar or screwdriver. Heat (from a heat gun, cautiously applied) can also soften the rubber and make it easier to remove, but be VERY careful not to overheat or melt the rubber, and ensure no flammable materials are nearby.
- Spring Hangers: If you encounter spring hangers, you'll need to compress the spring to release the tension. Use a spring compressor tool or a suitable substitute (be very careful!). Once the spring is compressed, the hanger can be detached.
- Support the Exhaust: As you remove hangers, be prepared to support the exhaust system. It can be surprisingly heavy, and you don't want it falling on you or damaging other components. Use additional jack stands or straps to hold the exhaust in place.
Real-World Use – Basic Troubleshooting Tips
- Rusted Hangers: If the metal brackets are heavily rusted, they may break during removal. Be prepared to replace them (welding may be required).
- Torn Rubber Isolators: If the rubber isolators are torn or cracked, replace them. Worn isolators can cause excessive exhaust movement and noise.
- Stuck Hangers: Patience is key. Keep applying penetrating oil and work slowly. Don't force anything, as you could damage the exhaust system or injure yourself.
- Squeaking Exhaust: A common symptom of worn or dry rubber isolators. Replacing them usually solves the problem.
Safety Considerations
Working with exhaust systems involves several potential hazards:
- Hot Exhaust: Allow the exhaust system to cool completely before working on it. Exhaust pipes can reach extremely high temperatures and cause severe burns.
- Exhaust Fumes: Work in a well-ventilated area to avoid inhaling exhaust fumes.
- Sharp Edges: Exhaust pipes and brackets can have sharp edges. Wear gloves to protect your hands.
- Falling Exhaust: As mentioned before, always support the exhaust system while removing hangers to prevent it from falling.
- Penetrating Oil: Many penetrating oils are flammable. Use caution when working near open flames or heat sources.
- Vehicle Stability: Ensuring the vehicle is securely supported on jack stands is paramount. Never rely solely on a jack.
This guide provides a solid foundation for understanding and removing exhaust hangers. Remember to take your time, work safely, and don't hesitate to consult a professional if you encounter any difficulties.
For a detailed diagram illustrating the various types of exhaust hangers and their configurations, we have a downloadable file available. This visual aid can further enhance your understanding and make the removal process even smoother.