How To Take Harmonic Balancer Off
Removing a harmonic balancer, also known as a crankshaft pulley damper, is a task that falls squarely into the realm of intermediate DIY mechanics. While it might seem straightforward at first glance, a few key considerations and specialized tools can make the difference between a smooth job and a frustrating, potentially damaging experience. This article will guide you through the process, explaining the why's and how's so you can tackle this task with confidence.
Background: The Crankshaft's Best Friend
Before diving into the removal process, let's understand the harmonic balancer's crucial role. Internal combustion engines, particularly those with inline or V configurations, produce significant torsional vibrations. Think of it like twisting a long metal rod rapidly back and forth. The crankshaft, responsible for converting the linear motion of the pistons into rotational energy, is susceptible to these vibrations. These vibrations can be especially pronounced at certain engine speeds, creating potentially damaging resonant frequencies. Without a countermeasure, these vibrations can lead to crankshaft fatigue, bearing wear, and even catastrophic engine failure.
The harmonic balancer is designed to mitigate these torsional vibrations. It typically consists of two main parts: a central hub that's tightly pressed onto the crankshaft and an outer ring, usually made of steel or cast iron. Between these two components is a layer of elastomer, most commonly a rubber compound. This rubber acts as a damping medium, absorbing the vibrations generated by the engine. The outer ring's inertia resists the crankshaft's twisting motion, effectively dampening the oscillations and protecting the engine's vital components. The term "damper" accurately describes its function, and is used interchangeably with "harmonic balancer".
Think of it like a shock absorber for the crankshaft. Just as shocks dampen the vertical movement of your car's suspension, the harmonic balancer dampens the torsional movement of the crankshaft.
Technical Breakdown: The Removal Process
Removing a harmonic balancer generally involves these steps:
1. Preparation and Safety
Safety is paramount. Always disconnect the negative terminal of the battery before starting any work on the engine. This prevents accidental electrical shorts that could damage the car's electrical system or cause injury. Wear safety glasses to protect your eyes from debris. Block the rear wheels to prevent the vehicle from rolling. Engage the parking brake. If you're working on a front-wheel-drive car, chock the rear wheels. A moment's inattention can have serious consequences.
2. Accessing the Harmonic Balancer
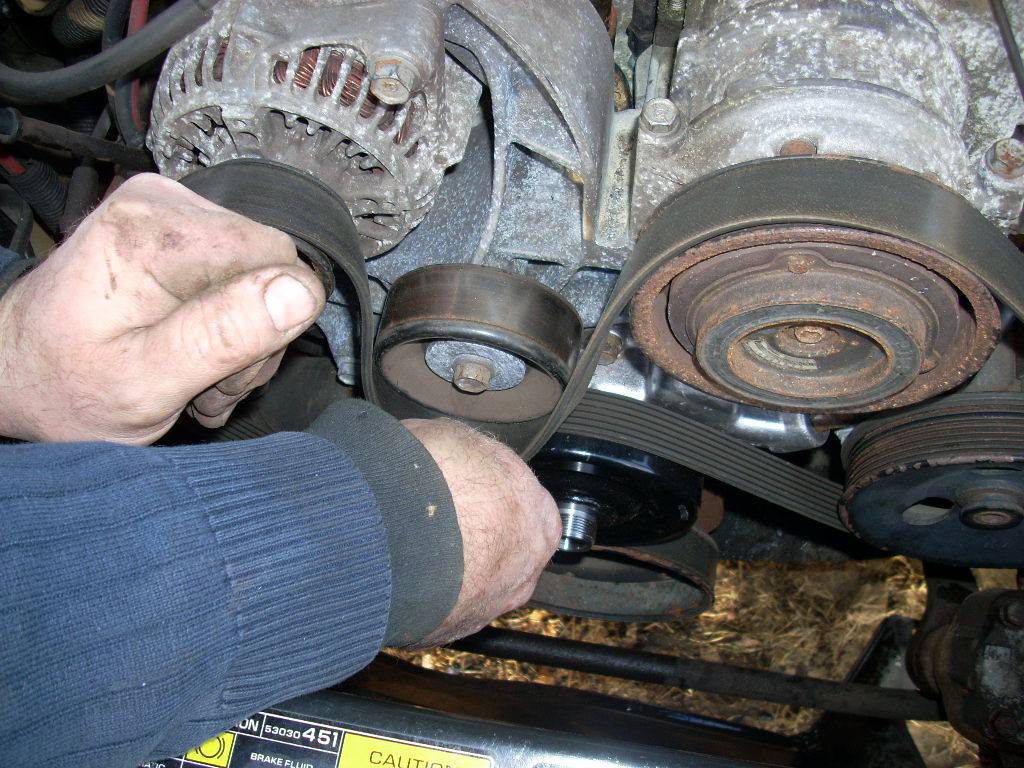
The harmonic balancer is usually located at the front of the engine, bolted to the crankshaft. Access may require removing accessory drive belts (serpentine belt or V-belts), cooling fan, or other components that obstruct access. Take photos of the belt routing before removal to simplify reinstallation. Use a belt tensioner tool or a wrench on the tensioner pulley to relieve tension and remove the belt(s). Label all removed components and store them in an organized manner to ensure a smooth reassembly process.
3. Immobilizing the Engine
This is a crucial step. You need to prevent the crankshaft from rotating while loosening the crankshaft bolt. There are several methods for doing this, each with its pros and cons:
- Using a Flywheel Locking Tool: This is the preferred method. A flywheel locking tool engages the teeth of the flywheel (or flexplate in an automatic transmission vehicle), effectively locking the crankshaft in place. This method provides the most secure immobilization. The location to use the tool varies from vehicle to vehicle.
- Using a Harmonic Balancer Holding Tool: This tool bolts to the harmonic balancer itself and has a long handle that rests against the frame or ground, preventing the balancer (and thus the crankshaft) from rotating. This method is effective but can potentially damage the harmonic balancer if excessive force is applied.
- Impact Wrench Method: With the vehicle in gear (manual transmission) or park (automatic transmission), a high-powered impact wrench can sometimes break the crankshaft bolt loose. This method is quick but risky. If the impact wrench isn't powerful enough, it can simply spin the engine over. It can also damage the crankshaft bolt or the harmonic balancer. This is generally not recommended.
4. Loosening and Removing the Crankshaft Bolt
The crankshaft bolt is typically very tight, often torqued to over 100 ft-lbs, sometimes even 200 ft-lbs or more. You'll need a strong socket and a long breaker bar to apply sufficient leverage. If the bolt is extremely tight, try applying penetrating oil to the threads and let it soak for a while. Using a 6-point socket is highly recommended to prevent rounding off the corners of the bolt head. Once loosened, remove the bolt and washer.
5. Removing the Harmonic Balancer
The harmonic balancer is usually a tight press fit onto the crankshaft. Simply pulling it off by hand is rarely possible. You'll need a harmonic balancer puller, also known as a crankshaft pulley puller. This tool typically consists of a central forcing screw and several arms that attach to the harmonic balancer. The arms usually engage in threaded holes in the balancer. As you tighten the forcing screw, it pushes against the end of the crankshaft, pulling the harmonic balancer off. Ensure that the puller is properly aligned to avoid damaging the crankshaft or the balancer. Apply even pressure to the balancer. If it becomes stuck, apply penetrating oil and try again. If the harmonic balancer does not have a location to use a puller, other universal pullers may be required.
6. Inspection and Preparation for Installation
Once the harmonic balancer is removed, inspect it for any signs of damage. Look for cracks in the rubber elastomer, separation between the hub and the outer ring, or any other signs of wear or deterioration. If the balancer is damaged, it needs to be replaced. Also, inspect the crankshaft snout (the portion of the crankshaft that the balancer fits onto) for any damage or corrosion. Clean the crankshaft snout with a wire brush or emery cloth to remove any rust or debris.
Common Issues and Maintenance Concerns
Several issues can arise with harmonic balancers:
- Elastomer Degradation: The rubber elastomer can dry out, crack, and lose its damping ability over time. This is a common cause of harmonic balancer failure.
- Separation: The outer ring can separate from the hub, rendering the balancer useless and potentially causing damage to other engine components.
- Wobble: A wobbling harmonic balancer indicates that it's no longer properly balanced or that the elastomer is failing.
- Crankshaft Bolt Issues: Improperly torqued or stretched crankshaft bolts can lead to harmonic balancer failure and even crankshaft damage. Some vehicles may require a torque-to-yield bolt that requires replacement.
Regular inspection of the harmonic balancer is crucial. Look for any signs of the issues mentioned above. If you notice any problems, replace the balancer immediately. Pay close attention to any abnormal engine vibrations, which could be a sign of a failing harmonic balancer.
Do's and Don'ts / Best Practices
Here's a list of best practices and things to avoid:
- DO use the correct tools, especially a harmonic balancer puller. Don't try to pry the balancer off with screwdrivers or hammers, as this can damage the crankshaft or the balancer.
- DO properly immobilize the engine before attempting to loosen the crankshaft bolt.
- DO use a 6-point socket on the crankshaft bolt to prevent rounding it off.
- DO inspect the harmonic balancer for damage before reinstalling it.
- DO lubricate the crankshaft snout with a light coat of oil or anti-seize compound before installing the new balancer.
- DO use a harmonic balancer installer (also called a crankshaft pulley installer) to install the new balancer. This tool uses a threaded rod and washers to press the balancer onto the crankshaft evenly. This is the right way to install it.
- DO NOT attempt to install the balancer by hammering it on. This can damage the crankshaft or the balancer.
- DO torque the crankshaft bolt to the manufacturer's specifications. Overtightening or undertightening can lead to problems. If a torque-to-yield bolt is used, replace it and follow the proper torque procedure.
- DO use a torque wrench to ensure accurate torque.
- DO double-check all your work before starting the engine.
- DO replace your harmonic balancer whenever you're doing a major engine repair or rebuild, especially if it shows any signs of wear or damage.
- DON'T reuse a harmonic balancer if you have any doubts about its condition.
- DON'T use heat on the harmonic balancer to try and remove it. This can damage the rubber elastomer.
Conclusion
Removing and replacing a harmonic balancer is a manageable task for the experienced DIY mechanic. Understanding the balancer's function and following the proper procedures are crucial for a successful outcome. Using the correct tools, particularly a harmonic balancer puller and installer, is essential to avoid damaging the crankshaft or the balancer. Remember to prioritize safety throughout the process. If you're unsure about any step, consult a qualified mechanic. By following these guidelines, you can confidently tackle this task and keep your engine running smoothly. It is highly recommended to use a professional if you do not feel comfortable doing this work.