How To Take Off A Car Door
So, you're thinking about removing a car door. Maybe it's for a repair, a replacement, some custom bodywork, or even just for a better understanding of how your vehicle is put together. Whatever your reason, this guide will walk you through the process. We'll cover the key aspects, from understanding the components involved to the actual steps of removal and some essential safety precautions. Think of this as a detailed teardown guide, but instead of just pictures, we'll give you the "why" behind each step.
Purpose – Why Removing a Car Door Matters
Removing a car door isn't something you'd do every day, but it's a skill that comes in handy for various situations. The most common is for collision repair. If your door is badly damaged, removing it makes it easier to repair the door itself or to work on the door jamb (the frame around the door opening) on the car's body. It can also be necessary for replacing damaged hinges, door latches, or window regulators. Another reason is for painting or bodywork. Removing the door allows for a cleaner, more professional finish, especially if you're painting the entire car or doing custom modifications like installing widebody kits.
Beyond repairs, understanding the door's construction helps in diagnosing issues like rattles, wind noise, or misaligned latches. It also offers a great learning opportunity to see how the various mechanical and electrical components are integrated within a vehicle. In short, knowing how to safely remove and reinstall a car door empowers you to tackle a range of automotive tasks.
Key Specs and Main Parts
Before we dive in, let's familiarize ourselves with the key components you'll encounter:
- Door Shell: This is the outer metal skin of the door. It's what you see and the primary structure.
- Door Hinges: These are the pivots that allow the door to swing open and closed. They're typically bolted to the door and the A-pillar (the vertical support at the front of the car) or the B-pillar (the vertical support between the front and rear doors).
- Door Latch Mechanism: This is the assembly that secures the door to the body when closed. It includes the latch itself, the striker plate (on the door jamb), and connecting rods/cables.
- Door Handle (Exterior & Interior): These are the levers or buttons you use to operate the latch mechanism.
- Window Regulator: This mechanism raises and lowers the window glass. It can be manually operated (with a crank) or electrically powered.
- Window Glass: The window itself, which sits within the door frame and is guided by the regulator.
- Door Lock Actuator: This is the electric motor that locks and unlocks the door, often integrated with the central locking system.
- Wiring Harness: A bundle of wires that provides power and control signals to the various electrical components within the door (window motor, door lock actuator, speakers, etc.).
- Door Panel: The interior trim panel that covers the inner workings of the door.
- Door Seals: Rubber or foam seals around the door opening that prevent water and wind from entering the cabin.
Key Specs you might consider when removing a door include:
- Door Weight: Car doors can be surprisingly heavy, ranging from 30 to 80 pounds or more depending on the vehicle. Having assistance is highly recommended.
- Hinge Bolt Sizes: These vary depending on the vehicle, but typically range from 10mm to 13mm. Using the correct size socket is crucial to avoid stripping the bolt heads.
- Wiring Connector Types: Different manufacturers use different types of connectors for the wiring harness. Familiarize yourself with the connector type to avoid damaging it when disconnecting.
How It Works – The Removal Process
Here's a general outline of the steps involved in removing a car door. Always consult your vehicle's service manual for specific instructions and torque specifications, as these can vary significantly between models. This guide is for educational purposes only and should be supplemented with accurate vehicle-specific documentation.
- Preparation:
- Gather Tools: You'll need a socket set, wrench set, screwdrivers (Phillips and flathead), panel removal tools (plastic pry bars), a marker or paint pen, a floor jack (optional, for supporting the door), and safety glasses.
- Disconnect the Battery: This is a crucial safety step to prevent electrical shorts while working on the wiring harness.
- Protect the Surrounding Areas: Use masking tape and protective cloths to shield the adjacent body panels from scratches.
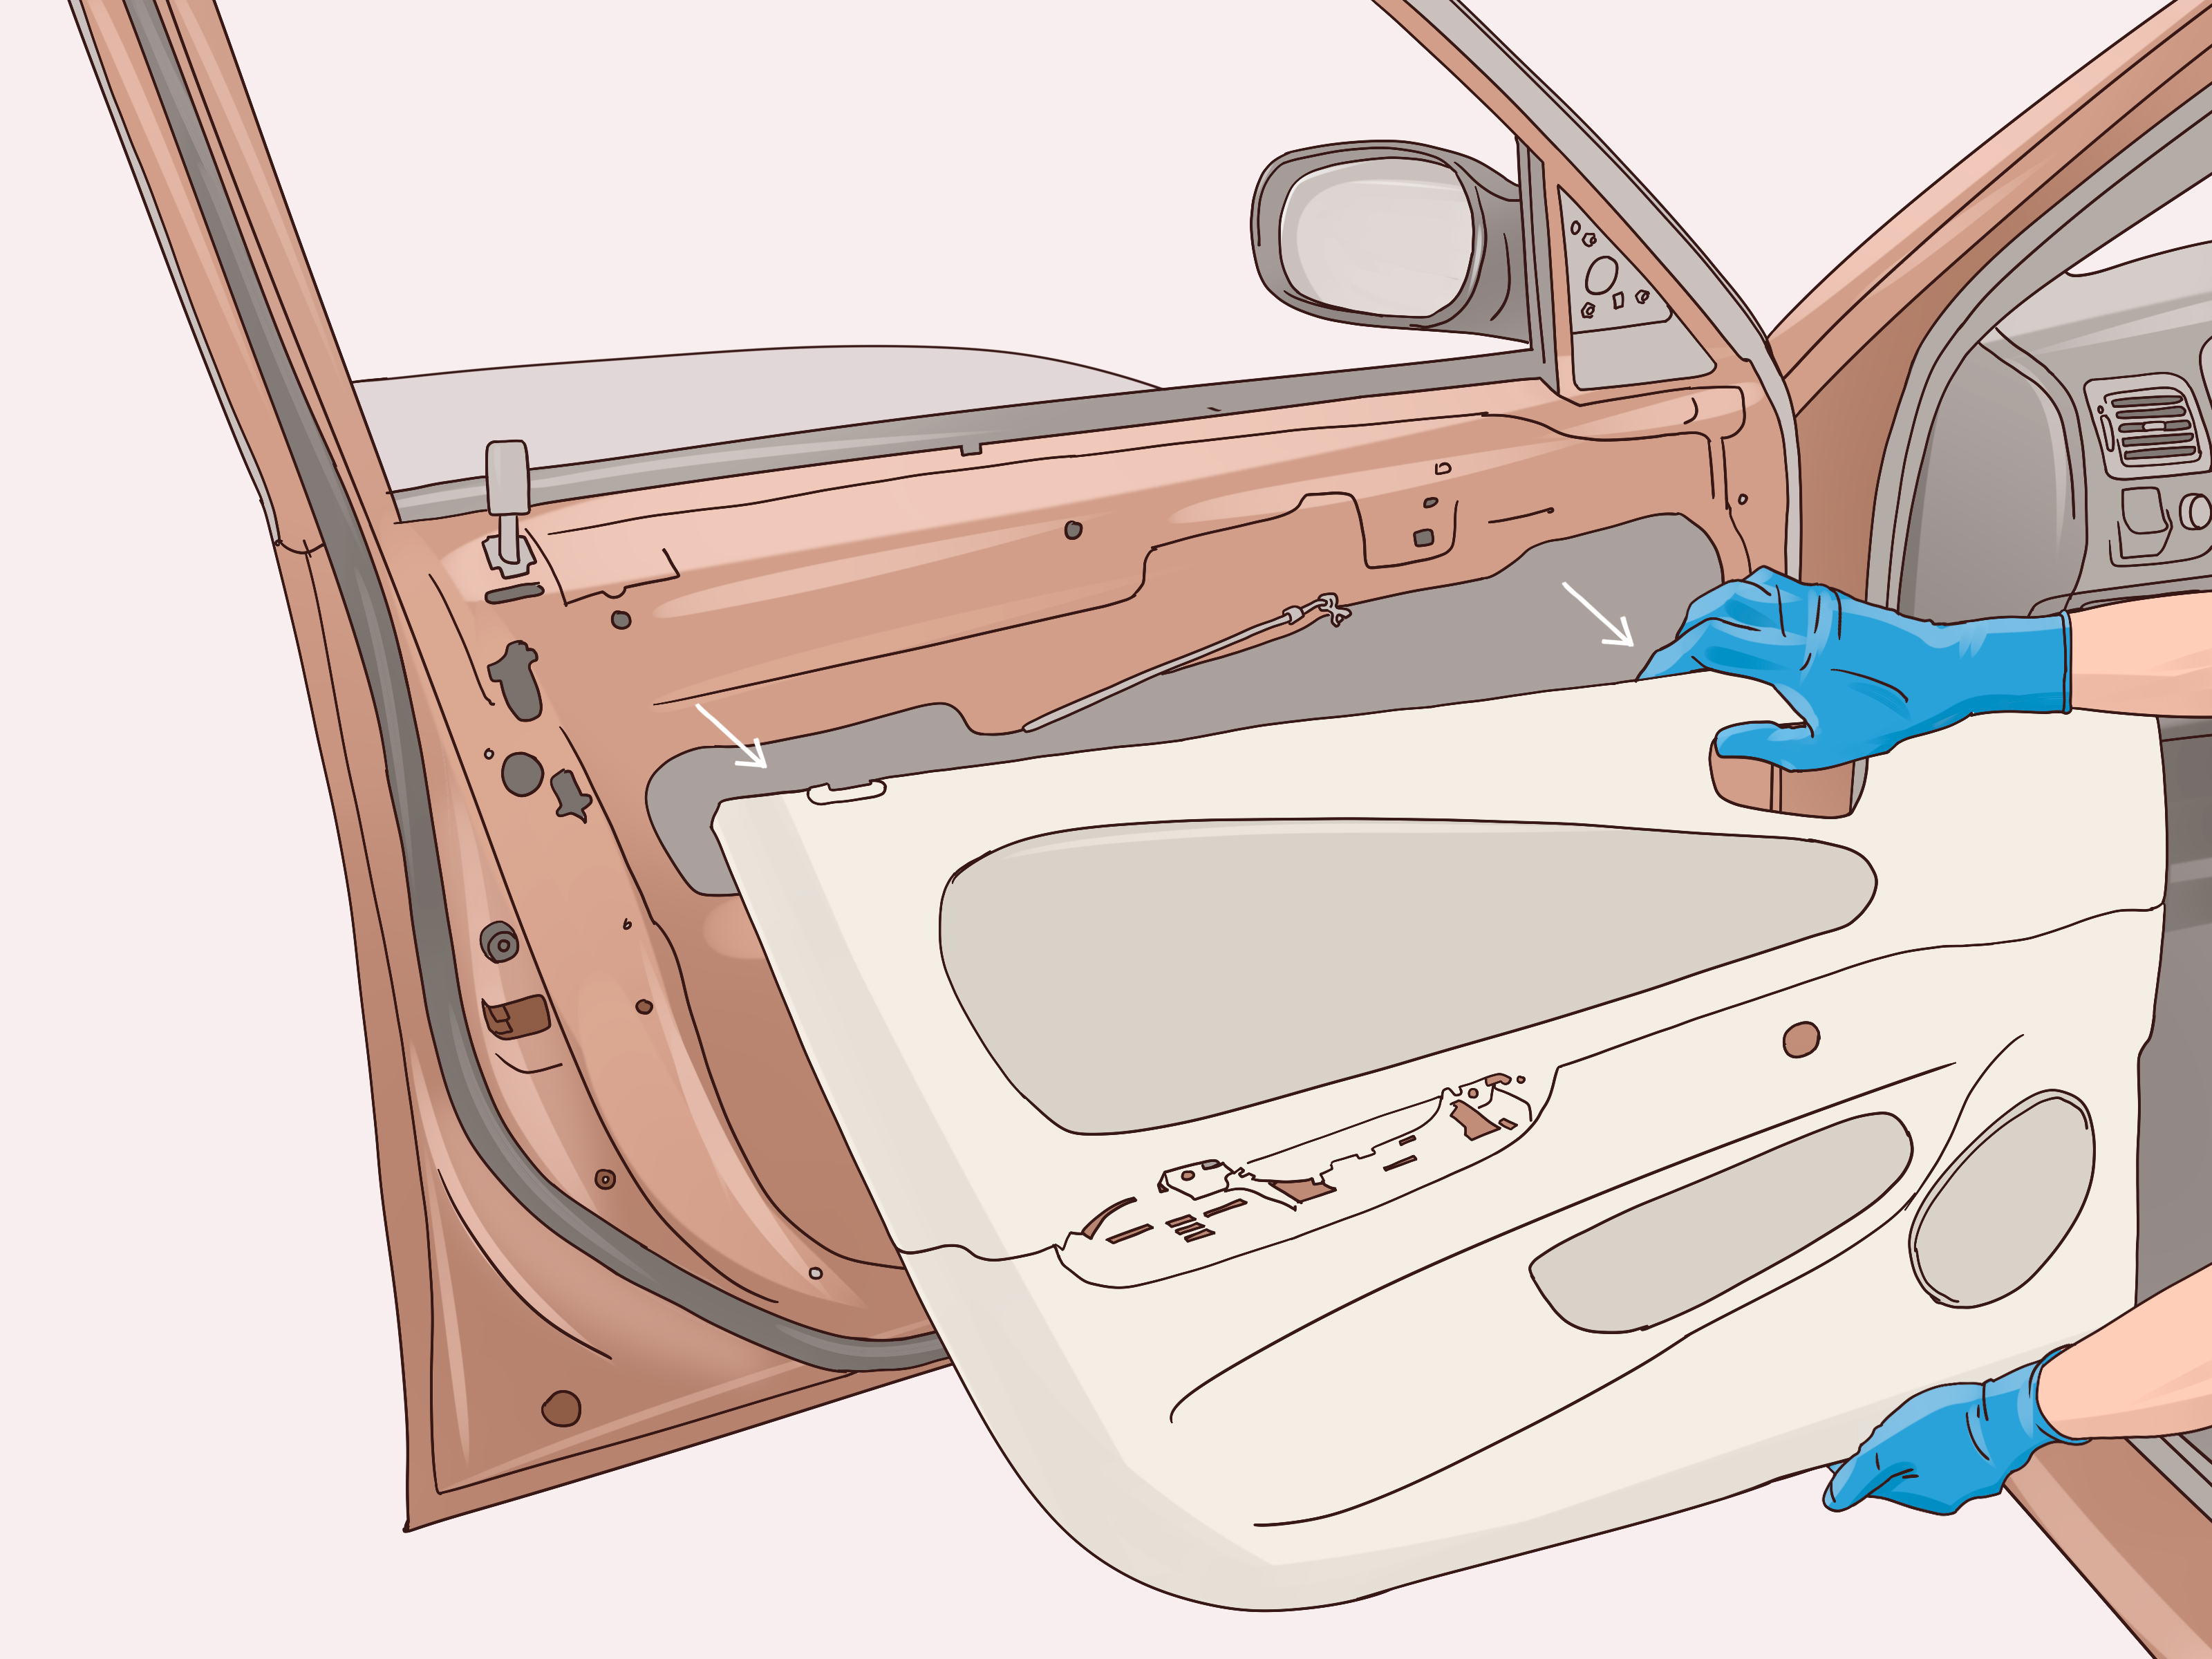
- Remove the Door Panel:
- Locate and remove any screws or fasteners holding the door panel in place. These are often hidden behind trim pieces or in the door handle recess.
- Use panel removal tools to gently pry the door panel away from the door frame. Work your way around the perimeter to release the retaining clips.
- Disconnect any electrical connectors attached to the door panel (e.g., window switch, door lock switch, speaker).
- Lift the door panel up and off the door frame.
- Disconnect the Wiring Harness:
- Locate the main wiring harness connector where the door wiring connects to the car's main wiring. It's usually located near the door hinge area.
- Carefully disconnect the connector(s). Some connectors have locking tabs that need to be pressed or slid to release. Never force a connector.
- If the wiring harness is routed through a rubber grommet or sleeve, carefully remove it.
- Support the Door:
- Car doors are heavy. Enlist a helper or use a floor jack with a padded support to prevent the door from dropping unexpectedly and causing injury or damage.
- Remove the Door Hinges:
- Use a marker or paint pen to trace around the hinges on both the door and the door jamb. This will help you realign the door properly during reinstallation.
- Loosen the hinge bolts. Start with the upper hinge and work your way down.
- With the door supported, fully remove the hinge bolts.
- Carefully lift the door off the hinges.
Real-World Use – Basic Troubleshooting Tips
Here are some common issues you might encounter and how to address them:
- Stripped Hinge Bolts: If the hinge bolts are stripped, use a bolt extractor or a slightly larger socket. As a last resort, you may need to drill out the bolt.
- Frozen Wiring Connectors: If the wiring connectors are difficult to disconnect, try using a small amount of electrical contact cleaner to lubricate the pins.
- Misaligned Door: If the door doesn't align properly after reinstallation, adjust the hinges. You can loosen the hinge bolts slightly and shift the door until it lines up correctly. Refer to your vehicle's service manual for detailed adjustment procedures.
- Damaged Wiring Harness: Inspect the wiring harness for any signs of damage, such as frayed wires or cracked insulation. Repair any damaged wires with heat shrink tubing and electrical tape.
- Door Dropping After Re-installation: If the door drops slightly when opened, it might indicate worn hinge bushings. Replacing the hinge bushings can restore proper alignment.
Safety – Highlight Risky Components
Removing a car door involves several safety hazards:
- Weight: As mentioned earlier, car doors are heavy. Always have assistance or use a support to prevent the door from dropping and causing injury or damage.
- Electrical System: Disconnecting the battery is critical to prevent electrical shocks or short circuits.
- Sharp Edges: Be careful of sharp edges on the door shell and door jamb. Wear gloves to protect your hands.
- Glass: If you're working with a door that has a broken window, handle the glass shards with extreme care. Wear gloves and eye protection.
- Airbag System: Some doors contain side airbags. Disconnecting the battery is especially important in these cases to prevent accidental airbag deployment. Refer to your vehicle's service manual for specific airbag deactivation procedures.
Always prioritize safety and take the necessary precautions to avoid injury or damage.
Now you should have a good understanding of how to remove a car door. Remember to consult your vehicle's service manual for model-specific instructions and torque specifications. Good luck with your project!