How To Take Out Heater Core
The dreaded, sweet smell of antifreeze wafting through your car's vents. A perpetually fogged-up windshield, even on a sunny day. A mysterious coolant leak that seems to disappear as quickly as it appears. These are often the telltale signs that your car's heater core, that unsung hero of winter driving, has sprung a leak. Replacing it isn't a task for the faint of heart, but with patience, the right tools, and a healthy dose of understanding, it's a manageable DIY project. Let's dive into the process and the underlying engineering that makes this system work.
The Problem: Internal Climate Control Failure
Imagine your home's central heating system springing a leak inside the ductwork. Instead of comfortably warmed air circulating, you'd have a damp, potentially hazardous mess. The heater core in your car faces a similar challenge. It's essentially a small radiator positioned within the HVAC (Heating, Ventilation, and Air Conditioning) system, responsible for taking heat from the engine coolant and transferring it to the cabin air. When it fails, the consequences range from minor discomfort to potentially serious mechanical damage.
Scenario: A Cold Commute Nightmare
Picture this: you're driving to work on a frigid January morning. The outside temperature is well below freezing, and you crank up the heater. Instead of the comforting warmth you expect, you're met with a weak, lukewarm breeze. Your windshield begins to fog up, obscuring your vision. The sweet scent of antifreeze fills the cabin, making you nauseous. To make matters worse, you notice the temperature gauge creeping towards the red zone. This scenario highlights the potential ramifications of a failing heater core. Not only is your comfort compromised, but engine overheating becomes a real concern.
How the System Works: A Closed-Loop Symphony
To understand how to replace a heater core, it's crucial to grasp the mechanics of the entire cooling system. Your car's engine generates a tremendous amount of heat as it burns fuel. This heat must be dissipated to prevent catastrophic engine damage. The cooling system accomplishes this by circulating coolant (a mixture of water and antifreeze) through the engine block and cylinder head. The heated coolant then flows to the radiator, where it's cooled by airflow. From there, the cooled coolant returns to the engine to repeat the cycle. The heater core is cleverly integrated into this closed loop.
A small portion of the hot coolant is diverted from the engine block to the heater core. This mini-radiator is typically located inside the dashboard, often behind the glove compartment or center console. As air from the blower motor passes through the heater core's fins, it absorbs the heat, becoming warm air that's directed into the cabin. The cooled coolant then returns to the engine's cooling system.
The temperature of the air entering the cabin is controlled by a blend door, a flap that regulates the amount of air passing through the heater core versus bypassing it. When you set the temperature to "cold," the blend door directs most of the air around the heater core. When you set it to "hot," the blend door forces most of the air through the heater core.
The Nitty-Gritty: Removal and Replacement
Removing a heater core is generally a multi-step process that can vary significantly depending on the vehicle make and model. However, the general principles remain the same:
- Preparation: Disconnect the negative battery cable. This is crucial for safety and to prevent electrical shorts. Drain the cooling system. This step is messy but essential to avoid coolant spills inside the car. Consult your vehicle's repair manual for the proper drain plug location.
- Accessing the Heater Core: This is often the most challenging part. It typically involves removing parts of the dashboard, center console, glove compartment, and other interior components. Refer to your vehicle's specific repair manual for detailed instructions and diagrams. Be meticulous in labeling and organizing the removed parts to ensure proper reassembly.
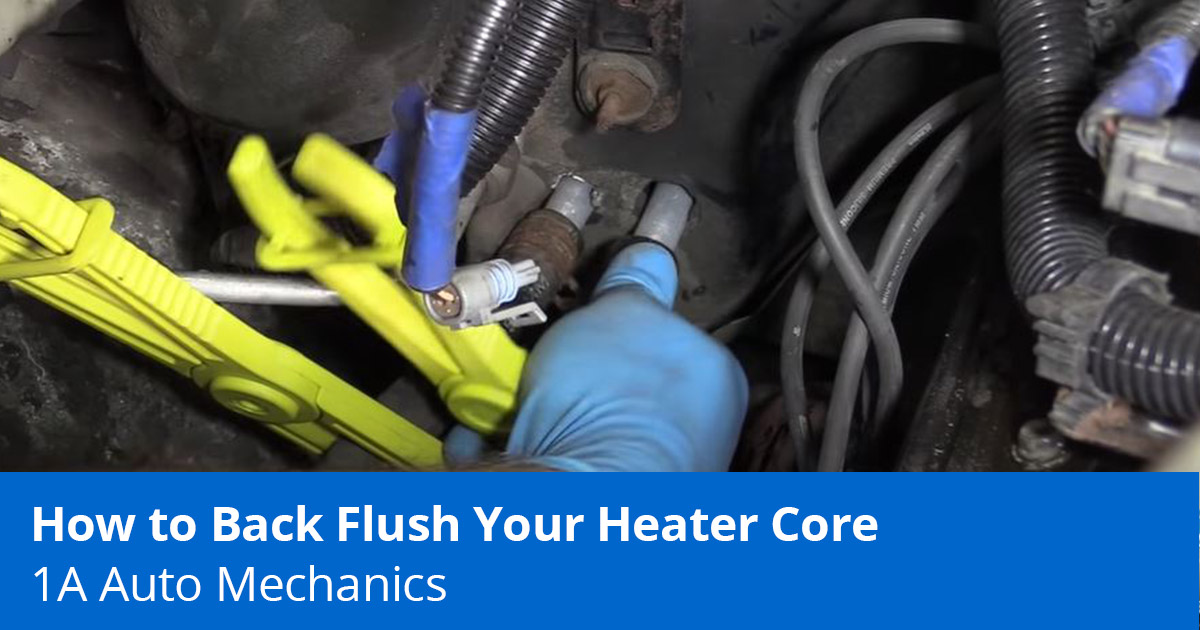
- Disconnecting the Hoses: Once you have access to the heater core, disconnect the inlet and outlet hoses. These hoses are typically secured with clamps. Be prepared for some residual coolant spillage.
- Removing the Heater Core: Carefully detach the heater core from its mounting brackets. In some cases, the heater core is housed in a plastic enclosure that needs to be disassembled.
- Installation: Install the new heater core, ensuring proper alignment and secure connections. Reconnect the hoses, clamps, and mounting brackets.
- Reassembly: Carefully reassemble the dashboard, center console, glove compartment, and other interior components, referring to your notes and labels.
- Refilling and Testing: Refill the cooling system with the correct type and amount of coolant. Start the engine and check for leaks. Monitor the temperature gauge to ensure the engine is not overheating. Test the heater to verify that it's producing warm air. Bleed any air from the cooling system.
Pros and Cons
Pros:
- Cost Savings: Replacing the heater core yourself can save you a significant amount of money compared to having a mechanic do it. Labor costs for this repair can be substantial.
- Increased Understanding: Undertaking this project will deepen your understanding of your car's cooling and HVAC systems.
- Sense of Accomplishment: Successfully completing a complex repair like this can be incredibly rewarding.
Cons:
- Time-Consuming: This repair can take several hours, or even a full weekend, depending on your experience and the complexity of the vehicle.
- Complexity: It requires a good understanding of automotive mechanics and the ability to follow detailed instructions.
- Potential for Damage: Improper disassembly or reassembly can lead to damage to interior components or the cooling system.
- Vehicle Specificity: The procedure varies dramatically between makes and models. A generic guide can only provide a framework; vehicle-specific instructions are vital.
Use Cases and Manufacturer Examples
Heater core failure is more common in older vehicles due to corrosion and age. Certain vehicle manufacturers are known to have more issues with heater core leaks than others. For example, some older Chrysler minivans and certain Ford models have a reputation for heater core problems. However, heater core failures can occur in any vehicle, regardless of manufacturer.
Example 1: Ford Explorer (2002-2005): These models often require significant dashboard disassembly to access the heater core. The process can be particularly challenging due to the tight spaces and numerous electrical connectors.
Example 2: Honda Civic (2006-2011): While the heater core itself is relatively accessible, removing the dashboard can be time-consuming and requires careful attention to detail.
Example 3: Jeep Cherokee (XJ): Although an older vehicle, the XJ Cherokee's heater core is relatively accessible, making the replacement process more straightforward compared to some newer vehicles.
Real-World Insights and Recommendations
Based on real-world experience, here are some critical recommendations for tackling a heater core replacement:
- Invest in a Good Repair Manual: A vehicle-specific repair manual is indispensable. It provides detailed instructions, diagrams, and torque specifications that are essential for a successful repair. Haynes and Chilton are popular brands.
- Take Pictures: Before disassembling anything, take pictures of the wiring, hose routing, and component placement. These pictures will serve as valuable references during reassembly.
- Label Everything: Use masking tape and a permanent marker to label all connectors, hoses, and components as you remove them. This will prevent confusion during reassembly.
- Don't Force Anything: If something doesn't seem to fit or come apart easily, don't force it. Double-check your instructions and look for hidden fasteners or clips.
- Flush the Cooling System: Before installing the new heater core, thoroughly flush the cooling system to remove any debris or contaminants.
- Use Quality Coolant: Use the correct type and amount of coolant specified for your vehicle. Consult your owner's manual for recommendations.
- Consider Professional Help: If you're unsure about any aspect of the repair, don't hesitate to seek professional help. A qualified mechanic can diagnose the problem and perform the repair correctly.
- Prevention is Key: Regularly inspect your cooling system for leaks and maintain the correct coolant level. This can help prevent heater core failure in the first place. Consider using a coolant additive that helps prevent corrosion.
Replacing a heater core is a challenging but achievable task for the informed and prepared DIY enthusiast. By understanding the system's mechanics, following detailed instructions, and taking your time, you can save money and gain a deeper appreciation for your car's inner workings. Just remember, safety first, and when in doubt, consult a professional.