How To Test A Coil Pack With A Ohm Meter
Coil packs are a critical component of your car's ignition system, responsible for providing the high-voltage spark needed to ignite the air-fuel mixture in the cylinders. When a coil pack fails, it can lead to a variety of problems, from poor engine performance and misfires to a complete no-start condition. Fortunately, testing a coil pack with an ohm meter is a relatively straightforward process that can help you diagnose a faulty coil pack before replacing it. This guide will walk you through the process step-by-step, assuming you have some basic understanding of automotive systems and electrical circuits.
Background: The Internal Combustion Engine & Ignition System
Before we dive into testing, let's review some essential background. The modern internal combustion engine operates on a four-stroke cycle: intake, compression, combustion (power), and exhaust. During the compression stroke, the air-fuel mixture is compressed into a small volume. At the peak of compression, the ignition system must provide a spark to ignite this mixture, initiating the power stroke. This spark is generated by the coil pack. In older vehicles, a distributor system typically distributed the spark to each cylinder. Modern cars, however, almost universally utilize a coil-on-plug (COP) or a coil pack system, often with one coil pack for each cylinder or a "wasted spark" configuration.
The ignition coil, the heart of the coil pack, is essentially a transformer. It takes the relatively low voltage from the car's battery (typically 12-14 volts) and steps it up to a very high voltage (anywhere from 20,000 to 50,000 volts or more) necessary to jump the gap on the spark plug. This high voltage creates an arc, which is the spark that ignites the air-fuel mixture.
Technical Breakdown: How Coil Packs Work & What We're Measuring
A typical coil pack consists of two sets of windings: a primary winding and a secondary winding. The primary winding is made of a relatively small number of turns of thick wire, while the secondary winding consists of a large number of turns of very fine wire. These windings are wrapped around an iron core. When the engine control unit (ECU) signals the coil to fire, it interrupts the current flowing through the primary winding. This rapid change in current induces a magnetic field in the iron core. The collapsing magnetic field then induces a very high voltage in the secondary winding. This high voltage is then sent to the spark plug.
When we test a coil pack with an ohm meter, we are measuring the resistance of the primary and secondary windings. Resistance is the opposition to the flow of electrical current. A healthy coil pack will have a specific resistance range for both the primary and secondary windings. These ranges are typically specified by the vehicle manufacturer and are vital for an accurate assessment.
Here's a more detailed breakdown of what you'll be measuring:
- Primary Resistance: Measured across the primary terminals of the coil pack. This is typically a very low resistance, often less than 1 ohm. An open circuit (infinite resistance) indicates a broken primary winding. A significantly higher-than-specified resistance can indicate a short or a degraded winding.
- Secondary Resistance: Measured between the secondary terminal (where the spark plug connects) and one of the primary terminals (depending on the coil pack design). This resistance is much higher than the primary resistance, typically ranging from a few thousand ohms to tens of thousands of ohms. An open circuit here indicates a broken secondary winding. Again, a significantly different resistance value can point to a fault.
Tools You'll Need:
- Digital Multimeter (DMM) or Ohm Meter: A quality DMM is essential for accurate resistance measurements. Ensure it's properly calibrated.
- Vehicle Repair Manual or Online Specifications: This is crucial for obtaining the correct resistance values for your specific coil pack.
- Safety Gloves: To protect your hands from potential contaminants.
- Eye Protection: Safety glasses are always a good idea when working on cars.
- Screwdrivers/Sockets: To remove the coil pack from the engine.
- Wire Brush: To clean the terminals of the coil pack.
Step-by-Step Testing Procedure:
- Safety First: Disconnect the negative terminal of your car battery. This prevents any accidental electrical shocks or damage to the ECU.
- Locate the Coil Pack: Refer to your vehicle's repair manual to locate the coil pack you want to test. If it's a COP system, each coil pack will be directly on top of a spark plug.
- Remove the Coil Pack: Carefully disconnect the electrical connector from the coil pack. Note its orientation. Then, remove any bolts or fasteners that secure the coil pack to the engine. Gently pull the coil pack straight up to remove it.
- Clean the Terminals: Use a wire brush or electrical contact cleaner to clean the terminals of the coil pack. This ensures a good connection for accurate resistance measurements.
- Set Up the Multimeter: Set your multimeter to the ohms setting (Ω). Choose the appropriate range. If you're unsure, start with the highest range and work your way down. Many modern multimeters have an "auto-ranging" feature that automatically selects the correct range.
- Measure Primary Resistance: Place the multimeter probes on the two primary terminals of the coil pack. Note the resistance reading. Compare this reading to the specification in your vehicle's repair manual.
- Measure Secondary Resistance: Place one probe on the secondary terminal (the one that connects to the spark plug) and the other probe on one of the primary terminals. Note the resistance reading. Compare this reading to the specification in your vehicle's repair manual. Remember to consult your manual or online resources to determine which primary terminal to use for the secondary resistance test. Some coil packs only have one connection point for the secondary resistance reading.
- Interpret the Results:
- Within Specification: If both the primary and secondary resistance values are within the specified range, the coil pack is likely good. However, this test only checks the resistance of the windings and does not guarantee that the coil pack is functioning perfectly under load.
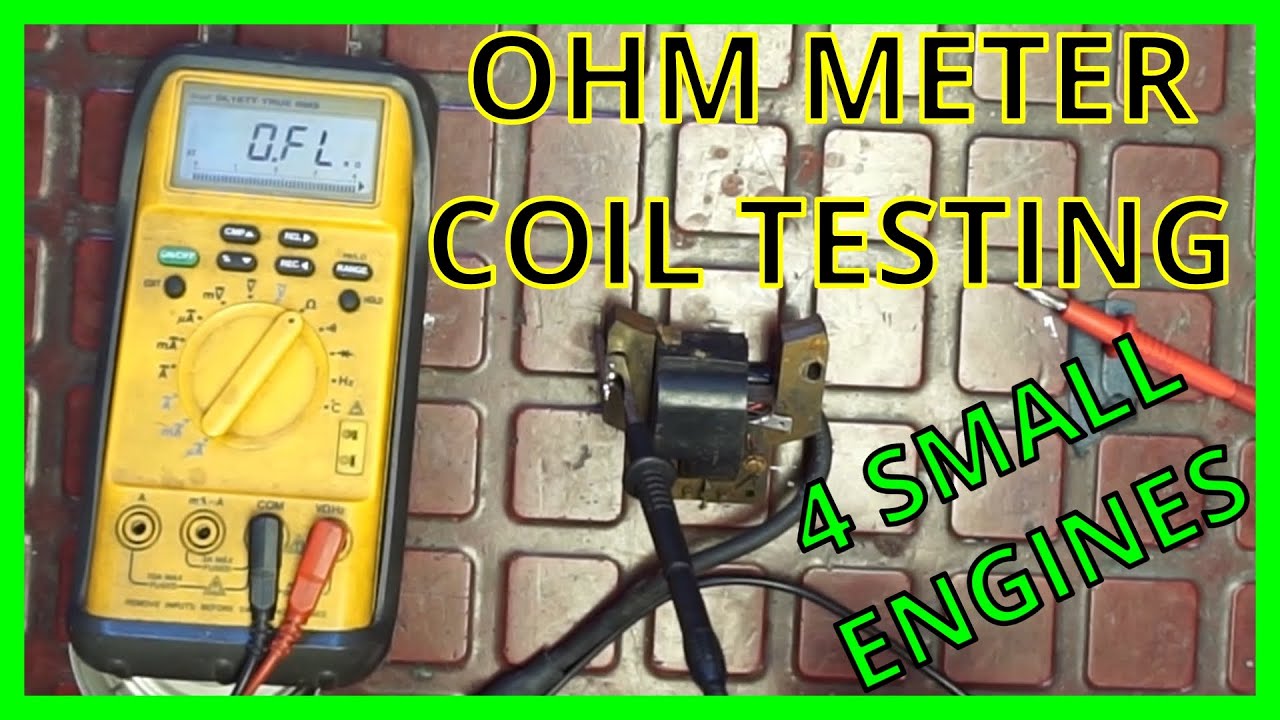
- Open Circuit: If the multimeter displays "OL" (overload) or a very high resistance (infinite resistance), it indicates an open circuit in the windings. The coil pack is definitely faulty and needs to be replaced.
- Short Circuit: If the resistance is significantly lower than the specified range, it indicates a short circuit in the windings. The coil pack is likely faulty and needs to be replaced.
- Out of Specification: If the resistance is outside the specified range, but not an open or short circuit, it indicates a degraded winding. The coil pack is likely failing and should be replaced.
- Reinstall the Coil Pack (or Replace): If the coil pack passed the test, reinstall it in the reverse order of removal. If the coil pack failed the test, replace it with a new one. Ensure the new coil pack is the correct part number for your vehicle.
- Reconnect the Battery: Reconnect the negative terminal of your car battery.
- Start the Engine: Start the engine and check for any misfires or other engine problems. If the problem persists, further diagnosis may be required.
Common Issues and Maintenance Concerns
Coil packs can fail for a variety of reasons, including:
- Heat: High engine temperatures can degrade the insulation on the windings, leading to short circuits or open circuits.
- Vibration: Constant engine vibration can cause the windings to break down over time.
- Moisture: Moisture can corrode the windings and terminals, leading to poor connections and eventual failure.
- Spark Plug Issues: Worn or faulty spark plugs can put extra strain on the coil pack, shortening its lifespan.
- Overvoltage: Voltage spikes in the electrical system can damage the coil pack.
Regular maintenance can help extend the life of your coil packs. This includes:
- Replacing Spark Plugs on Schedule: Follow the manufacturer's recommended maintenance schedule for spark plug replacement.
- Checking for Loose Connections: Inspect the electrical connectors on the coil packs for any signs of looseness or corrosion.
- Keeping the Engine Clean: Clean the engine bay regularly to remove dirt and debris that can trap heat and moisture.
Do's and Don'ts / Best Practices
- DO consult your vehicle's repair manual for the correct resistance values and testing procedures.
- DO disconnect the negative battery terminal before working on the ignition system.
- DO clean the terminals of the coil pack before testing.
- DO use a quality multimeter for accurate measurements.
- DON'T touch the terminals of the coil pack while the engine is running. High voltage can be dangerous.
- DON'T assume that a coil pack is good just because it passes the resistance test. It may still fail under load.
- DON'T forget to check the spark plugs and wires (if applicable) when diagnosing ignition problems.
- Best Practice: When replacing a coil pack, it's often recommended to replace all the coil packs at the same time, especially if they are all the same age. This can prevent future problems and ensure consistent performance.
Conclusion
Testing a coil pack with an ohm meter is a valuable diagnostic tool for any DIY mechanic. By following the steps outlined in this guide and consulting your vehicle's repair manual, you can determine whether a coil pack is faulty and needs to be replaced. While this test is helpful, remember that it's not a definitive test of functionality under all conditions. If you suspect a coil pack issue and the resistance test doesn't provide a clear answer, consider seeking the assistance of a qualified mechanic for further diagnosis. Replacing spark plugs regularly and maintaining a clean engine bay will prolong coil pack life and optimal vehicle performance.