How To Test Alternator Voltage Regulator
The alternator, the unsung hero of your car's electrical system, silently toils away, converting mechanical energy from the engine into the electrical power needed to run everything from the headlights to the infotainment system. Crucially, it also keeps your battery charged. But what happens when things go wrong? A common culprit in electrical woes is a malfunctioning voltage regulator. Let's dive into how to diagnose this crucial component.
The Problem: Overcharging and Undercharging
Imagine this: you're driving down the road, and suddenly your headlights start flickering wildly. Or perhaps your car struggles to start, even with a relatively new battery. These can be symptoms of a faulty voltage regulator. The core problem is that the regulator isn't doing its job: maintaining a stable and consistent voltage output from the alternator.
Think of it like a water tap. The alternator is the water source, and the voltage regulator is the faucet. You want a steady stream of water, not a trickle or a firehose. If the regulator fails, you either get overcharging (too much voltage), which can damage the battery and sensitive electronic components, or undercharging (too little voltage), leading to a drained battery and potential stalling.
How the Voltage Regulator Works: A Deep Dive
The voltage regulator's job is to control the alternator's field current. To understand this, we need a basic understanding of alternator operation. Inside the alternator, a rotor spins within a stator. The rotor, which contains a winding called the field winding, is energized with DC current. This creates a magnetic field. As the rotor spins, this magnetic field induces an alternating current (AC) in the stator windings. This AC current is then rectified (converted) to DC by a set of diodes.
The key to controlling the alternator's output is controlling the strength of the magnetic field produced by the rotor. The stronger the magnetic field, the higher the voltage produced in the stator windings. And that's where the voltage regulator comes in. It senses the voltage at the battery and compares it to a preset reference voltage (typically around 13.8-14.4 volts). If the battery voltage is too low, the regulator increases the current flowing through the rotor's field winding, increasing the alternator's output. If the battery voltage is too high, the regulator decreases the field current, reducing the alternator's output. This feedback loop ensures a stable voltage output.
Early voltage regulators were electromechanical, using vibrating contacts and resistors. These were prone to wear and tear. Modern vehicles use solid-state regulators, which are much more reliable. These regulators use transistors or other semiconductor devices to control the field current. They can respond much faster and more precisely than their mechanical counterparts.
Testing the Voltage Regulator: A Step-by-Step Guide
Here's a practical guide to testing your voltage regulator. Before you begin, always disconnect the negative terminal of your battery for safety. Also, consult your vehicle's service manual for specific instructions and wiring diagrams.
1. Visual Inspection:
Start with a visual inspection. Check the alternator and regulator for any signs of damage, such as cracks, corrosion, or loose connections. Make sure all wires are securely connected.
2. Voltage Test (Engine Running):
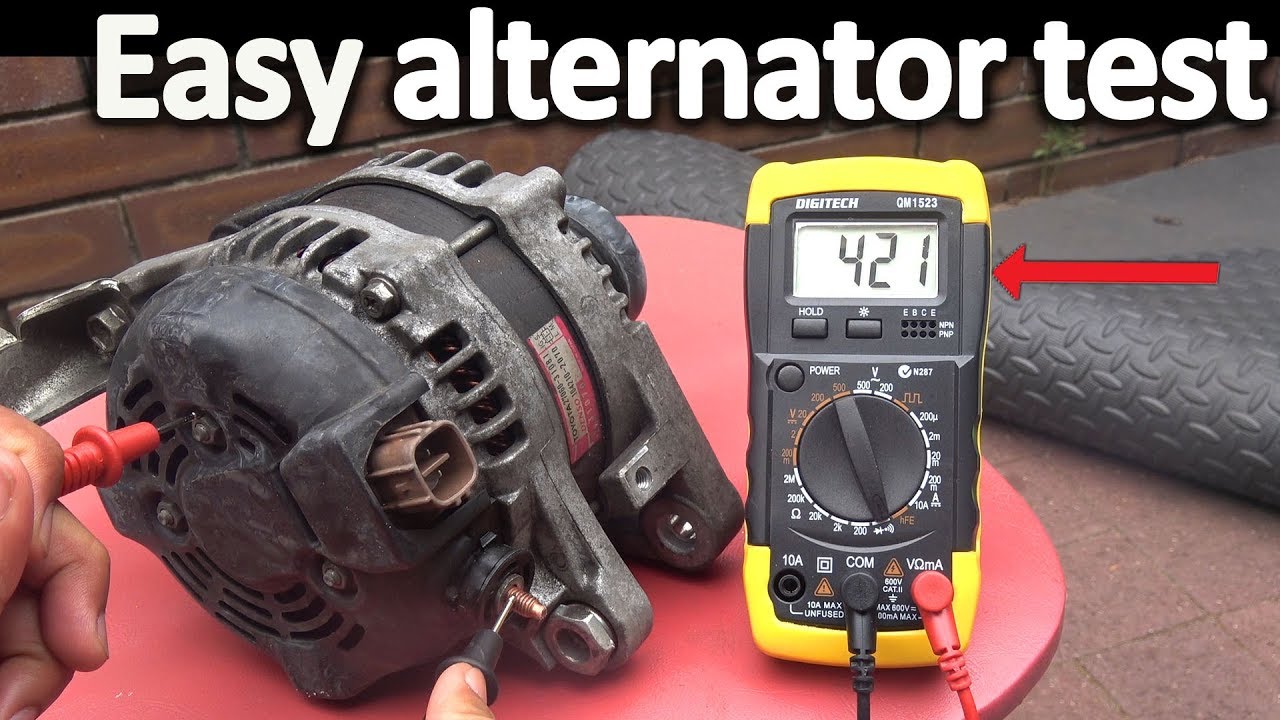
This is the most common and straightforward test. Reconnect the negative battery terminal. Start the engine and let it idle. Use a multimeter to measure the voltage at the battery terminals. You should see a reading between 13.8 and 14.4 volts. If the voltage is significantly higher or lower, it suggests a problem with the voltage regulator.
3. Load Test:
With the engine still running, turn on several electrical accessories, such as the headlights, air conditioning, and rear defroster. This will put a load on the alternator. Observe the voltage reading on the multimeter. The voltage should remain relatively stable, ideally staying within the 13.5-14.5 volt range. A significant drop in voltage under load indicates that the alternator or voltage regulator is not able to keep up with the electrical demand.
4. Alternator Output Test (with a multimeter capable of reading amps):
Some multimeters also have the ability to measure direct current amps. Using this setting, test the output of your alternator as amperage. This is usually performed while the vehicle is under load, to check that the output is still within the manufacturer's specifications. This test is more precise in identifying certain alternator issues.
5. Advanced Testing (Using an Oscilloscope):
For a more in-depth analysis, you can use an oscilloscope to examine the alternator's output waveform. A healthy alternator will produce a relatively smooth DC voltage with minimal ripple. Excessive ripple indicates a problem with the rectifier diodes in the alternator.
6. On-Vehicle vs. Off-Vehicle Testing:
The tests described above are typically performed with the alternator installed in the vehicle. However, some auto parts stores offer a free alternator testing service using a specialized test bench. This allows for a more comprehensive test under controlled conditions.
Pros and Cons of Different Regulator Types
As mentioned earlier, there are two main types of voltage regulators: electromechanical and solid-state.
Electromechanical Regulators:
Pros: Simple design, relatively inexpensive to manufacture. Cons: Prone to wear and tear, slow response time, less precise voltage control. These are rarely found in modern vehicles.
Solid-State Regulators:
Pros: Reliable, fast response time, precise voltage control, longer lifespan. Cons: More complex design, potentially more expensive.
Common Voltage Regulator Problems
Besides complete failure, voltage regulators can suffer from other issues:
- Overvoltage: The regulator allows the alternator to produce too much voltage, which can damage the battery and other electrical components.
- Undervoltage: The regulator fails to maintain sufficient voltage, leading to a drained battery.
- Intermittent Operation: The regulator works sporadically, causing fluctuating voltage levels.
- Temperature Sensitivity: The regulator's performance changes with temperature, leading to erratic voltage output.
Manufacturer Examples and Design Differences
Different manufacturers may use slightly different designs for their voltage regulators, but the basic principle remains the same. Some regulators are integrated into the alternator housing, while others are mounted separately. Some vehicles have the voltage regulator controlled by the ECU (Engine Control Unit), offering more sophisticated control strategies. Bosch, Denso, and Valeo are major suppliers of alternators and voltage regulators to the automotive industry. These companies often have proprietary designs for optimizing performance and reliability.
Use Cases and When to Suspect a Problem
You should suspect a problem with the voltage regulator if you experience any of the following:
- Battery warning light on the dashboard
- Dim or flickering headlights
- Difficulty starting the engine
- Battery that frequently dies
- Unusual noises from the alternator
- Electrical components malfunctioning
It's also a good idea to have your charging system tested periodically, especially if your vehicle is getting older or if you drive in harsh conditions.
Real-World Insights and Recommendations
When troubleshooting charging system problems, it's crucial to follow a systematic approach. Don't immediately assume the voltage regulator is the culprit. First, check the battery's condition. A weak or damaged battery can mimic the symptoms of a faulty voltage regulator. Also, inspect the alternator belt for proper tension and condition. A slipping belt can reduce the alternator's output.
If you suspect a faulty voltage regulator, consider replacing the entire alternator, especially if the alternator is old or has high mileage. This is often more cost-effective than replacing just the regulator, as it ensures that all components are in good working order. When purchasing a replacement alternator, choose a reputable brand and ensure it's compatible with your vehicle. A remanufactured alternator can be a more affordable option, but make sure it comes with a warranty.
Finally, remember that electrical systems can be complex. If you're not comfortable working on your car's electrical system, it's best to take it to a qualified mechanic. They have the tools, knowledge, and experience to diagnose and repair charging system problems accurately and safely.