How To Turn Car On With Key Fob
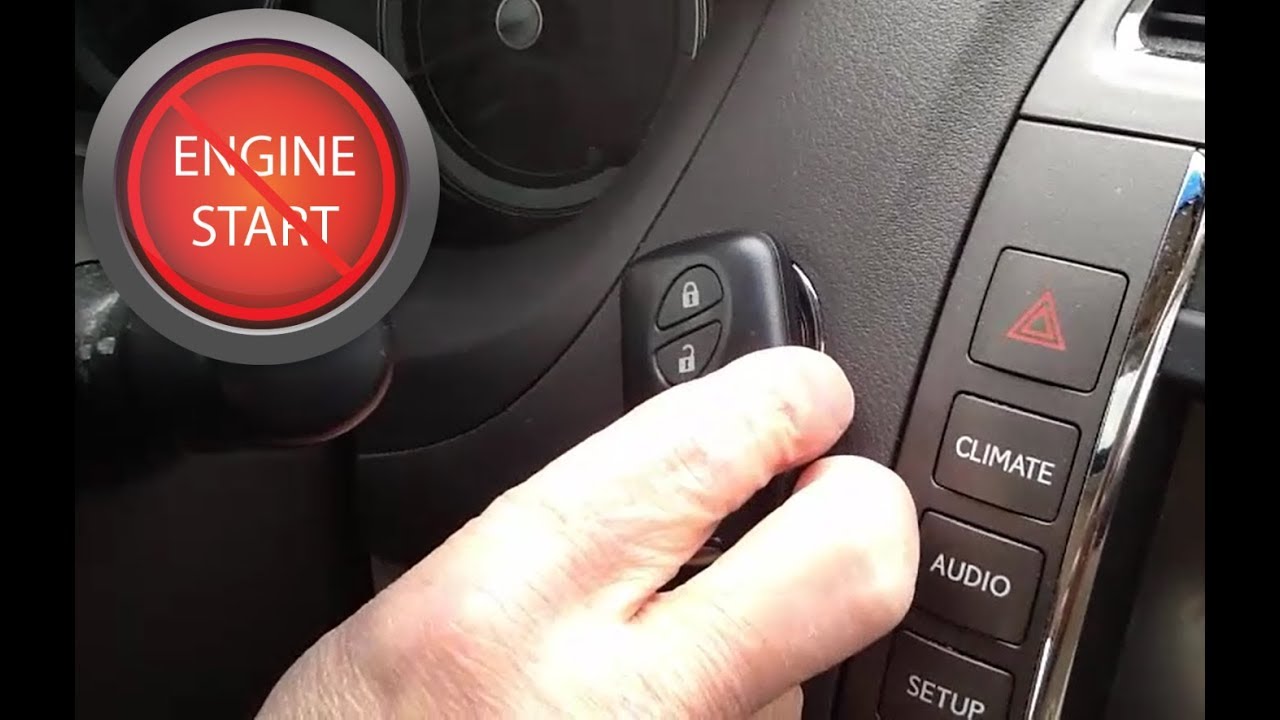
Alright, let's dive into how to turn on your car with just the key fob – a pretty slick feature these days. We're going to break down the electronics involved, how they communicate, and what you can troubleshoot if things go sideways. This isn't just about starting your car from inside your house on a cold morning; understanding this system can be crucial for diagnosing electrical issues, performing aftermarket installations, or even just satisfying your curiosity about how modern cars work.
Key Specs and Main Parts of a Remote Start System
Before we get into the nitty-gritty, let's inventory the main players. We're talking about a complex interplay of electronic components, so understanding their roles is vital:
- Key Fob (Transmitter): The handheld remote you use. It contains a battery, a microcontroller, and a radio frequency (RF) transmitter. Its primary function is to broadcast a coded signal to the vehicle's receiver.
- Receiver Module (Vehicle): This unit is typically located somewhere within the car's body, often near the security system or under the dash. It's an RF receiver tuned to the key fob's frequency. When it receives a valid signal, it forwards the information to the vehicle's main computer.
- Vehicle Control Module (VCM) / Engine Control Unit (ECU): The brain of the car. The VCM or ECU, after receiving a signal from the receiver module, verifies the code, checks safety parameters (e.g., if the car is in Park/Neutral), and then initiates the starting sequence.
- Starter Relay: This is a heavy-duty switch that allows the low-current signal from the VCM/ECU to activate the high-current circuit needed to power the starter motor.
- Immobilizer System: A crucial security feature. It prevents the car from starting unless a valid transponder key (which can be integrated into the fob) is present near the ignition switch during a standard key start, or the correct code is received during remote start.
- Hood Switch/Sensor: A safety device that prevents remote start if the hood is open, preventing accidental starting during maintenance.
- Brake Pedal Switch: Another safety device that typically disables remote start if the brake pedal is pressed.
Understanding the Diagram: Symbols, Lines, and Colors
A typical wiring diagram for a remote start system might seem daunting at first glance, but it's decipherable with some key knowledge:
- Lines: Lines represent wires. Thicker lines usually indicate wires carrying higher current. Dashed lines may represent shielded cables or CAN bus connections.
- Colors: Wires are color-coded for identification. Common colors include red (power), black (ground), yellow (ignition), blue (starter), and green (various signals). The exact color codes can vary between manufacturers, so always refer to the specific wiring diagram for your vehicle.
- Symbols: Symbols represent electrical components. You'll see standard symbols for resistors (a zigzag line), capacitors (two parallel lines), diodes (a triangle pointing towards a vertical line), relays (a coil and a switch), and grounds (a series of downward-pointing lines).
- Connectors: Connectors are often represented by circles or rectangles with numbered pins. These are crucial for identifying where wires connect.
- Abbreviations: Diagrams use abbreviations extensively. Common ones include VCC (voltage common collector, a power supply), GND (ground), IGN (ignition), STR (starter), ACC (accessory), and TX/RX (transmit/receive, for data communication).
Specifically, look for:
- RF receiver symbol: usually looks like an antenna connected to a chip.
- Relay symbol: to visually identify the starter relay's connections.
- Hood/Brake switch symbol: typically a simple switch icon, often normally closed (NC) meaning it's open when activated (hood open or brake pressed).
- CAN Bus lines: often represented by twisted pairs of wires, typically labeled CAN High and CAN Low.
How the Remote Start Sequence Works
Here's a step-by-step breakdown of the remote start process:
- Key Fob Activation: You press the remote start button on your key fob. This triggers the fob's microcontroller to generate a unique, encrypted RF signal.
- Signal Transmission: The key fob's transmitter broadcasts this signal on a specific frequency (e.g., 315 MHz or 433 MHz).
- Signal Reception: The vehicle's receiver module picks up the RF signal.
- Signal Verification: The receiver module decrypts the signal and sends the data to the VCM/ECU via a data bus, often the CAN bus (Controller Area Network). The VCM/ECU verifies the signal against a pre-programmed code. This is a crucial security step to prevent unauthorized starting.
- Safety Check: The VCM/ECU checks various safety parameters. Is the car in Park/Neutral? Is the hood closed (hood switch)? Is the brake pedal not pressed (brake pedal switch)? If any of these conditions are not met, the start sequence is aborted.
- Immobilizer Bypass: If the car has an immobilizer system, the VCM/ECU activates a bypass module or uses a built-in bypass function. This temporarily disables the immobilizer, allowing the engine to start without a physical key present in the ignition. This is a security-sensitive step.
- Starter Activation: The VCM/ECU energizes the starter relay. This relay then connects the battery directly to the starter motor, cranking the engine.
- Engine Start: Once the engine starts, the VCM/ECU monitors engine speed and other parameters. When it detects a stable idle, it disengages the starter relay.
- Run Time: The engine continues to run for a pre-determined amount of time (e.g., 10, 15, or 20 minutes), or until the brake pedal is pressed or another command is sent from the key fob (e.g., to shut off the engine).
Real-World Use: Basic Troubleshooting Tips
So, your remote start isn't working? Here are some common issues and how to address them:
- Key Fob Battery: This is the most common culprit. Replace the battery and try again.
- Range Issues: Obstructions between the key fob and the vehicle can reduce range. Try getting closer to the car. Also, RF interference from other devices can be a factor.
- Safety Interlocks: Ensure the hood is closed completely, the car is in Park/Neutral, and the brake pedal is not being pressed. Check the hood switch and brake pedal switch for proper operation. A faulty switch can prevent remote start.
- Blown Fuse: Check the fuses associated with the remote start system. The wiring diagram will indicate which fuses to check.
- Immobilizer Problems: If the engine cranks but doesn't start, the immobilizer bypass might be failing. This can be a more complex issue requiring professional diagnosis.
- Check Engine Light: A check engine light can disable remote start. Use an OBD-II scanner to read the diagnostic trouble codes (DTCs) and address any underlying engine problems.
- Wiring Issues: Loose or corroded wiring connections can cause problems. Inspect the wiring and connectors associated with the remote start system.
Safety Considerations
Working with automotive electrical systems can be dangerous if you're not careful. Here are some key safety points:
- Disconnect the Battery: Always disconnect the negative terminal of the battery before working on any electrical components. This prevents accidental shorts and potential damage to the vehicle's electronics.
- Airbags: Be extremely cautious when working near airbag modules or wiring. Accidental deployment can cause serious injury. Consult the vehicle's service manual for proper airbag disabling procedures.
- High Current Circuits: The starter circuit carries a significant amount of current. Avoid touching any exposed wiring or terminals when the system is energized.
- Fuel System: Be aware of the location of fuel lines and components. Avoid creating sparks near the fuel system, as this could cause a fire.
- Use Proper Tools: Use insulated tools and wear safety glasses to protect yourself from electrical shock and flying debris.
Remote start systems often interact with critical vehicle systems, like the immobilizer and the ECU. Tampering with these systems without proper knowledge can cause serious damage. If you're not comfortable working with automotive electronics, it's best to consult a qualified technician.
Remember, a wiring diagram is essential for troubleshooting and repair. We have a generic example available for download, but always refer to the specific diagram for your vehicle's make, model, and year. This will ensure you're working with the correct information and avoid making costly mistakes.
Good luck, and stay safe!