How To Use A Bike Rack On Car
So, you're ready to haul your bike with your car. Excellent! Whether you're tackling a mountain trail, joining a group ride, or simply need to transport your bike without dismantling it, a bike rack is the answer. This article is your guide to understanding and effectively using a bike rack, focusing on the technical aspects and practical considerations. We'll cover the main types of racks, installation tips, safety precautions, and troubleshooting basics. Think of this as your expert's guide – less "read the manual," more "get your hands dirty and understand what's happening."
Purpose: Safe and Secure Bike Transport
Understanding how a bike rack works isn't just about slapping it on and hoping for the best. It's about ensuring the safe and secure transportation of your valuable bike, protecting your car's finish, and preventing potential accidents caused by improper installation or use. This knowledge empowers you to choose the right rack for your needs, install it correctly, and identify potential issues before they become problems. Furthermore, understanding the mechanics behind a bike rack will enable you to perform basic maintenance and repairs, extending its lifespan and saving you money in the long run. Think of it as a fundamental skill for any car owner who enjoys cycling. We'll focus on three primary types: hitch-mounted, trunk-mounted, and roof-mounted racks.
Key Specs and Main Parts
The core of understanding bike racks lies in knowing their components and specifications. The right choice hinges on factors such as the number of bikes you need to carry, your vehicle type, and your budget. Here's a breakdown:
Hitch-Mounted Bike Racks
Hitch racks attach to a receiver hitch mounted on your car's frame. This is generally considered the most stable and versatile option. Key specs and parts include:
- Receiver Hitch: The metal tube bolted to your car's frame. Common sizes are 1 1/4" and 2". Match the rack's shank to your hitch size.
- Shank: The portion of the rack that inserts into the receiver hitch.
- Anti-Rattle Device: Mechanisms (like bolts or cam systems) to reduce wobble and noise within the hitch receiver. Crucial for a secure and quiet ride.
- Bike Support Arms (Trays or Hang Arms): The structures that physically hold the bikes. Trays typically support the bike's wheels, while hang arms support the bike frame.
- Straps/Clamps: Secure the bikes to the support arms. Material and design affect durability and ease of use.
- Integrated Locking System: Many hitch racks include locks to secure the bikes to the rack and the rack to the hitch.
- Weight Capacity: Critically important! Check the rack's and your hitch's weight limits. Exceeding these limits is dangerous.
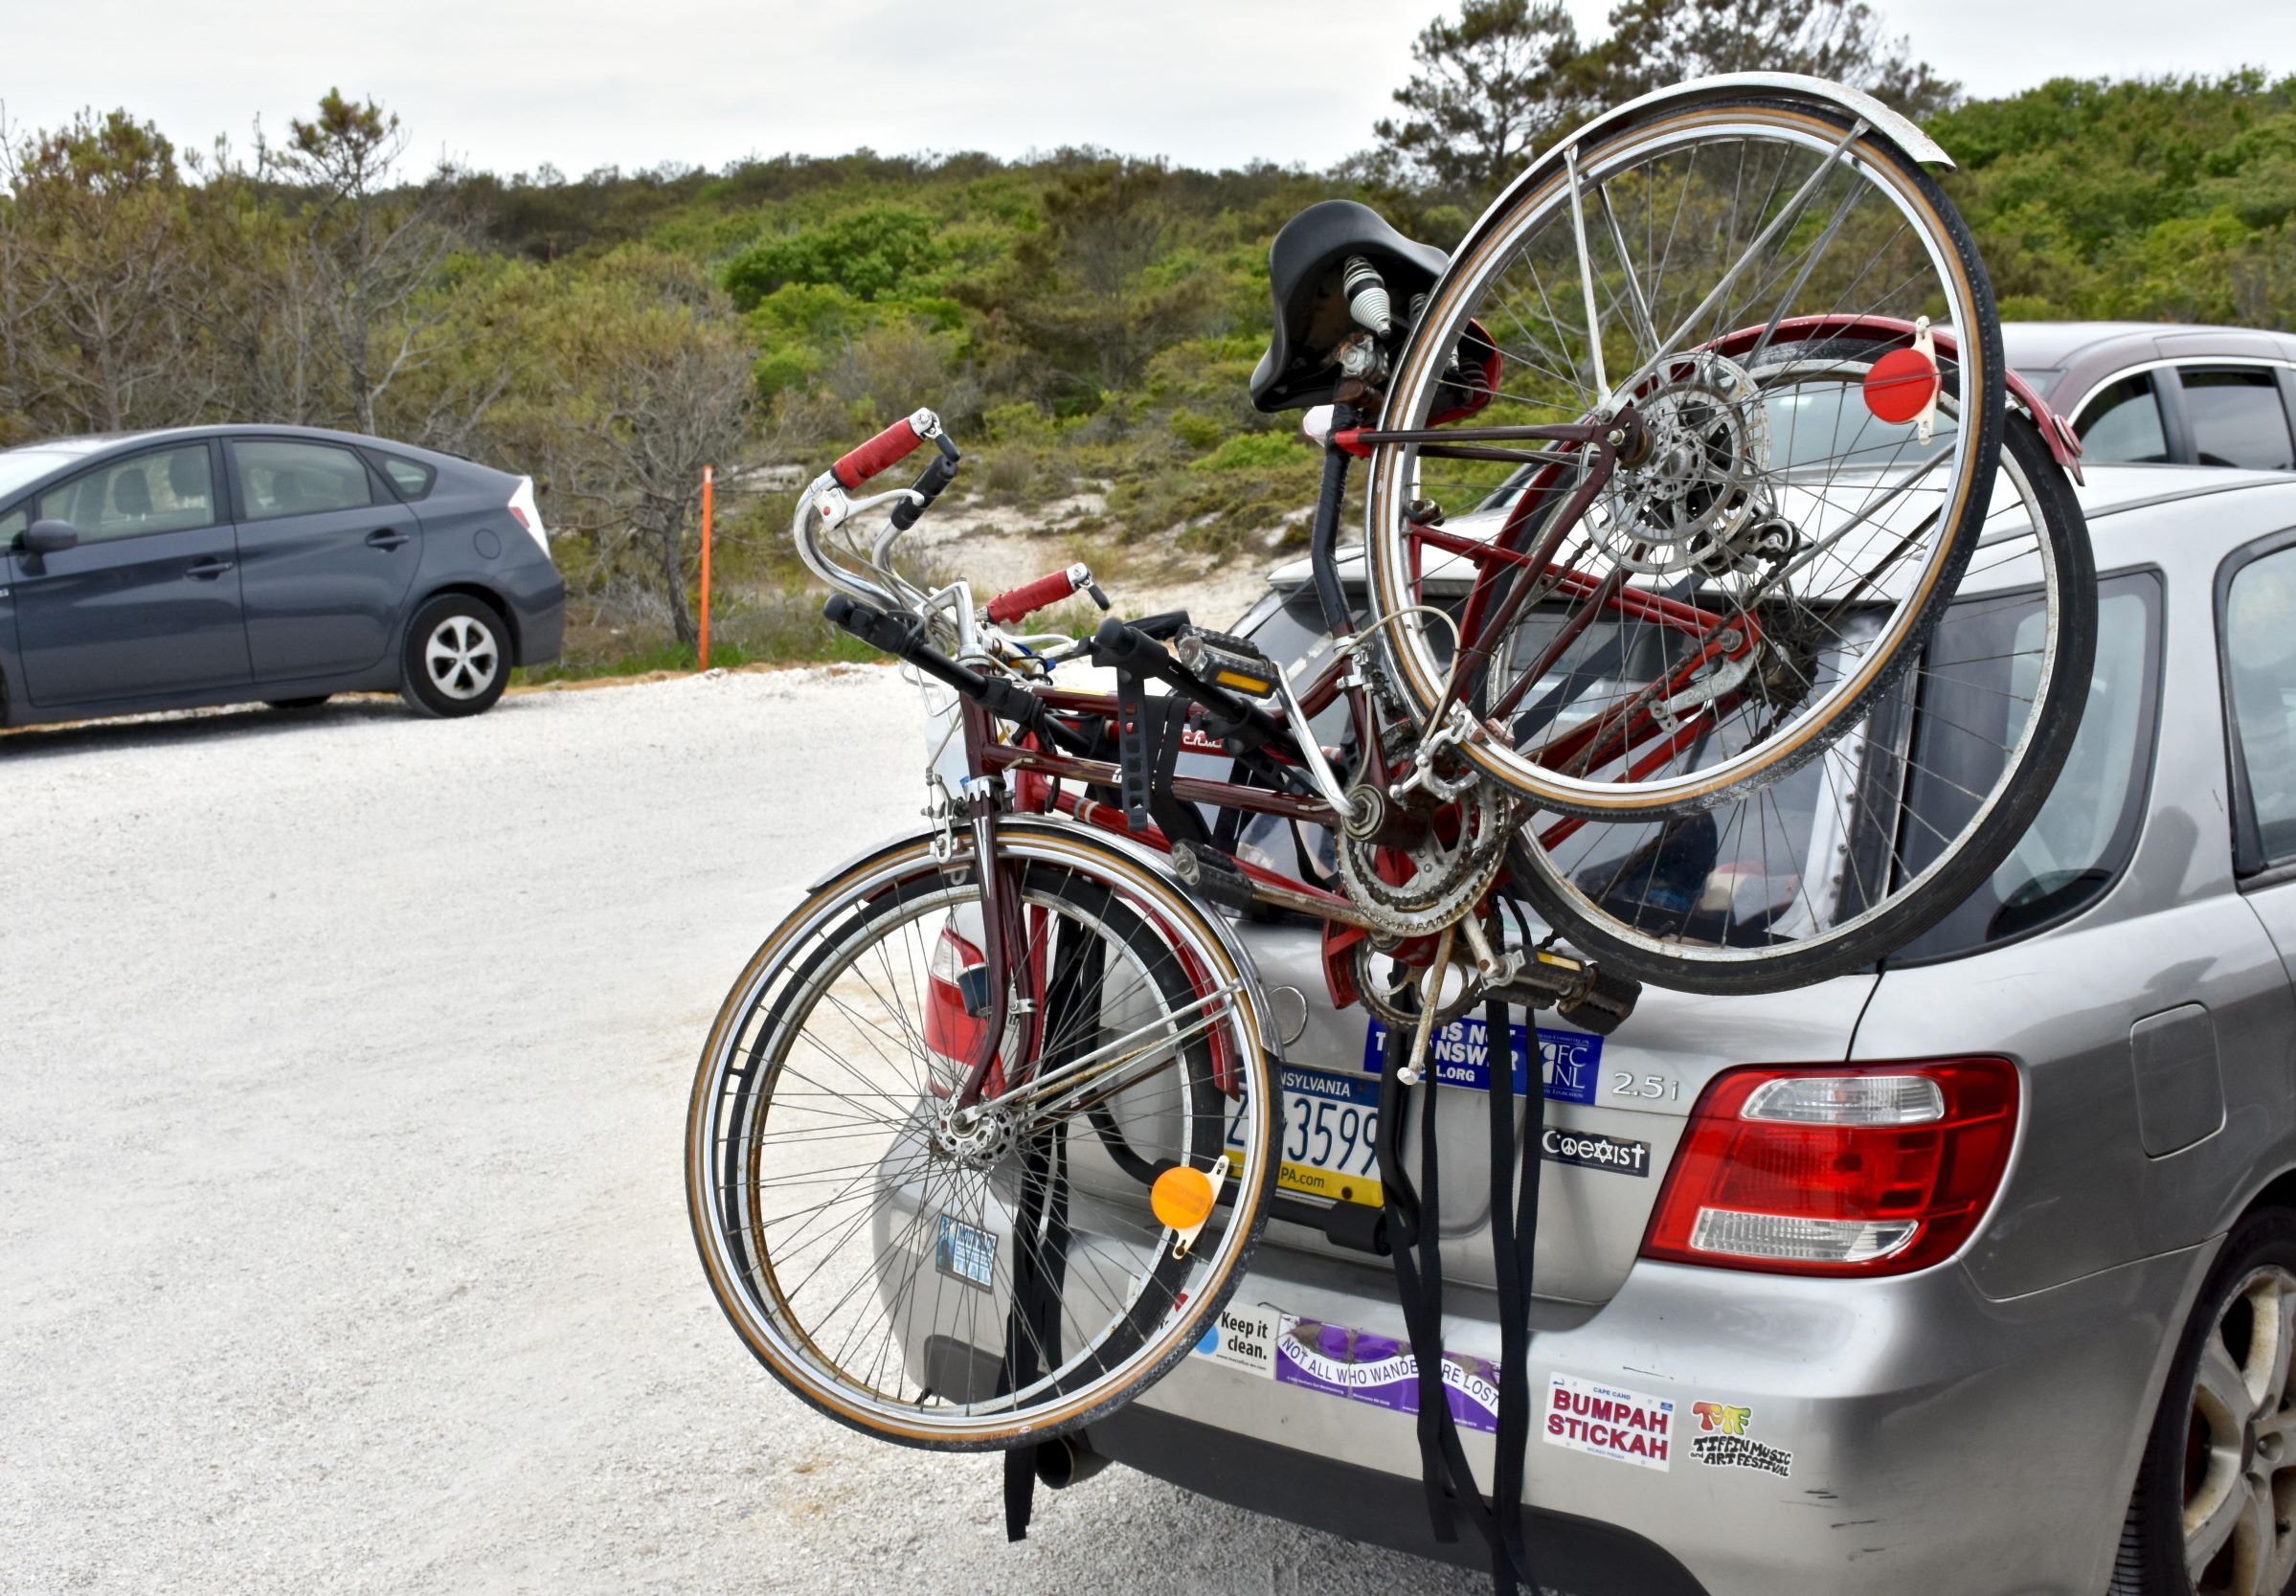
Trunk-Mounted Bike Racks
Trunk racks are a more budget-friendly option that straps to your car's trunk or hatch. Key specs and parts include:
- Support Arms: Extend outward to hold the bikes. Often padded to protect the bike frame.
- Straps: Critical for securing the rack to the vehicle. Typically made of nylon or similar durable material. Check their condition regularly for wear and tear.
- Hooks: Attach to the edges of the trunk/hatch. Ensure they are coated to prevent scratches.
- Pads: Protect the car's finish where the rack contacts the body.
- Adjustable Hubs/Angles: Allow the rack to conform to different vehicle shapes.
- Weight Capacity: Less than hitch racks. Be mindful of the limit, especially for heavier bikes.
Roof-Mounted Bike Racks
Roof racks attach to crossbars installed on your car's roof. They leave your hitch free for other accessories, but lifting bikes onto the roof can be challenging. Key specs and parts include:
- Crossbars: Horizontal bars that span the roof of your vehicle. Aftermarket or OEM.
- Bike Mount (Fork Mount, Wheel-On Mount): The specific mechanism that holds the bike. Fork mounts require removing the front wheel.
- Clamps/Straps: Secure the bike to the mount.
- Aerodynamic Design: Some racks feature designs to reduce wind resistance and noise.
- Locking System: Secures the bike to the rack and the rack to the crossbars.
- Weight Capacity: Varies depending on the crossbars and the rack.
How It Works
The fundamental principle behind all bike racks is load distribution and secure fastening. Hitch racks transfer the bike's weight directly to the vehicle's frame via the hitch. Trunk racks distribute the weight across the trunk lid and rear window (which is why proper padding and strap tension are critical). Roof racks transfer weight to the roof via the crossbars and require careful attention to the roof's weight limit. The straps, clamps, and locking mechanisms are designed to prevent movement and ensure the bikes remain securely attached during transit.
The physics at play involves friction, tension, and shear forces. Straps utilize friction to hold the bikes in place. The tension in the straps must be sufficient to overcome the forces exerted by the bike's weight and the wind resistance. Shear forces act on the connection points between the rack and the vehicle (e.g., the hitch receiver, the trunk edges). Properly installed and maintained racks minimize these forces and prevent damage.
Real-World Use – Basic Troubleshooting Tips
Even with careful installation, issues can arise. Here are a few common problems and solutions:
- Wobbling Hitch Rack: Tighten the anti-rattle device. If the problem persists, consider a hitch vise to further stabilize the connection.
- Loose Trunk Rack Straps: Check the strap tension regularly, especially after the first few miles of a trip. Replace worn or frayed straps immediately.
- Bike Frame Scratches (Trunk Rack): Ensure adequate padding between the bike frame and the rack. Use frame protectors.
- Difficulty Lifting Bikes (Roof Rack): Consider a loading assist mechanism or a step stool for easier access.
- Noise (All Rack Types): Ensure all components are tightly secured. Use foam padding or tape to reduce vibrations between the rack and the car. Also, consider the increased wind resistance and adjust your driving accordingly.
Safety – Highlight Risky Components
Bike racks, while convenient, introduce potential hazards if not used correctly. The most critical safety aspects revolve around weight capacity, secure attachment, and visibility.
- Weight Capacity: Exceeding the rack's or your vehicle's weight limit can lead to rack failure, damage to your vehicle, and potentially serious accidents. Always consult the manufacturer's specifications.
- Secure Attachment: Improperly tightened straps, loose bolts, or worn components can cause the rack or the bikes to detach during transit. Regularly inspect all attachment points. A pre-trip check is crucial.
- Visibility: Bike racks can obstruct your taillights and license plate. Ensure they are clearly visible. If necessary, use an extension light bar and license plate relocator.
- Clearance: Be mindful of the added height and length of your vehicle with the rack installed. Watch out for low bridges, parking garages, and tight turns.
- Emergency Braking: The added weight will affect your vehicle's braking distance. Increase your following distance and drive defensively.
Specifically, pay close attention to the following risky components:
- Hitch Receivers: Inspect for rust, cracks, and secure mounting to the frame.
- Rack Straps: Check for fraying, tears, and proper tensioning mechanisms. Replace immediately if damaged.
- Roof Rack Crossbars: Ensure they are securely attached and rated for the weight you intend to carry.
- Locking Mechanisms: Test them regularly and consider using additional security measures to deter theft.
Remember to always consult your bike rack's manual for specific safety guidelines and recommendations. A little diligence goes a long way toward ensuring a safe and enjoyable cycling experience.
We have a detailed diagram of common bike rack components available for download. It includes exploded views, part numbers, and troubleshooting flowcharts. Contact us to get access.