How To Use A Touch Up Paint Pen
So, you've got a scratch or chip on your car's paint? It's an inevitable part of car ownership. Whether it's a rogue shopping cart, a flung stone on the highway, or just the general wear and tear of daily driving, blemishes happen. While a professional body shop can perform miracles, sometimes a simple touch-up paint pen is all you need to address those minor imperfections and prevent them from turning into bigger problems like rust. This article will guide you through the proper techniques for using a touch-up paint pen, allowing you to achieve a professional-looking repair yourself.
Understanding Automotive Paint and Touch-Up Pens
Before diving into the how-to, let's cover some essential background information. Automotive paint is a complex multi-layered system. Typically, you'll find:
- The Substrate: This is the bare metal (steel or aluminum, usually) of your car's body panel.
- Primer: A base coat that promotes adhesion of the following layers and protects the metal from corrosion. It also provides a uniform surface for the color coat.
- Base Coat (Color Coat): This is the layer that gives your car its color. It can be a solid color, a metallic, or a pearlescent finish. Metallic and pearlescent paints contain tiny flakes of metal or mica that create a shimmering effect.
- Clear Coat: A transparent, protective layer that provides gloss, UV protection, and resistance to scratches and chemicals. The clear coat is what you usually see and touch.
A touch-up paint pen aims to replicate the base coat. However, because it's applied only to a small area, blending it perfectly with the surrounding paint (especially the clear coat) can be tricky. That's why technique is crucial.
Touch-up paint pens usually contain a small amount of single-stage paint or a basecoat/clearcoat system. Single-stage paint combines the color and protective properties in one layer, which is simpler to use but typically less durable and glossy than a two-stage system. Basecoat/clearcoat pens typically come with two separate applicators: one for the color and another for a clear coat finish.
How a Touch-Up Paint Pen Works
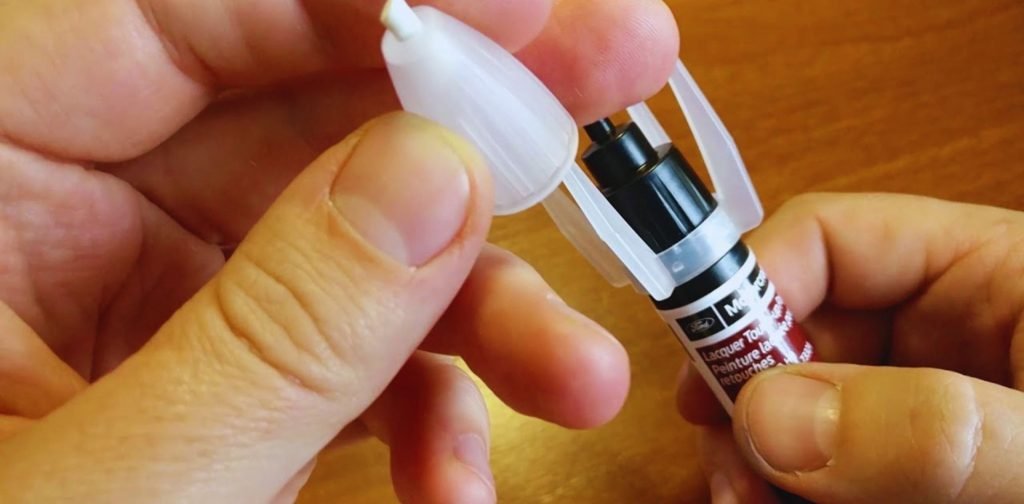
A touch-up paint pen consists of a small reservoir filled with paint, a needle or brush applicator, and a mechanism to dispense the paint. The dispensing mechanism can vary – some pens use a spring-loaded tip that releases paint when pressed against a surface, while others have a twisting or pumping action. The applicator tip is designed to deliver a small, controlled amount of paint directly into the scratch or chip.
The paint itself is formulated to match your car's original color code. This code is usually found on a sticker located on the driver's side door jamb, in the glove compartment, or under the hood. It's essential to use the correct color code to ensure the repair blends in as seamlessly as possible. Even with the correct color code, slight variations can exist due to factors like paint aging and manufacturing tolerances. That's why it's always a good idea to test the paint on an inconspicuous area first.
The Touch-Up Process: A Step-by-Step Guide
- Preparation is Key: This is the most important step. A clean and properly prepared surface is crucial for good adhesion and a smooth finish.
- Wash the area: Use car wash soap and water to thoroughly clean the area around the scratch or chip. Remove any dirt, grime, or wax.
- Clean with Wax & Grease Remover: Use a wax and grease remover (also known as a pre-paint cleaner) to remove any remaining residue that could interfere with paint adhesion. Apply it with a clean microfiber cloth and wipe dry.
- Remove Loose Paint/Rust: If there's any loose paint or rust flaking off around the damage, gently remove it with a fine-tipped scraping tool, such as a small screwdriver or a specialized paint chip repair tool. Be careful not to scratch the surrounding paint.
- Optional: Primer Application: If the scratch or chip exposes bare metal, consider applying a thin layer of automotive primer to promote adhesion and prevent rust. Let it dry completely according to the manufacturer's instructions. You may need to use a separate, small brush or applicator for this step.
- Applying the Paint: Now for the main event.
- Shake the Pen: Shake the touch-up paint pen vigorously for at least a minute to ensure the paint is thoroughly mixed. The pigments can settle to the bottom of the pen over time.
- Prime the Applicator: Follow the instructions on the pen. Some pens require you to press the tip down on a piece of cardboard or paper until the paint starts to flow.
- Apply Thin Coats: This is where patience is rewarded. Apply the paint in very thin, even coats. Avoid applying too much paint at once, as this can lead to runs, drips, and a raised blob of paint that's difficult to blend. Focus on filling the scratch or chip completely, but don't overfill it.
- Allow to Dry: Let each coat dry completely before applying the next. Refer to the manufacturer's instructions for drying times, which can vary depending on the paint type, temperature, and humidity. Typically, allow at least 30 minutes between coats.
- Repeat as Needed: Apply multiple thin coats until the paint is level with the surrounding surface.
- Clear Coat Application (If Applicable): If your touch-up pen includes a clear coat applicator, apply it after the base coat has fully dried (usually overnight is recommended). Apply the clear coat in thin, even coats, just like the base coat.
- Finishing Touches (Optional but Recommended): After the clear coat has fully cured (typically several days), you can further refine the repair with wet sanding and polishing.
- Wet Sanding: Use very fine grit sandpaper (e.g., 2000-3000 grit) dampened with water and a drop of dish soap to gently level the touch-up paint with the surrounding clear coat. This step requires extreme caution, as it's easy to sand through the clear coat. Use light pressure and short, overlapping strokes. The goal is to remove any imperfections or unevenness in the touch-up paint.
- Polishing: After wet sanding, use a polishing compound and a polishing pad (either by hand or with a machine polisher) to restore the gloss and shine to the area. This step will remove any sanding marks and blend the repaired area seamlessly with the surrounding paint.
- Waxing: Finally, apply a coat of wax to protect the repaired area and enhance its shine.
Common Issues and Maintenance Concerns
- Color Mismatch: Even with the correct color code, slight variations can occur. Test the paint on an inconspicuous area first to ensure a good match.
- Paint Runs or Drips: Avoid applying too much paint at once. If runs or drips occur, let the paint dry completely, then carefully sand them down with fine-grit sandpaper before reapplying.
- "Halo" Effect: This occurs when the touch-up paint is slightly raised above the surrounding paint, creating a visible ring around the repair. Wet sanding and polishing can help to eliminate this effect.
- Poor Adhesion: Ensure the surface is properly cleaned and prepared before applying the paint. Using a primer can also improve adhesion.
- Rust Formation: If the scratch or chip exposes bare metal, rust can form quickly. Address the damage promptly and consider using a rust converter before applying primer.
- Clogged Applicator: The paint can dry in the applicator tip, causing it to clog. Clean the tip regularly with a solvent-based cleaner or paint thinner.
Do's and Don'ts / Best Practices
Do's:
- Do use the correct color code for your vehicle.
- Do prepare the surface thoroughly.
- Do apply thin, even coats.
- Do allow each coat to dry completely.
- Do consider wet sanding and polishing for a professional finish.
- Do work in a well-ventilated area.
- Do test the paint on an inconspicuous area first.
Don'ts:
- Don't apply too much paint at once.
- Don't skip the preparation steps.
- Don't apply touch-up paint in direct sunlight or extreme temperatures.
- Don't use household cleaners to prepare the surface.
- Don't ignore rust – address it promptly.
Conclusion
Using a touch-up paint pen is a cost-effective and relatively simple way to address minor scratches and chips on your car's paint. By following the steps outlined in this article and paying attention to detail, you can achieve a professional-looking repair that protects your car from rust and maintains its appearance. Remember that preparation is paramount, and patience is key to success. While it may not completely eliminate the blemish, a well-executed touch-up repair can significantly improve the overall look of your vehicle and prevent further damage. For deeper scratches or larger areas of damage, consider consulting a professional body shop.