How To Wet Sand A Car By Hand
Wet sanding is a crucial step in achieving a flawless, mirror-like finish on your car's paint. It's the process of leveling imperfections like orange peel, dust nibs, and light scratches to create a uniformly smooth surface ready for polishing. While it might sound intimidating, wet sanding by hand is entirely achievable for the experienced DIYer with the right knowledge, tools, and patience. This article will provide a comprehensive guide to mastering the art of wet sanding your car by hand.
Why Wet Sand? Understanding Paint Imperfections
Before diving into the how-to, it's essential to understand why we wet sand in the first place. Modern automotive paint, especially clear coats, are prone to imperfections during the manufacturing process or subsequent repairs. Here's a breakdown of common issues:
- Orange Peel: This refers to the wavy, textured surface that resembles the skin of an orange. It's caused by uneven paint application, improper spraying techniques, or the paint drying too quickly.
- Dust Nibs: These are small particles of dust or debris that land on the wet paint surface during application and become trapped within the finish.
- Scratches and Swirl Marks: Minor scratches can occur from washing, drying, or even rubbing against clothing. Swirl marks are usually induced by improper machine polishing.
- Runs and Sags: Excess paint application can cause the paint to run or sag, creating unevenness in the finish.
Wet sanding effectively removes these imperfections by gently abrading the top layer of the clear coat, creating a level and uniform surface. It’s important to remember that you’re only removing a very thin layer of paint, so proceed with caution.
Technical Breakdown: The Science Behind Wet Sanding
Wet sanding relies on using abrasive paper – sandpaper – lubricated with water to reduce friction and heat. The water also helps to carry away the abraded paint particles, preventing them from clogging the sandpaper and causing further scratches. Here's a step-by-step explanation of the process:
- Preparation: The first step is to thoroughly wash and dry the car. This removes any loose dirt or debris that could contaminate the sanding process. Use a dedicated car wash soap and avoid using dish soap, as it can strip away wax and other protective coatings.
- Inspection: Carefully inspect the paint surface to identify the areas that need wet sanding. Use a bright light to highlight imperfections like orange peel, dust nibs, or scratches. Mask off any areas that don't need sanding, such as adjacent panels or trim pieces, to prevent accidental damage.
- Selecting Sandpaper Grit: Choosing the correct sandpaper grit is crucial. Grit refers to the size of the abrasive particles on the sandpaper. A lower grit number indicates coarser sandpaper, which removes material more aggressively. A higher grit number indicates finer sandpaper, which removes material more gently and leaves a smoother finish.
- 1000-1500 grit: Use for more severe orange peel, runs, or sags.
- 2000-3000 grit: Use for moderate orange peel, dust nibs, and light scratches. This is the most common range for general wet sanding.
- 3000+ grit: Use for refining the surface after coarser grits and preparing for polishing.
- Soaking the Sandpaper: Submerge the sandpaper in a bucket of clean water for at least 15-30 minutes before use. This allows the paper backing to become saturated, making it more flexible and less prone to tearing. It also helps the abrasive particles to soften, reducing the risk of scratching.
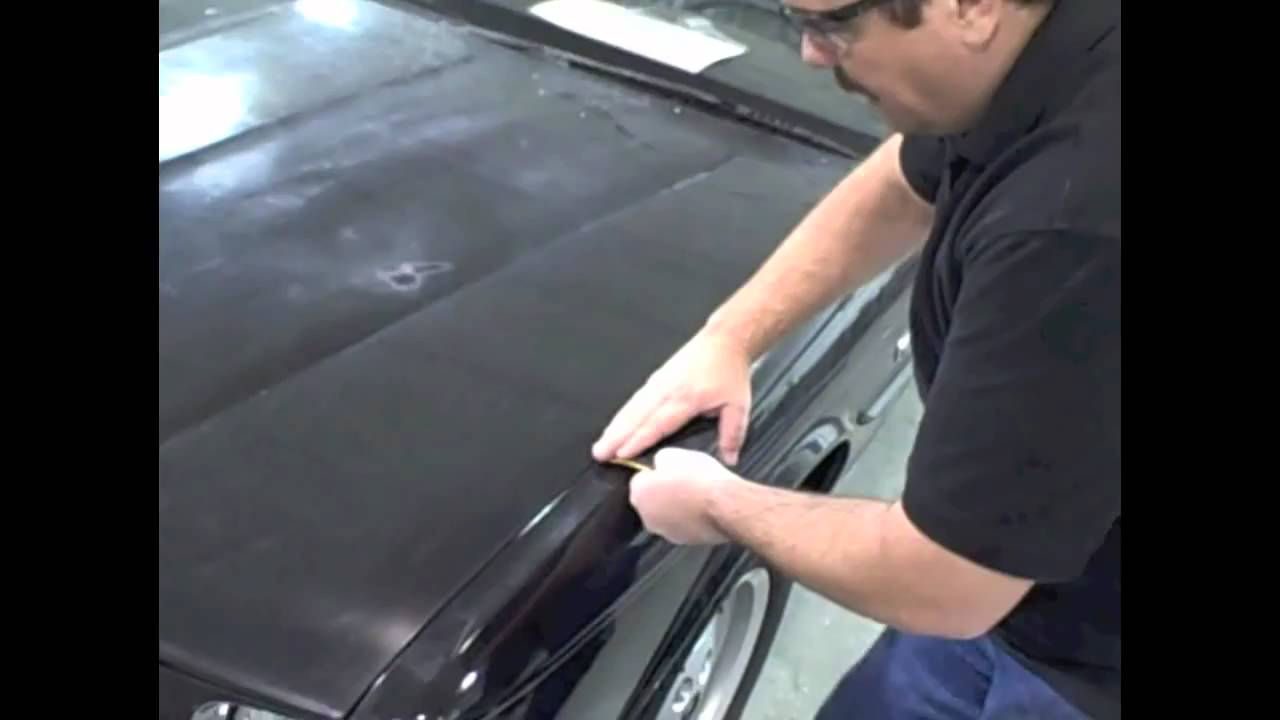
- Wet Sanding Technique: Attach the sandpaper to a sanding block. A sanding block provides a flat, even surface for the sandpaper, ensuring consistent pressure and preventing you from sanding unevenly. Dip the sanding block in water and begin sanding in a crosshatch pattern. This means sanding in one direction (e.g., horizontally) and then changing direction (e.g., vertically) for the next pass. This pattern helps to level the surface evenly. Use light to medium pressure and avoid pressing too hard, as this can create deep scratches. Regularly rinse the sanding block and the car's surface with clean water to remove abraded paint particles.
- Inspection During Sanding: Periodically dry the sanded area with a clean microfiber towel and inspect your progress. You should see a uniform, dull, and evenly sanded surface. If you still see imperfections, continue sanding until they are removed. Be careful not to sand through the clear coat.
- Refining the Surface: After sanding with the initial grit, switch to a finer grit sandpaper (e.g., from 2000 to 3000 grit) to refine the surface and remove any scratches left by the coarser sandpaper. Repeat the wet sanding technique with the finer grit, using light pressure and a crosshatch pattern.
- Drying and Polishing: Once you're satisfied with the sanded surface, thoroughly dry the car. The sanded surface will appear dull and hazy. This is normal. The next step is to polish the paint to restore its shine and clarity. Use a machine polisher and appropriate polishing compounds to remove the sanding marks and create a smooth, glossy finish. Start with a more aggressive compound and then follow with a finer compound to achieve the desired level of gloss.
- Waxing or Sealing: After polishing, apply a coat of wax or sealant to protect the paint and enhance its shine.
Common Issues and Maintenance Concerns
Wet sanding, while effective, can present some challenges. Understanding these issues and how to address them is critical for achieving successful results:
- Sanding Through the Clear Coat: This is the biggest risk associated with wet sanding. It occurs when you remove too much of the clear coat, exposing the base coat underneath. Once you sand through the clear coat, you'll need to repaint the affected area. To prevent this, use light pressure, regularly inspect your progress, and avoid sanding in one area for too long. If you're unsure about the thickness of the clear coat, it's best to start with a finer grit sandpaper and work your way up as needed. A paint depth gauge can provide accurate clear coat thickness measurements.
- Holograms or Swirl Marks: Improper polishing techniques can leave behind holograms or swirl marks, which are fine, circular scratches that appear under direct sunlight. To avoid this, use a quality machine polisher, appropriate polishing pads, and proper polishing techniques. Ensure the polishing pad is clean and free of debris. Work in a well-lit area to easily identify and remove swirl marks.
- Clogging Sandpaper: Abrasive particles can become clogged with paint residue, reducing the sandpaper's effectiveness. Regularly rinse the sandpaper and the car's surface with clean water to prevent clogging. You can also use a sanding block cleaner to remove stubborn residue.
- Uneven Sanding: Applying uneven pressure or using a worn sanding block can result in uneven sanding. Use a flat, even sanding block and avoid applying excessive pressure. Replace the sanding block when it becomes worn or damaged.
Do's and Don'ts / Best Practices
To ensure a successful wet sanding experience, follow these do's and don'ts:
Do's:
- Do use a clean and well-lit workspace.
- Do thoroughly wash and dry the car before sanding.
- Do use clean water and a dedicated bucket for soaking the sandpaper.
- Do use a sanding block to ensure even pressure.
- Do sand in a crosshatch pattern.
- Do use light to medium pressure.
- Do regularly rinse the sandpaper and the car's surface.
- Do inspect your progress frequently.
- Do use appropriate polishing compounds and pads.
- Do apply wax or sealant after polishing.
Don'ts:
- Don't sand in direct sunlight.
- Don't use dish soap to wash the car.
- Don't use dirty water or contaminated sandpaper.
- Don't apply excessive pressure.
- Don't sand through the clear coat.
- Don't use aggressive polishing compounds without proper experience.
- Don't skip the polishing step after wet sanding.
Conclusion
Wet sanding by hand is a rewarding skill that can significantly improve the appearance of your car's paint. While it requires patience and attention to detail, the results are well worth the effort. By following the steps outlined in this article and adhering to the do's and don'ts, you can achieve a flawless, mirror-like finish. Remember to start conservatively, focusing on small areas and mastering the technique before tackling larger sections of your car. If you're hesitant or unsure about any aspect of the process, consider practicing on a test panel or seeking professional guidance. With practice and patience, you'll be well on your way to achieving a show-stopping finish. Consider starting with a 2000 or 2500 grit paper, it's a good starting point for beginners. Good luck, and happy sanding!