Orange And Brown Make What Color
So, you're diving into the world of automotive paint mixing or perhaps just tackling some interior trim color matching? A common question that arises, especially when working with browns and oranges in your color palette, is: "What color do orange and brown make?" The answer, while seemingly straightforward, has nuances, particularly when considering different shades and pigments. This article breaks down the science and practical application of mixing these colors, offering a technical understanding for automotive enthusiasts.
Why This Matters: Achieving the Perfect Hue
Understanding color mixing isn't just about aesthetics; it's a practical skill for several automotive tasks:
- Touch-Up Paint: Matching the existing paint on your car to repair scratches or chips.
- Custom Modifications: Creating unique color schemes for interior trim, wheels, or even full body wraps.
- Restoration Projects: Replicating original colors for classic car restorations.
- Accident Repair: Blending new paint seamlessly with the existing finish after a repair.
By grasping the fundamentals of color theory and pigment behavior, you can achieve professional-looking results and avoid costly mistakes. It's not just about slapping two colors together; it's about understanding the underlying principles to control the final outcome.
Key Specs and Main Components: Pigments and Their Properties
The foundation of any color mixing process lies in the pigments themselves. Pigments are finely ground, insoluble particles that give paint its color. Each pigment has distinct properties that influence the final mixture.
Let's break down the typical pigments involved:
- Orange Pigments: Often derived from iron oxides (like in rust) or azo compounds (synthetic organic pigments). They range in shade from light, almost yellow-orange (think cadmium orange light) to deep, reddish-oranges (like burnt sienna). Key property: Generally strong tinting strength, meaning they significantly impact the final color even in small amounts.
- Brown Pigments: Predominantly iron oxides (umbers, siennas) or organic pigments. Browns vary dramatically, from light tan shades (raw sienna) to dark, chocolate browns (burnt umber). Key property: Earthy and often opaque, meaning they tend to cover underlying colors well.
The vehicle is the liquid that carries the pigment and allows it to be applied to a surface. Common vehicles in automotive paint include:
- Solvent-based paints: Acrylic lacquers, enamels, and urethanes use solvents as their vehicle.
- Water-based paints: Acrylics and some newer automotive paints use water as their vehicle.
Choosing the correct vehicle is crucial for compatibility with your existing paint and for proper adhesion and durability.
Understanding Undertones
A crucial aspect of color mixing is recognizing the undertones present in each pigment. An undertone is the subtle color bias beneath the main color. For example:
- A brown might have a reddish undertone (like burnt umber).
- An orange might have a yellowish undertone (like cadmium orange).
Identifying these undertones helps predict how the colors will interact when mixed. A reddish-brown mixed with a yellowish-orange will create a warmer, more vibrant brown than if you used a cooler, bluish-brown.
Symbols and Mixing Ratios: Guiding Your Mixing Process
There aren't universal symbols for color mixing ratios, but here's how to interpret common notations and create your own system:
- Ratio Notation: A ratio like "1:2" indicates that for every 1 part of the first color, you need 2 parts of the second color. Accurate measurement is critical. Use syringes or calibrated cups for consistent results.
- Color Swatches: Create small test swatches as you mix. Label each swatch with the mixing ratio and the date. This allows you to track your progress and reproduce the desired color later.
- Digital Color Matching Tools: While not always perfectly accurate, color matching apps or devices can provide a starting point by analyzing an existing color and suggesting mixing ratios. These tools should be used as a guide, not a definitive answer.
How It Works: The Subtractive Color Model
Paint mixing operates on the subtractive color model. This means that as you add more pigments, you are subtracting wavelengths of light, resulting in a darker and less saturated color. This is the opposite of the additive color model used by computer screens (red, green, blue), where adding colors creates white. When you mix orange and brown:
- Dominant Orange When orange is the dominant color, the result is a brownish-orange. The brown pigment will darken and mute the vibrant orange.
- Dominant Brown When brown is the dominant color, you'll get a darker shade of brown that is more reddish/orange-brown than the orginal brown.
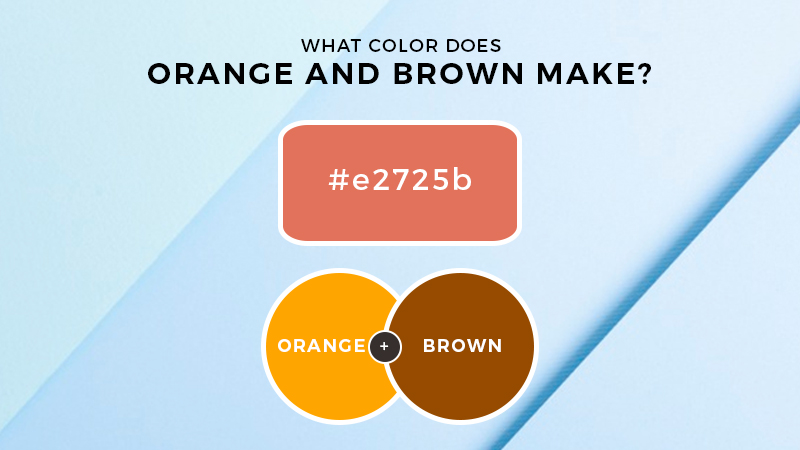
Specifically, mixing orange and brown will typically result in a darker, more muted orange or a reddish-brown, depending on the proportions. The exact hue depends on the specific shades of orange and brown used.
Important Tip: Always start with the lighter color and gradually add the darker color. This gives you more control over the final mixture and prevents overshooting your target color.
Real-World Use: Troubleshooting Color Mismatches
Even with careful planning, color mismatches can occur. Here's a basic troubleshooting guide:
- Too Dark: You've added too much brown or a dark orange. Add a lighter shade of orange to brighten the mixture.
- Too Light: Not enough brown or dark orange. Add a small amount of brown pigment at a time, mixing thoroughly after each addition.
- Wrong Undertone: The mixed color has a different undertone than the target. Analyze the undertones of your original pigments and adjust accordingly. For example, if the mixture is too yellow, add a brown with a reddish undertone.
- Dull/Muddy: Occurs with too many colors in the mix. Try to start over with fresh paint to get a cleaner mix.
Test, Test, Test! Always test your color mixture on a small, inconspicuous area of your project before applying it to the entire surface. This allows you to make adjustments without ruining your work. After application, allow the test to fully dry, as the color can shift slightly as it dries.
Safety: Handling Automotive Paints Responsibly
Automotive paints and solvents can be hazardous. Always follow these safety precautions:
- Ventilation: Work in a well-ventilated area to avoid inhaling fumes. Use a respirator if necessary.
- Protective Gear: Wear gloves, eye protection, and appropriate clothing to prevent skin and eye contact.
- Flammability: Many automotive paints and solvents are flammable. Keep them away from heat, sparks, and open flames.
- Disposal: Dispose of waste paint and solvents properly according to local regulations. Do not pour them down drains or into the environment.
Specific Components to Watch Out For:
- Isocyanates: Urethane paints often contain isocyanates, which can cause respiratory sensitization. Always use a respirator with proper cartridges when working with these paints.
- Heavy Metals: Some older pigments contain heavy metals like lead or cadmium. Avoid using these pigments whenever possible and handle them with extreme caution if necessary.
Important Reminder: Always consult the manufacturer's safety data sheet (SDS) for specific safety information about the paints and solvents you are using.
We have a detailed color mixing chart available for download, which can help visualize the effects of mixing different shades of orange and brown. This chart includes common pigment combinations and their resulting colors, offering a valuable reference for your projects. The download link is provided below. (Note: This is a placeholder; in a real application, you would include the actual link here.)
Click here to download the Color Mixing Chart.