Screw In Tire What To Do
Finding a screw in your tire can be a frustrating experience. It's a situation that almost every driver will encounter at some point. Ignoring it can lead to a flat tire, compromising your safety and potentially causing further damage to your vehicle. This guide provides a comprehensive overview of what to do when you find a screw in your tire, covering everything from initial assessment to temporary repairs and professional evaluation. We'll approach this from a technical perspective, assuming you have some experience with basic automotive maintenance.
Initial Assessment and Safety Precautions
The first thing you need to do is assess the situation. Do not immediately remove the screw! It might be acting as a plug, preventing a rapid loss of air pressure. Here's a step-by-step approach:
- Safety First: Park your car on a level surface away from traffic. Engage the parking brake and turn on your hazard lights.
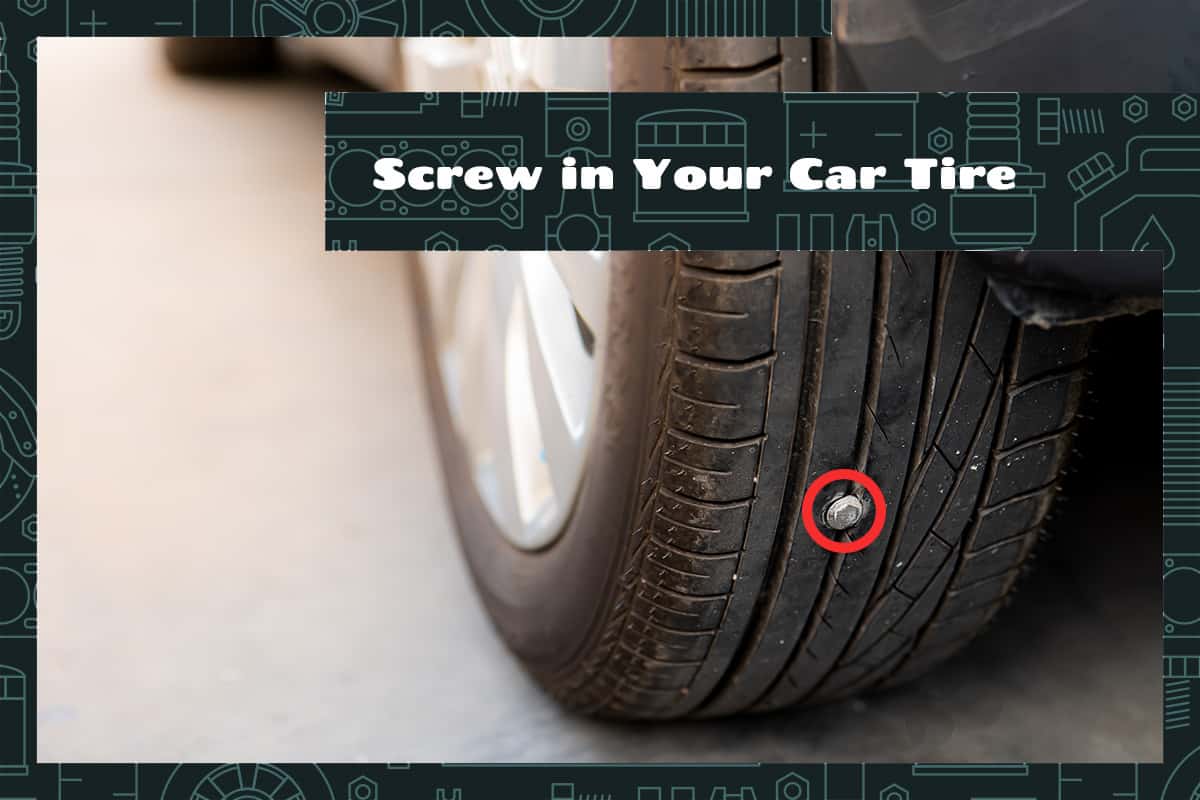
- Visual Inspection: Examine the tire for the location and angle of the screw. Is it in the tread area, or the sidewall? The sidewall is a critical area and damage there usually means the tire cannot be repaired.
- Listen Carefully: Can you hear air hissing from the tire around the screw? If so, the screw has punctured the tire, and air is escaping.
- Check Tire Pressure: Use a tire pressure gauge to check the tire pressure. Note the current pressure compared to the recommended pressure (usually found on a sticker inside the driver's side door jamb or in the owner's manual). A significant pressure drop indicates a leak.
Why This Assessment Matters
The assessment helps determine the severity of the situation and whether a temporary repair is possible. Knowing the location of the screw is crucial. Punctures in the sidewall or shoulder (the area where the sidewall meets the tread) are generally unrepairable due to the flexible nature of these areas. A puncture in the tread area, within the central 75% of the tire width, is often repairable.
Temporary Repair Options (If Applicable)
If the screw is in the tread area and the tire pressure isn't dropping rapidly, you *might* be able to consider a temporary repair to get you to a repair shop. Always prioritize safety; if you're unsure, call for roadside assistance.
Plug Kit (String Type)
This is a common temporary repair method. A plug kit typically includes:
- Insertion Tool: A tool with a split eye to insert the plug.
- Reamer Tool: A tool with a rough surface to clean and enlarge the puncture.
- Rubber Plugs (Strings): Impregnated with a vulcanizing compound.
- Rubber Cement: To lubricate the plug and aid sealing.
Procedure (Use with Extreme Caution):
- Prepare the Puncture: Remove the screw carefully using pliers or a screwdriver.
- Ream the Hole: Use the reamer tool to clean and enlarge the puncture. This creates a rough surface for the plug to adhere to.
- Insert the Plug: Thread the rubber plug through the eye of the insertion tool. Coat the plug with rubber cement.
- Insert and Twist: Force the insertion tool into the puncture, twisting as you push it in. Leave about ½ inch of the plug protruding.
- Remove the Tool: Carefully remove the insertion tool, leaving the plug in place.
- Trim the Excess: Trim the excess plug material flush with the tire tread.
- Inflate and Check: Inflate the tire to the recommended pressure and check for leaks using soapy water. If you still see bubbles, the repair has failed, and you'll need professional assistance.
Important Considerations:
- A string plug is only a temporary fix. Get the tire professionally repaired or replaced as soon as possible.
- This method is not suitable for sidewall punctures or large punctures.
- Monitor tire pressure closely after using a plug.
Tire Sealant
Another temporary option is tire sealant (e.g., Slime). This liquid sealant is injected into the tire through the valve stem. It works by coating the inside of the tire and sealing small punctures.
Procedure:
- Remove the valve core using a valve core removal tool.
- Attach the sealant bottle to the valve stem.
- Squeeze the sealant into the tire.
- Reinstall the valve core.
- Inflate the tire to the recommended pressure.
- Drive the vehicle a short distance to distribute the sealant.
Important Considerations:
- Tire sealant can be messy and may interfere with professional tire repairs. Inform the tire technician that you used sealant.
- This method is not suitable for large punctures or sidewall damage.
- Sealant can sometimes damage tire pressure monitoring systems (TPMS).
Professional Tire Repair
The best and safest option is to have the tire professionally repaired or replaced. A tire technician can properly assess the damage and determine the appropriate course of action.
Patch/Plug Combination Repair
A permanent tire repair typically involves a patch/plug combination. This method provides a more reliable and durable repair than a simple string plug.
Procedure:
- The tire is removed from the wheel.
- The puncture is cleaned and enlarged from the inside.
- A rubber stem (plug) is inserted through the puncture from the inside.
- A rubber patch is applied to the inside of the tire over the stem, using vulcanizing cement.
- The patch is rolled to ensure good adhesion.
- The tire is reinstalled on the wheel, balanced, and inflated.
When Replacement is Necessary
A tire must be replaced if:
- The puncture is in the sidewall or shoulder.
- The puncture is larger than ¼ inch in diameter.
- The tire has multiple punctures close together.
- The tire has sustained significant damage to the internal structure (e.g., belt separation).
- The tire is worn beyond its wear bars (indicating it's time for replacement).
Safety – Risky Components and Procedures
Working on tires involves inherent risks. Here are some important safety precautions:
- Tire Pressure: Overinflating a tire can cause it to explode, leading to serious injury. Always use a tire pressure gauge and follow the recommended inflation pressure.
- Jack Stands: Never work under a vehicle supported only by a jack. Use jack stands to provide a safe and stable support.
- Wheel Removal: Ensure the vehicle is properly secured before removing a wheel. Loosen the lug nuts *before* jacking up the vehicle.
- Tire Mounting/Demounting: This requires specialized equipment and training. It's best left to professionals.
Basic Troubleshooting Tips
- Slow Leaks: If you're experiencing a slow leak, even after a repair, check the valve stem and valve core for leaks. You can also check the wheel for corrosion at the bead seat (where the tire meets the wheel).
- Vibrations: Vibrations after a tire repair may indicate the tire is not properly balanced. Have the tire rebalanced by a professional.
- Uneven Wear: Uneven tire wear can indicate alignment issues or suspension problems. Have your vehicle's alignment checked regularly.
Conclusion
Dealing with a screw in your tire requires a careful assessment and a decision based on the location and severity of the damage. While temporary repairs can get you to a repair shop, a professional evaluation and repair are crucial for ensuring your safety and the longevity of your tires. Always prioritize safety and consult a qualified technician when in doubt.