What Causes An Oil Leak In A Car
Let's dive into a topic familiar to most car enthusiasts – oil leaks. Understanding what causes them is crucial, not just for addressing that annoying puddle under your car, but also for preventative maintenance, saving you time, money, and potential catastrophic engine damage. This article will provide a detailed overview of common causes, symptoms, and troubleshooting techniques. We'll focus on equipping you, the experienced DIYer, with the knowledge needed to diagnose and potentially fix oil leaks yourself.
Purpose and Importance
Understanding the causes of oil leaks is essential for several reasons. First and foremost, addressing leaks promptly prevents engine damage. Low oil levels can lead to increased friction, overheating, and ultimately, engine failure. Secondly, fixing leaks reduces environmental impact. Oil leaking onto the road is a pollutant and a safety hazard. Finally, knowledge empowers you to perform accurate diagnostics, potentially saving money on mechanic fees and allowing you to make informed decisions about repairs. This understanding facilitates both proactive maintenance and informed repair choices.
Key Specs and Main Parts (Potential Leak Sources)
Several key areas within the engine are prone to oil leaks. Let's break down the most common culprits:
- Valve Cover Gasket: This gasket seals the valve cover to the cylinder head, preventing oil from escaping the valvetrain area.
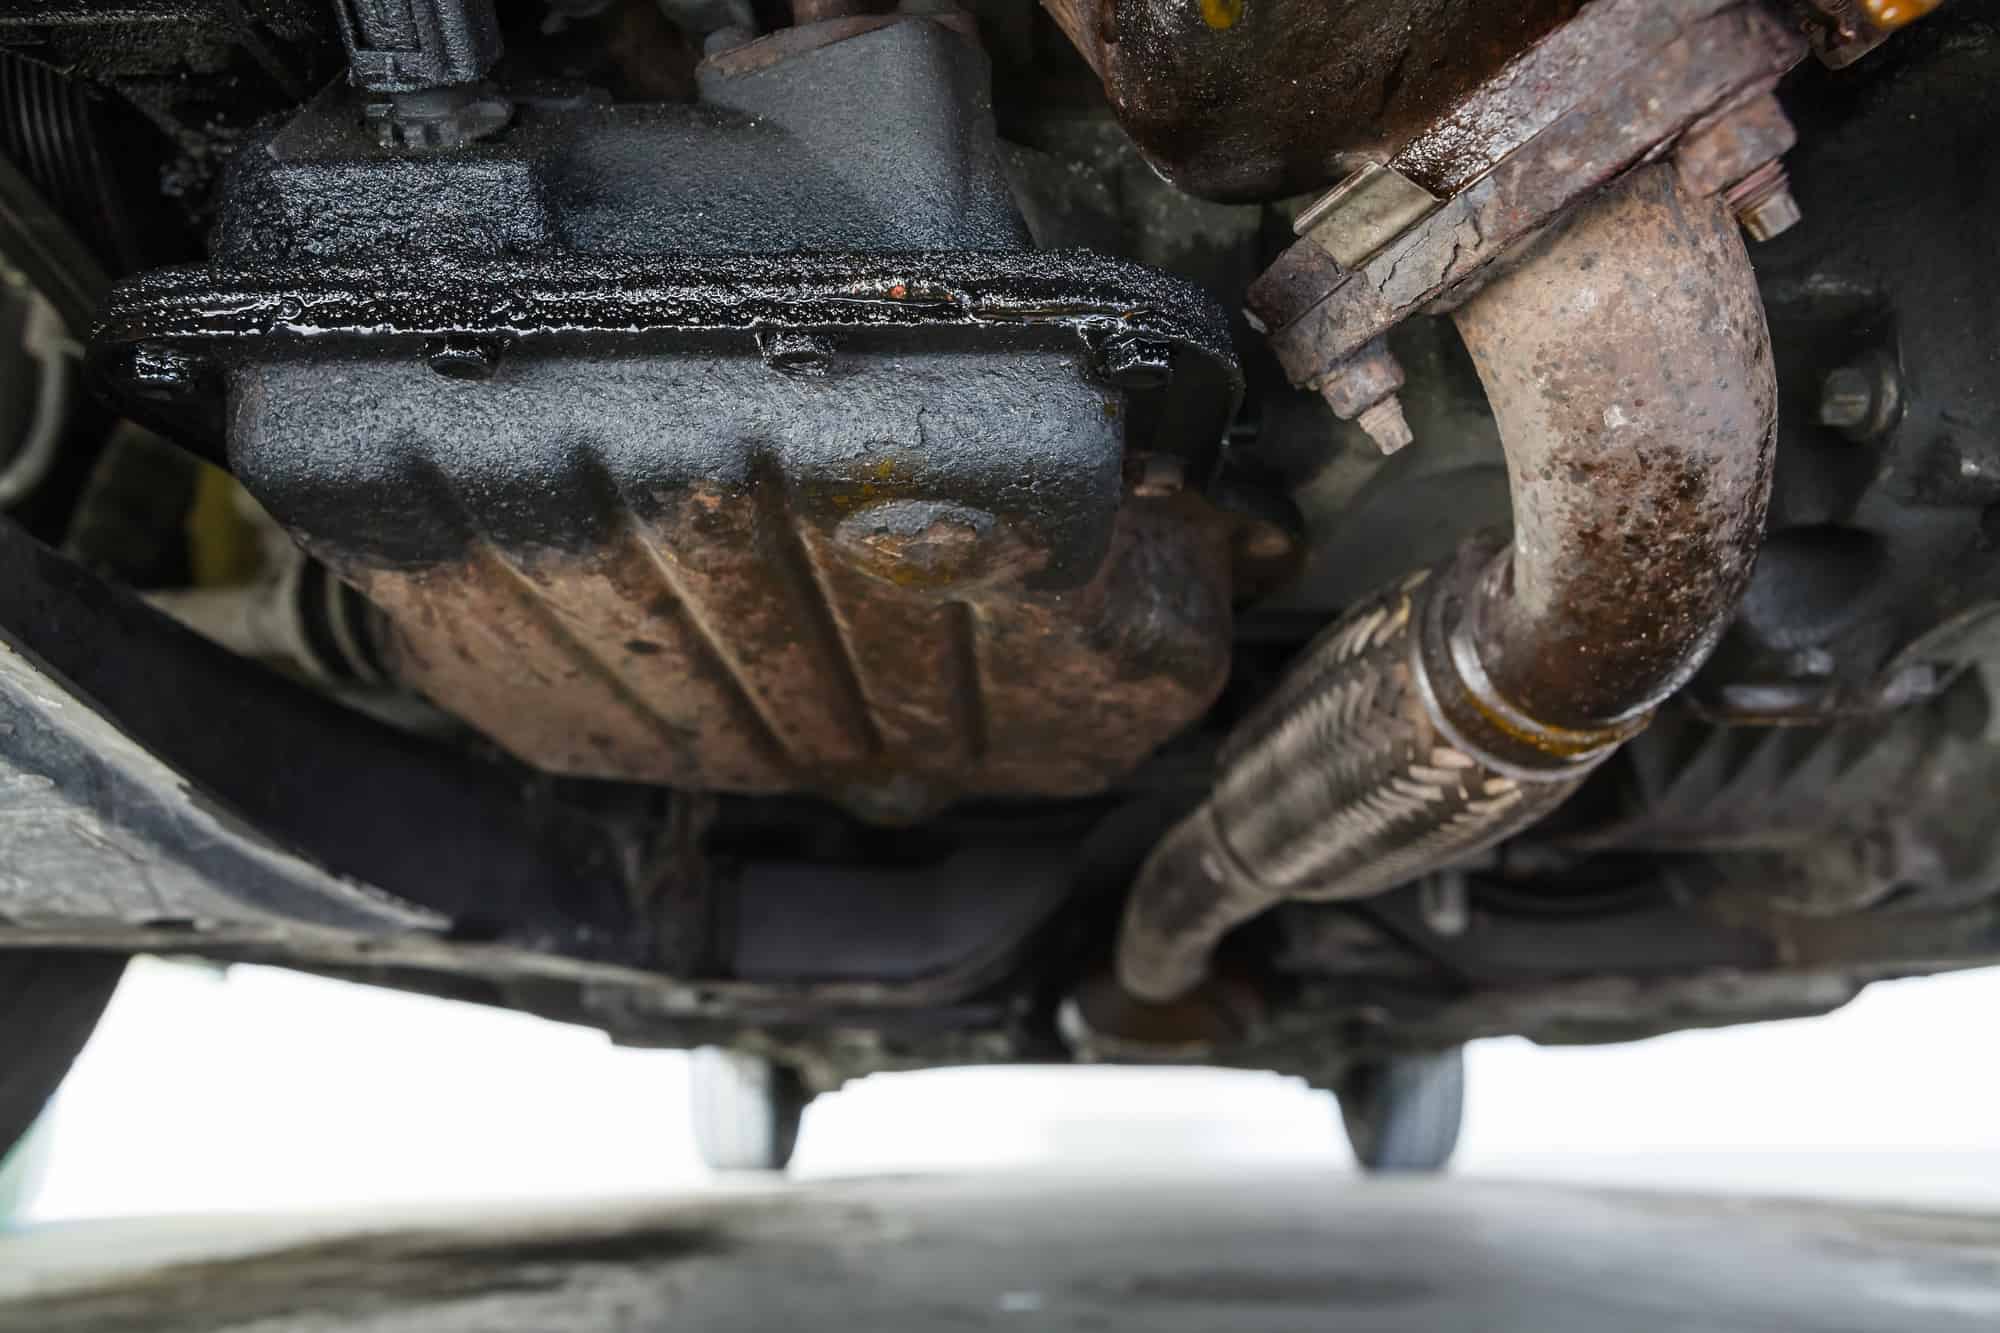
- Oil Pan Gasket: Located at the bottom of the engine, this gasket seals the oil pan to the engine block. Due to its location, it's often exposed to road debris and temperature fluctuations, making it a frequent source of leaks.
- Rear Main Seal: Situated between the engine and the transmission, this seal prevents oil from leaking from the rear of the crankshaft. It's a challenging area to access, often requiring transmission removal for replacement.
- Front Main Seal (Timing Cover Seal): This seal prevents oil from leaking from the front of the crankshaft, usually behind the harmonic balancer (crank pulley).
- Oil Filter Housing/Adapter: The oil filter is either mounted directly to the engine block or via an adapter. Seals and gaskets in this area can deteriorate and leak.
- Oil Pressure Sensor/Switch: This sensor monitors oil pressure. It's a threaded component that seals to the engine block, and the threads or sensor itself can become damaged, causing leaks.
- Timing Cover Gasket/Seal: If the engine has a timing cover (especially on engines with timing belts), the gasket or seal between the timing cover and the engine block can leak.
- Turbocharger Oil Lines: For turbocharged engines, the oil lines feeding and draining the turbocharger are potential leak points. The fittings and gaskets associated with these lines can fail.
- PCV Valve: A clogged PCV (Positive Crankcase Ventilation) valve can cause excessive crankcase pressure, forcing oil out of seals and gaskets.
How It Works (The Leak Formation Process)
Oil leaks occur when the integrity of a seal or gasket is compromised, allowing oil to escape the engine's pressurized lubrication system. Several factors contribute to this:
- Deterioration of Rubber and Synthetic Materials: Over time, rubber and synthetic gaskets and seals harden, crack, and lose their elasticity due to heat, oil exposure, and age. This degradation reduces their sealing ability.
- Thermal Cycling: Repeated heating and cooling cycles cause expansion and contraction, stressing the seals and gaskets. This constant stress can lead to cracking and failure.
- High Pressure: The engine's oil pump creates pressure to circulate oil throughout the engine. This pressure exacerbates any existing weaknesses in seals and gaskets, forcing oil through even the smallest openings.
- Improper Installation: Incorrect installation of gaskets or seals during maintenance or repairs can lead to immediate leaks or premature failure. Using the correct torque specifications is crucial.
- Contamination: Dirt, debris, and other contaminants can embed themselves in seals and gaskets, creating pathways for oil to leak.
- Excessive Crankcase Pressure: A malfunctioning PCV valve can cause excessive pressure buildup within the engine's crankcase. This pressure can force oil past seals and gaskets that would otherwise hold.
- Physical Damage: Road debris, impacts, or even overtightening can physically damage seals and gaskets, leading to immediate leaks.
Real-World Use – Basic Troubleshooting Tips
Diagnosing oil leaks requires a methodical approach. Here's a basic troubleshooting guide:
- Clean the Engine: Thoroughly clean the engine using a degreaser and pressure washer (exercise caution around electrical components). A clean engine makes it much easier to pinpoint the source of the leak.
- Inspect for Obvious Leaks: Visually inspect all potential leak points listed above. Use a flashlight to examine hard-to-reach areas. Look for wet spots, oil residue, or drips.
- Check Oil Level: Monitor your engine oil level regularly. A significant drop in oil level indicates a substantial leak.
- Use Dye: Add UV dye to your engine oil (available at most auto parts stores). Run the engine briefly, then use a UV light to trace the source of the leak. The dye will glow under UV light, making it easier to identify the origin.
- Check PCV Valve: Inspect the PCV valve for proper operation. A clogged PCV valve can be tested by removing it and shaking it. It should rattle freely. If it's stuck or clogged, replace it.
- Sniff Test: Sometimes the smell of burning oil can help locate the leak. If you smell burning oil inside the cabin, the leak is likely near the exhaust manifold.
- Pressure Test (Advanced): A leak-down test or compression test can help identify internal leaks, although these are less common for oil leaks.
Remember to document your findings and take pictures of any suspected leak locations. This will be helpful when ordering parts or consulting with a mechanic.
Safety – Highlight Risky Components
Working around a running engine poses several safety risks. Be extremely cautious when inspecting for leaks while the engine is running.
- Hot Surfaces: Exhaust manifolds, exhaust pipes, and other engine components can reach extremely high temperatures. Avoid touching these parts to prevent burns. Allow the engine to cool down before working on it.
- Moving Parts: Keep your hands, clothing, and tools away from moving parts such as belts, pulleys, and the cooling fan. These components can cause serious injury.
- Electrical Components: Be cautious when working around electrical components. Avoid getting water or degreaser on electrical connectors. Disconnect the negative battery cable before performing any repairs to prevent electrical shocks.
- Jacking and Supports: Always use jack stands to support the vehicle when working underneath it. Never rely solely on a jack. Ensure the jack stands are placed on a solid, level surface.
- Eye Protection: Wear safety glasses to protect your eyes from oil, debris, and other contaminants.
- Gloves: Wear gloves to protect your skin from oil, grease, and chemicals.
Always prioritize safety when working on your vehicle. If you're unsure about any step, consult a qualified mechanic.
By understanding the common causes of oil leaks and employing proper troubleshooting techniques, you can effectively diagnose and address these issues, saving you time, money, and potential engine damage. Armed with this knowledge, you're well-equipped to tackle these challenges head-on.
We have a detailed diagram illustrating common oil leak locations and components. We have the file and you can request download to assist you further in your diagnostic process.