What Comes With A Oil Change
Alright, let's talk oil changes. You might think it's just draining the old and pouring in the new, but a proper oil change involves a bit more than that. Knowing what's actually involved can help you troubleshoot issues, understand preventative maintenance, and even save some money in the long run. This isn't just about topping up; it's about maintaining the lifeblood of your engine.
Purpose of Understanding the Oil Change Process
Why bother understanding the intricacies of an oil change beyond the basics? Several reasons. First, for repairs. Knowing what should be replaced during a change helps you identify potential issues if something goes wrong after the service. Did the mechanic forget something? Did they use the wrong parts? Second, learning. Understanding the why behind each step helps you better diagnose engine problems and appreciate the importance of regular maintenance. Finally, for DIYers, it's about performing the job correctly and confidently, avoiding costly mistakes and ensuring the longevity of your engine. We’re diving deeper than just the drain-and-fill – we're talking about the components, the checks, and the considerations that make an oil change effective.
Key Specs and Main Parts Involved
The central parts of an oil change aren't numerous, but their function is critical. The three main components are:
- Engine Oil: The lubricant that reduces friction between moving engine parts. Its viscosity (thickness) is a crucial specification, often denoted as something like 5W-30 or 10W-40. The 'W' stands for 'Winter', indicating its cold-weather performance. Always use the grade recommended in your owner's manual.
- Oil Filter: This component removes contaminants and debris from the oil, preventing them from circulating through the engine. There are spin-on filters and cartridge filters, each with its own installation procedure. Micron rating is a key spec, indicating the size of particles it can filter out.
- Drain Plug Gasket (or Washer): Typically a copper or aluminum crush washer, it ensures a tight seal between the drain plug and the oil pan, preventing leaks. These are generally single-use items.
Beyond these core components, you'll also need the right tools: a wrench for the drain plug, an oil filter wrench (if needed), a funnel, and a drain pan. And don't forget gloves and shop towels!
Decoding Common Symbols and Terminology
Understanding the terminology associated with oil changes is essential. Here's a breakdown of common terms:
- Viscosity: A fluid's resistance to flow. Higher viscosity means thicker oil.
- API Rating: A rating system developed by the American Petroleum Institute (API) to classify oil quality (e.g., SN, SP). Higher ratings generally indicate better protection.
- SAE Grade: The Society of Automotive Engineers (SAE) defines the viscosity grades of motor oils (e.g., 5W-30).
- Micron Rating: The smallest particle size an oil filter can effectively remove. Lower micron ratings mean finer filtration.
- Torque Spec: The specific amount of force to apply when tightening the drain plug and oil filter. This is crucial to prevent leaks and damage. Consult your vehicle's service manual for the correct torque spec.
- Full Synthetic Oil: Oil manufactured using chemical synthesis, offering superior performance and protection compared to conventional oil.
- Synthetic Blend Oil: A mixture of synthetic and conventional oils, providing a balance of performance and cost.
- Conventional Oil: Oil derived directly from crude oil.
How an Oil Change Actually Works: The Step-by-Step Process
The process of an oil change is simple. It leverages gravity to drain the old fluid and then replaces it with fresh fluid and a new filter.
- Preparation: Warm up the engine slightly (not hot!), park the vehicle on a level surface, and secure it with wheel chocks and the parking brake. Gather all your tools and materials.
- Draining the Old Oil: Locate the oil drain plug on the oil pan (usually at the bottom of the engine). Place the drain pan underneath, loosen the plug with a wrench, and carefully remove it, allowing the oil to drain completely. Be careful; the oil will be hot!
- Replacing the Oil Filter: While the oil is draining, remove the old oil filter. Spin-on filters usually require an oil filter wrench. Cartridge filters are typically housed in a canister that needs to be unscrewed. Before installing the new filter, lubricate the rubber gasket on the new filter with fresh oil. This ensures a good seal.
- Installing the Drain Plug: Once the oil has finished draining, clean the drain plug and install a new drain plug gasket (washer). Tighten the plug to the correct torque specification. Over-tightening can damage the oil pan.
- Installing the New Oil Filter: Install the new oil filter, tightening it by hand (usually about ¾ of a turn after the gasket makes contact). Again, avoid over-tightening.
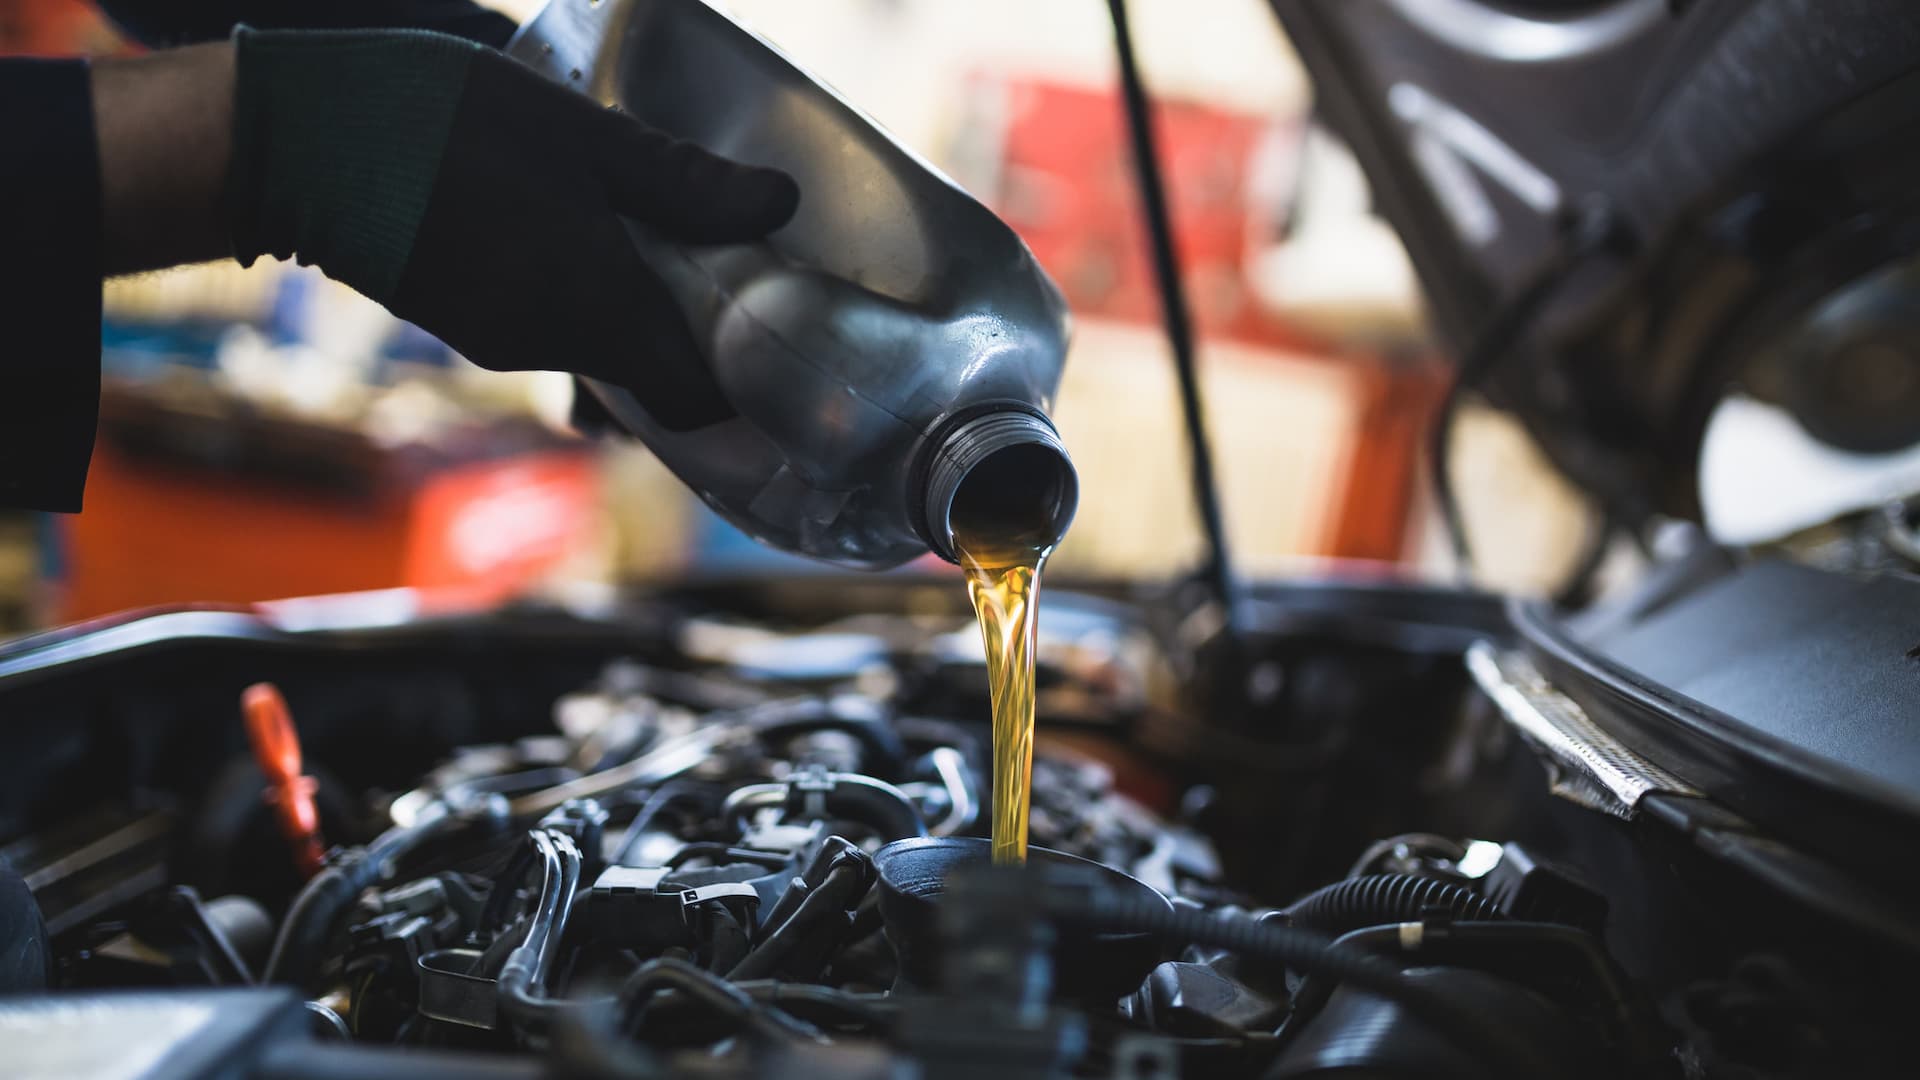
- Adding New Oil: Locate the oil filler cap (usually marked with an oil can symbol). Remove the cap and use a funnel to add the correct amount of new oil, as specified in your owner's manual.
- Checking the Oil Level: Replace the oil filler cap. Start the engine and let it run for a minute or two. Check for leaks around the drain plug and oil filter. Turn off the engine and wait a few minutes for the oil to settle. Check the oil level using the dipstick. Add more oil if necessary to reach the "full" mark.
- Proper Disposal: Dispose of the used oil and filter properly at a recycling center.
Real-World Use: Troubleshooting Basic Issues
Even with careful execution, problems can arise. Here are some common troubleshooting tips:
- Oil Leaks: Check the drain plug and oil filter for tightness. A leak could indicate a damaged gasket or improper installation. Retorque to specification.
- Low Oil Pressure: Could indicate a clogged oil filter or low oil level. Check the oil level first. If the problem persists, consult a mechanic.
- Milky Oil: This indicates coolant contamination, which could be a sign of a blown head gasket or cracked cylinder head. This requires immediate professional attention.
- Engine Knocking: Could be caused by insufficient lubrication due to low oil level or incorrect oil viscosity. Check the oil level and ensure you're using the correct grade of oil.
Safety: Highlighting Risky Components and Practices
Safety is paramount when working on your vehicle:
- Hot Oil: Be extremely careful when draining hot oil. Wear gloves and eye protection. Allow the engine to cool slightly before draining the oil.
- Jacking Up the Vehicle: Use proper jacking points and always use jack stands. Never work under a vehicle supported only by a jack.
- Over-Tightening: Avoid over-tightening the drain plug and oil filter. Use a torque wrench and follow the specified torque values. Over-tightening can damage the oil pan or filter housing.
- Environmental Responsibility: Dispose of used oil and filters properly at a recycling center. Never pour used oil down the drain or onto the ground.
Performing an oil change is a simple task, but understanding the details and nuances is crucial for preventing problems and ensuring the longevity of your engine. By understanding the components, the process, and the potential pitfalls, you can confidently maintain your vehicle and troubleshoot issues effectively.
To help you further, we have a detailed oil change diagram that visualizes all the components and steps. It's a great resource for both visual learners and those who want a quick reference. You can download it here.