What Do Brake Pads Look Like
Okay, let's dive into brake pads. You're a DIYer with some experience, so you probably know your way around a toolbox. Understanding what a brake pad looks like, its components, and how it functions is crucial for performing brake jobs safely and effectively. This isn't just about slapping new pads on; it's about diagnosing issues, selecting the right parts, and ensuring your braking system performs optimally. We've got a detailed diagram available for download – but let's first break down everything you need to know about these vital components.
Purpose of Understanding Brake Pad Anatomy
Why bother with a detailed look at a brake pad? Well, it goes beyond simply knowing they're the things that stop your car. This knowledge empowers you to:
- Diagnose Brake Problems: Squealing, grinding, or pulsating brakes? Knowing the pad's structure can help pinpoint the cause.
- Choose the Right Pads: Different compounds (ceramic, semi-metallic, organic) suit different driving styles and vehicle types. Understanding their construction helps you make informed choices.
- Perform Safe Repairs: Brake work is safety-critical. A solid understanding reduces the risk of errors.
- Identify Wear Patterns: Uneven wear can indicate caliper issues, rotor problems, or other suspension-related concerns.
- Evaluate Performance Upgrades: Considering performance pads? Knowing their composition allows you to understand their strengths and weaknesses.
Key Specs and Main Parts of a Brake Pad
Let's break down the anatomy of a typical brake pad. While designs vary slightly, the core components remain consistent.
Main Components:
- Friction Material (Brake Pad Lining): This is the heart of the brake pad. It's the material that presses against the rotor to create friction and slow the vehicle. Common materials include:
- Semi-Metallic: Offer good stopping power and heat dissipation but can be noisy and wear rotors faster.
- Organic (Non-Asbestos Organic – NAO): Quieter than semi-metallic but produce more dust and may not perform as well under extreme heat.
- Ceramic: Low noise, low dust, and good stopping power, but generally more expensive.
- Backing Plate (Steel Plate): This provides structural support for the friction material and allows the pad to be mounted in the caliper. It’s usually made of steel.
- Underlayer (Optional): Some pads have an underlayer between the friction material and the backing plate. This layer can help with noise reduction and heat insulation.
- Wear Indicator (Mechanical or Electronic): A small metal tab that rubs against the rotor when the pad is worn down, creating a squealing noise. Some vehicles use electronic sensors that trigger a warning light on the dashboard.
- Slots and Chamfers: These features are designed to reduce noise, vibration, and harshness (NVH) by disrupting airflow and reducing sharp edges.
- Retaining Clips or Hardware: These clips and springs ensure the pad is properly positioned within the caliper and prevent it from rattling.
Key Specs:
- Friction Coefficient (µ): This indicates how much friction the pad generates. Higher values mean more stopping power, but can also mean more rotor wear.
- Operating Temperature Range: The temperature range within which the pad performs optimally. Exceeding this range can lead to brake fade (loss of stopping power).
- Pad Thickness: The thickness of the friction material. This is the primary indicator of pad wear. Minimum thickness specifications are typically provided by the manufacturer.
- Pad Dimensions: The overall size and shape of the pad, crucial for ensuring it fits properly within the caliper.
Understanding Symbols and Markings
Brake pads often have markings or symbols indicating their specifications. These can include:
- Friction Rating (e.g., FF, GG, HH): Standardized rating indicating the pad's friction coefficient at different temperatures. The first letter indicates the coefficient at normal temperatures, and the second letter indicates the coefficient at higher temperatures. Higher letters indicate higher friction.
- Manufacturer Logo/Part Number: Identifies the manufacturer and the specific part number for that pad.
- Date Code: Indicates the date of manufacture.
- Wear Indicator Symbol: If equipped with an electronic wear sensor, a symbol may indicate its presence.
The diagram we provide will likely use lines to indicate dimensions, cross-hatching to represent different materials, and potentially color-coding to distinguish between components (e.g., blue for steel, gray for friction material). A legend will explain the meaning of each symbol used in the diagram.
How Brake Pads Work
The principle is simple: friction. When you press the brake pedal, hydraulic pressure forces the brake caliper piston to push the brake pad against the rotor. The friction between the pad's friction material and the rotor slows the rotor's rotation, which in turn slows the wheel's rotation, ultimately stopping the vehicle.
Here's a breakdown:
- Pedal Activation: Pressing the brake pedal activates the master cylinder.
- Hydraulic Pressure: The master cylinder sends pressurized brake fluid through the brake lines.
- Caliper Activation: The pressurized fluid reaches the brake caliper, forcing the piston(s) to extend.
- Pad Engagement: The piston(s) push the brake pad against the rotor.
- Friction and Deceleration: The friction between the pad and rotor converts kinetic energy (motion) into heat, slowing the vehicle.
Real-World Use and Basic Troubleshooting
Okay, let's get practical. Here's how understanding brake pad anatomy can help with troubleshooting:
- Squealing Brakes: Often caused by worn pads (wear indicator rubbing), glazed pads (overheating), or contaminated pads (oil, grease). Visually inspect the pads for thickness and contamination. Check for rotor condition.
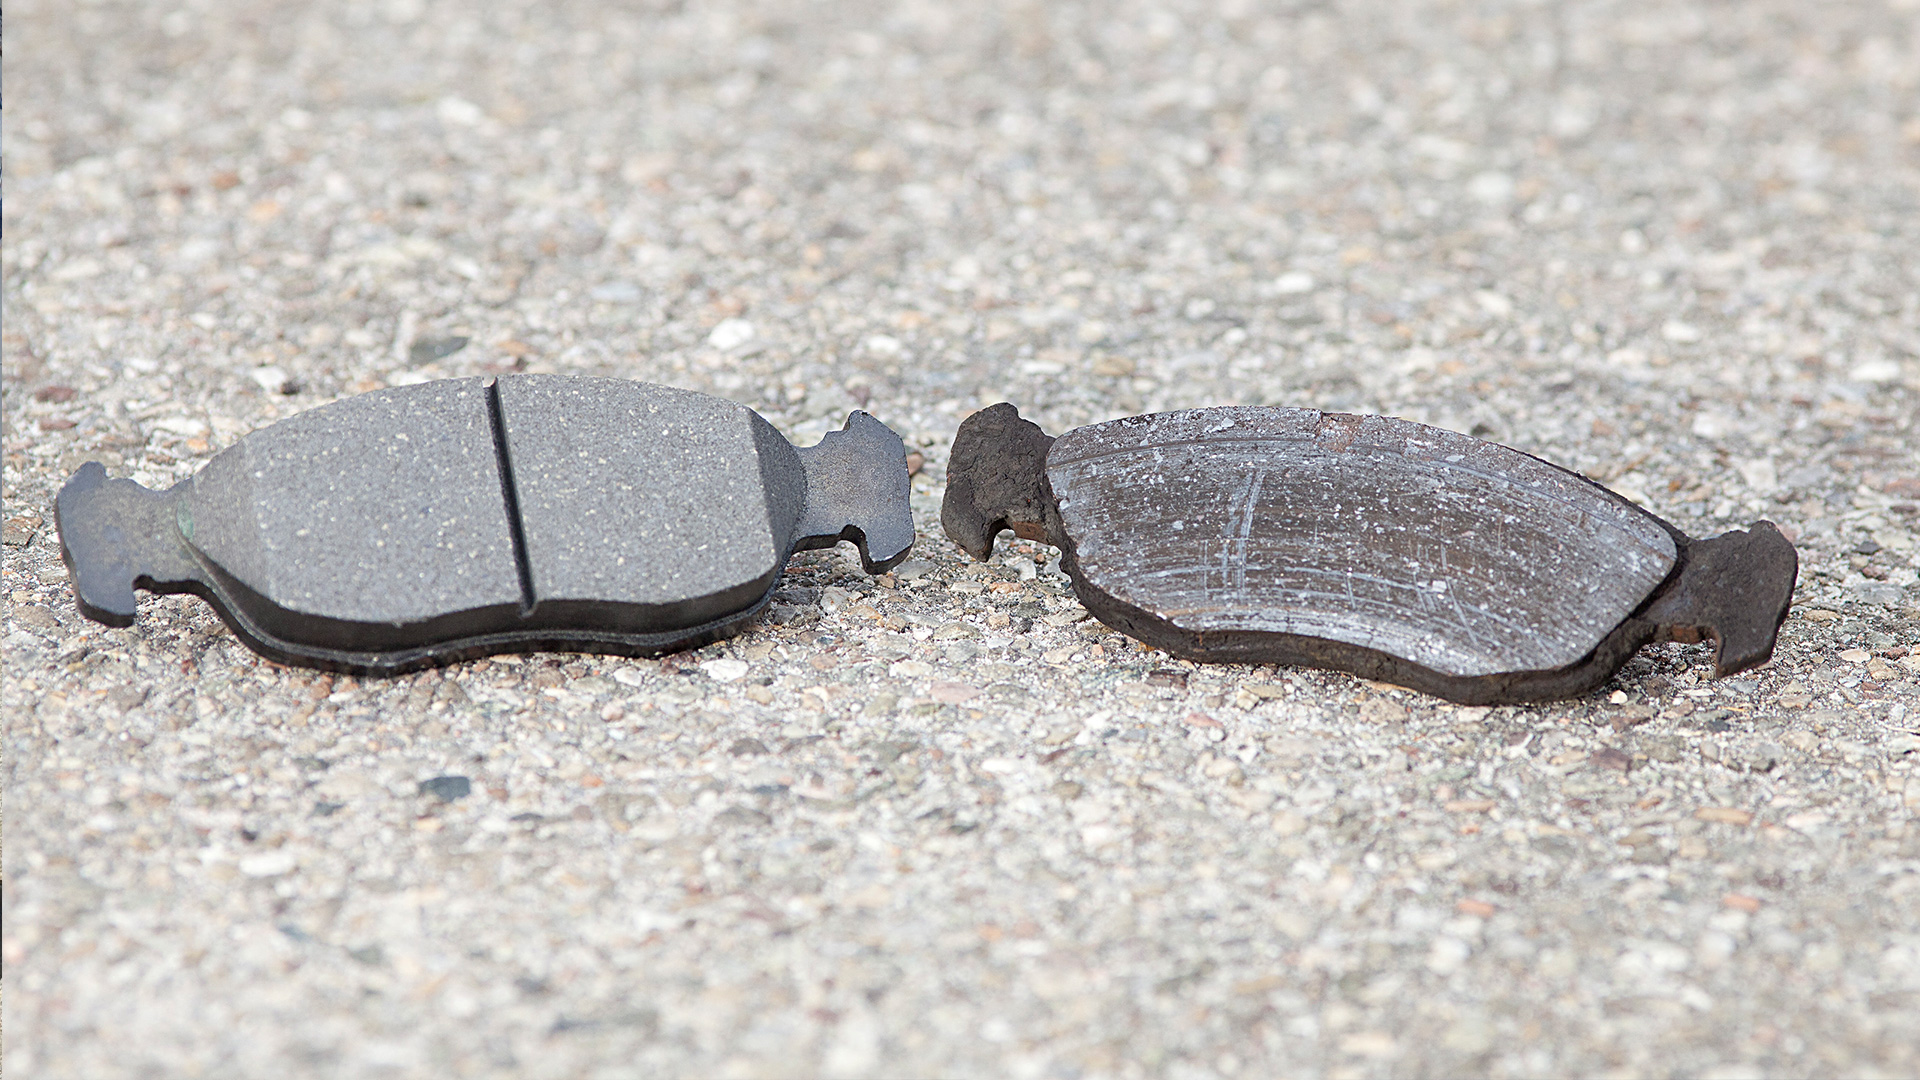
- Grinding Brakes: Usually indicates that the friction material is completely gone, and the backing plate is rubbing against the rotor. This is a serious problem that can damage the rotors beyond repair. Immediate replacement is needed.
- Pulsating Brakes: Can be caused by warped rotors or uneven pad deposits on the rotor surface. Inspect the rotors for runout (warping) and scoring.
- Uneven Pad Wear: Indicates potential caliper issues (stuck piston), slider pin problems, or suspension problems. Check caliper movement and slider pin lubrication.
- Excessive Brake Dust: Some pads (especially semi-metallic) produce more dust than others. However, excessive dust can also indicate excessive wear or a problem with the pad material.
Safety Considerations
Brake work is inherently risky because your life and the lives of others depend on its proper execution. Here are some key safety points:
- Brake Fluid: Brake fluid is corrosive and can damage paint. Wear eye protection and gloves.
- Dust: Brake dust can contain harmful materials. Avoid breathing it in. Use a brake cleaner specifically designed to minimize dust dispersion.
- Caliper Support: Never let a caliper hang by its brake hose. Support it with a bungee cord or wire.
- Torque Specifications: Always torque all fasteners to the manufacturer's specifications. Over-torquing can damage components, and under-torquing can lead to failure.
- Bleeding Brakes: After replacing brake pads, it's crucial to bleed the brakes to remove air from the brake lines. Air in the lines can significantly reduce braking performance.
- Pad Bedding: After installing new pads, follow the manufacturer's recommended bedding procedure to properly transfer friction material to the rotors. This ensures optimal braking performance and reduces noise.
The brake rotor itself, while not part of the pad, is a directly related and critical component. Always inspect rotors for damage (cracks, excessive wear) and replace them if necessary. The calipers themselves contain seals and pistons that are under high pressure, so understand the risks if you disassemble them beyond simple pad replacement.
By understanding the anatomy of a brake pad, you are better equipped to maintain a safe and reliable braking system. Remember, when in doubt, consult a qualified mechanic. Safety always comes first.
We have the detailed brake pad diagram we discussed ready for you. It's a downloadable file containing a comprehensive illustration and labeled parts. It is a helpful visual aid when working on your brakes.