What Do I Need For A Oil Change
Alright, you're tackling an oil change – a cornerstone of vehicle maintenance. Good on you! It's a relatively straightforward process, but having the right tools and supplies is crucial for a clean, efficient, and safe job. This article will guide you through everything you need, going beyond just the basic "oil and filter" to ensure you're well-prepared and understand the purpose of each item.
Purpose – Why Proper Preparation Matters
Why go through this checklist in detail? Simple: a well-prepared oil change is a faster, cleaner, and safer oil change. It minimizes frustration, prevents messes, and ensures you're not caught off guard mid-process. It also provides an opportunity to inspect other components in your engine bay. Regularly performing your own oil changes also saves money in the long run, plus you get the satisfaction of knowing you're taking excellent care of your vehicle. More importantly, by going through this article, you will gain a better understanding of the oil system itself.
Key Specs and Main Parts
Before diving into the specific tools, let's cover the key components and specs you need to know:
- Engine Oil: The lifeblood of your engine. The viscosity (e.g., 5W-30) is crucial. Refer to your owner's manual! Using the wrong viscosity can lead to poor lubrication, increased wear, and even engine damage. Synthetic oil, while more expensive, offers superior protection and longer intervals for many vehicles. Consult your manual for recommendations.
- Oil Filter: This removes contaminants from the oil. Always use a filter designed for your specific vehicle. Aftermarket performance filters can offer higher flow rates and filtration efficiency, but ensure they meet your vehicle's requirements. A filter's micron rating determines the size of particles it can capture; lower micron ratings mean finer filtration.
- Oil Filter Wrench: Allows you to easily remove and install the oil filter. There are various types, including cap-type, strap-type, and claw-type. Choose one that fits your filter size and provides good leverage. Some vehicles require a specific type due to limited space.
- Wrench for Drain Plug: A wrench or socket of the correct size for your oil drain plug. This is often a metric size (e.g., 13mm, 15mm, 17mm). Using the wrong size can strip the drain plug's head.
- Drain Pan: A container to catch the old oil. Choose one large enough to hold all the oil (typically 5-7 quarts for passenger vehicles). Ensure it's stable and won't tip over.
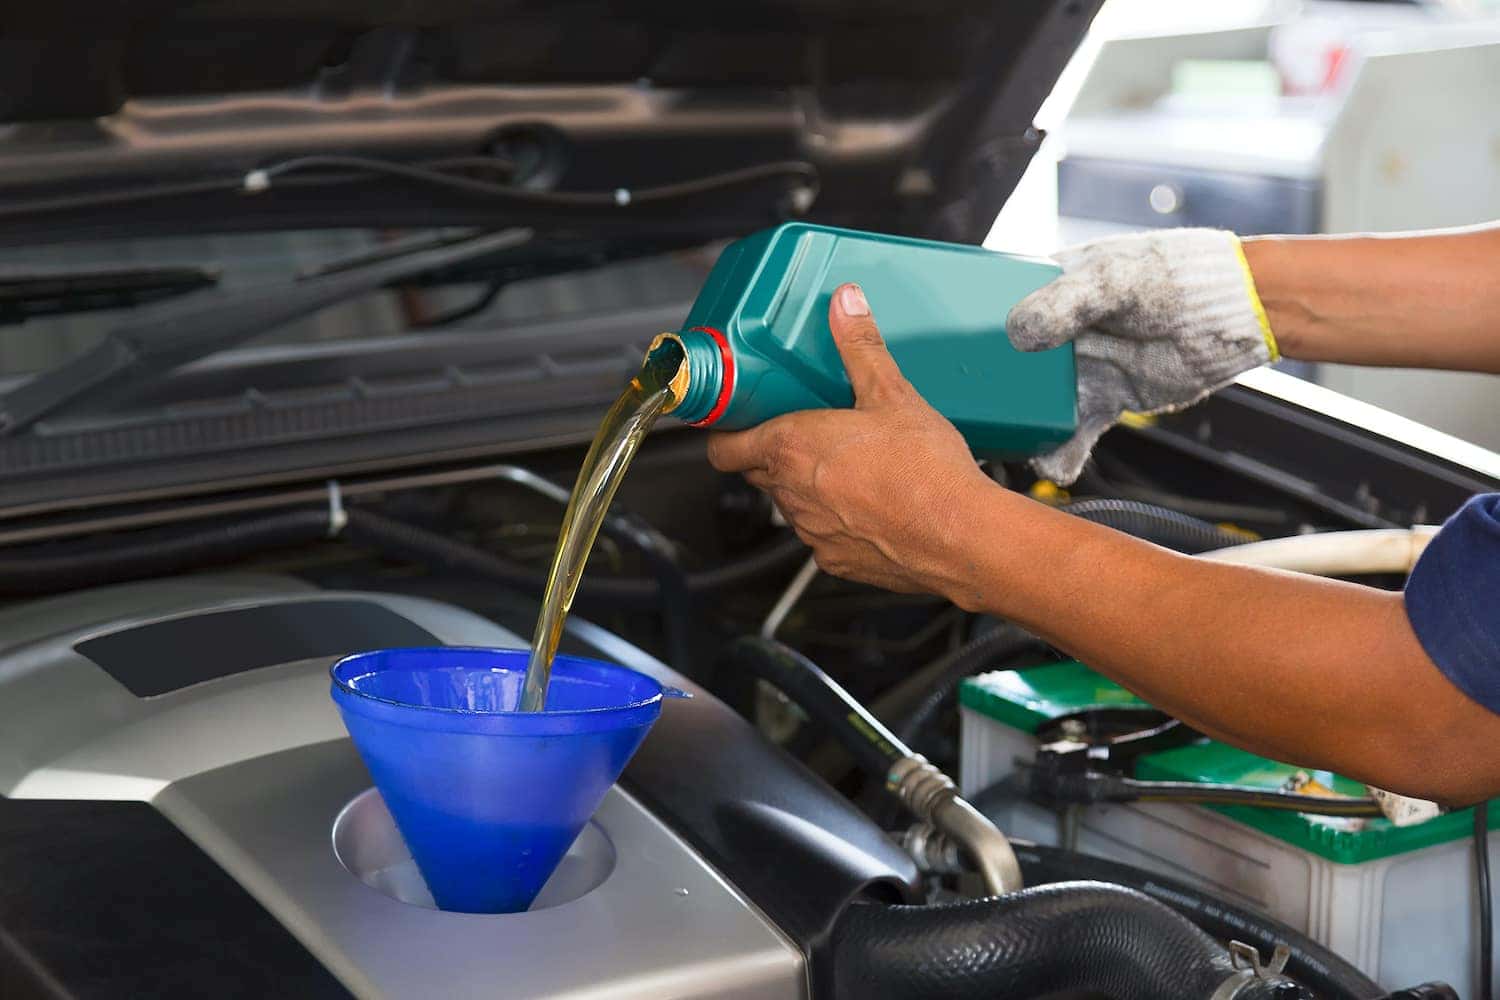
- Funnel: For adding the new oil to the engine. This prevents spills and ensures the oil goes where it's supposed to.
- Gloves: Protect your hands from hot oil and grime. Nitrile gloves are a good choice, as they are resistant to oil and chemicals.
- Rags or Shop Towels: For wiping up spills and cleaning your hands. Use lint-free rags to avoid contaminating the engine.
- Jack and Jack Stands (or Ramps): To safely lift the vehicle and access the drain plug. Never work under a vehicle supported only by a jack! Jack stands are essential for safety. Ramps are a convenient alternative, but ensure they are rated for the weight of your vehicle.
- Wheel Chocks: To prevent the vehicle from rolling. Place them behind the wheels opposite the ones you're lifting.
- Torque Wrench: To tighten the drain plug and oil filter to the correct torque specifications. Overtightening can damage the drain plug or filter housing, while undertightening can lead to leaks.
- Drain Plug Washer/Gasket: A new crush washer for the drain plug. This ensures a tight seal and prevents leaks. Always replace this washer with each oil change.
Understanding Oil Specifications
Let's delve a bit deeper into oil specs. The Society of Automotive Engineers (SAE) viscosity grade, like 5W-30, tells you about the oil's flow characteristics at different temperatures. The "W" stands for winter, and the number before it (5 in this case) indicates the oil's viscosity at low temperatures. A lower number means the oil flows more easily in cold weather. The number after the "W" (30 in this case) indicates the oil's viscosity at high temperatures. A higher number means the oil is thicker at operating temperature.
Furthermore, look for API (American Petroleum Institute) certifications. These certifications indicate that the oil meets certain performance standards. For example, look for API SN or API SP ratings, which are the latest standards.
How It Works – The Oil Change Process
While this article focuses on the materials, a brief overview of the oil change process is helpful:
- Warm up the engine slightly (a few minutes) to allow the oil to flow more easily. Be careful; the exhaust and engine components will be hot!
- Safely lift the vehicle and secure it with jack stands or ramps.
- Locate the oil drain plug and place the drain pan underneath it.
- Remove the drain plug and allow the old oil to drain completely.
- Remove the old oil filter. Lightly lubricate the rubber gasket on the new oil filter with fresh oil and install it. Tighten by hand, then another 1/2 to 3/4 turn.
- Install a new drain plug washer and reinstall the drain plug. Tighten to the specified torque.
- Lower the vehicle.
- Add the correct amount of new oil, as specified in your owner's manual.
- Check the oil level with the dipstick and add more if needed.
- Start the engine and let it run for a few minutes. Check for leaks around the drain plug and oil filter.
- Turn off the engine and recheck the oil level after a few minutes.
- Dispose of the used oil properly at an auto parts store or recycling center.
Real-World Use – Basic Troubleshooting Tips
- Stripped Drain Plug: This is a common problem caused by overtightening. If you strip the drain plug, you'll need to replace it. Consider using a self-tapping drain plug repair kit for a quick fix, or replace the entire oil pan.
- Oil Filter Stuck: Sometimes, the old oil filter can be difficult to remove. Use a stronger oil filter wrench or pierce the filter with a long screwdriver for added leverage (be careful not to damage the engine).
- Oil Leak After Oil Change: This is usually caused by a loose drain plug, a faulty oil filter gasket, or overtightening. Double-check the tightness of the drain plug and oil filter. If the leak persists, replace the filter gasket or drain plug washer.
- Oil Level Too High: Overfilling the engine with oil can cause serious damage. If you overfill, you'll need to drain some of the oil. Use a turkey baster or a drain plug removal tool to carefully drain excess oil.
Safety – Highlight Risky Components
Safety is paramount! Here are some key safety considerations:
- Hot Oil: Used engine oil can be extremely hot. Allow the engine to cool down slightly before draining the oil to prevent burns. Wear gloves and eye protection.
- Vehicle Stability: Never work under a vehicle supported only by a jack. Always use jack stands or ramps to secure the vehicle. Ensure the vehicle is parked on a level surface.
- Flammable Materials: Keep flammable materials away from the engine and exhaust. Used oil is flammable and should be handled with care.
- Proper Disposal: Dispose of used oil and filters properly at a designated recycling center or auto parts store. Do not pour oil down the drain or into the ground.
- Exhaust System: Be extremely cautious when working around the exhaust system. It gets incredibly hot and can cause severe burns. Allow it to cool completely before working near it.
Remember, this article provides general guidance. Always consult your vehicle's owner's manual for specific instructions and recommendations. Performing an oil change properly not only saves money but also ensures your engine remains healthy and performs optimally for years to come.
And to further assist you, we have a detailed oil system diagram available for download. This diagram illustrates the flow of oil through your engine, highlighting key components like the oil pump, oil filter, oil cooler (if equipped), and lubrication points. It's a valuable resource for understanding how your engine's lubrication system works and for troubleshooting potential issues. The diagram also includes common symbols used in automotive schematics, helping you interpret other diagrams in the future.