What Does An Oil Change Include
Alright, let's dive into what an oil change really includes. We're not just talking about draining the old stuff and pouring in the new; it's a more comprehensive process than you might think, even for seasoned DIYers. This detailed breakdown will give you the knowledge to perform a thorough oil change and spot potential issues along the way.
Purpose of Understanding Oil Change Procedures
Understanding the full scope of an oil change goes beyond just routine maintenance. It's about preventative care. Knowing what's involved allows you to:
- Identify potential problems early: Detecting worn parts or leaks during the process can save you from major repairs down the line.
- Optimize your engine's performance: Using the correct oil and filter type is crucial for longevity and efficiency.
- Perform the job correctly: Minimizing errors reduces the risk of engine damage.
- Save money: By doing it yourself, you cut out labor costs and gain valuable insights into your vehicle's condition.
Key Specs and Main Parts
An oil change centers around several key components, each with specific requirements:
1. Engine Oil
The lifeblood of your engine. Its primary functions include:
- Lubrication: Reducing friction between moving parts.
- Cooling: Dissipating heat generated by combustion.
- Cleaning: Carrying away contaminants like sludge and debris.
- Sealing: Providing a barrier between piston rings and cylinder walls.
- Protection: Preventing corrosion and wear.
Key Specs:
- Viscosity: Specified by the Society of Automotive Engineers (SAE) using a numerical code (e.g., 5W-30). The "W" stands for winter, and the numbers indicate the oil's thickness at low and high temperatures. Consult your owner's manual for the correct viscosity.
- API (American Petroleum Institute) Rating: Indicates the oil's performance level and suitability for different engine types (e.g., SN, SP). Newer ratings generally offer better protection.
- Oil Type: Conventional, synthetic blend, or full synthetic. Synthetic oils generally offer superior performance and protection, especially in demanding conditions, but may be more expensive.
2. Oil Filter
Removes contaminants from the engine oil, preventing them from circulating and causing damage. The filter media (usually paper or synthetic fibers) traps dirt, metal particles, and other debris.
Key Specs:
- Micron Rating: Indicates the size of particles the filter can capture. Lower micron ratings mean finer filtration.
- Filter Type: Spin-on or cartridge. Spin-on filters are self-contained units, while cartridge filters require replacing only the filter element within a housing.
- Bypass Valve: Allows oil to bypass the filter if it becomes clogged, preventing oil starvation to the engine (though unfiltered oil is better than no oil).
- Anti-Drainback Valve: Prevents oil from draining out of the filter when the engine is off, ensuring quick lubrication upon startup.
3. Drain Plug
Located at the bottom of the oil pan, it's removed to drain the old oil. Typically sealed with a crush washer to prevent leaks.
Key Specs:
- Thread Size and Pitch: Must match the threads in the oil pan.
- Material: Typically steel or aluminum.
- Torque Specification: Crucial for preventing leaks and damage to the oil pan threads. Always use a torque wrench!
- Crush Washer: Replace the crush washer every time you remove the drain plug. Different materials (aluminum, copper, fiber) have different sealing properties.
4. Oil Pan
The reservoir that holds the engine oil.
5. Tools
- Wrench/Socket Set: For removing the drain plug and oil filter.
- Oil Filter Wrench: Specific to your oil filter size.
- Torque Wrench: To tighten the drain plug and oil filter to the correct torque specification.
- Drain Pan: To catch the old oil.
- Funnel: To pour the new oil into the engine.
- Gloves: To protect your hands.
- Rags: For cleaning up spills.
How It Works: The Oil Change Process
- Preparation: Gather your supplies: new oil, new oil filter, drain plug washer, wrench, oil filter wrench, drain pan, funnel, and gloves. Warm up the engine slightly (a few minutes is sufficient) to help the oil flow more easily.
- Draining the Old Oil: Locate the drain plug on the oil pan. Position the drain pan underneath. Carefully loosen the drain plug with the correct wrench. Once loose, remove the plug by hand, being careful as the oil will be hot and flow quickly. Let the oil drain completely (typically 15-30 minutes).
- Replacing the Oil Filter: Locate the oil filter. Use the oil filter wrench to loosen and remove the old filter. Before installing the new filter, lightly lubricate the rubber gasket with fresh engine oil. This helps create a better seal. Screw the new filter on by hand until the gasket contacts the engine, then tighten it another ¾ to 1 full turn, or according to the filter manufacturer's instructions. It's important not to overtighten.
- Reinstalling the Drain Plug: Clean the drain plug and install a new crush washer. Tighten the drain plug to the manufacturer's specified torque using a torque wrench. Overtightening can damage the oil pan threads!
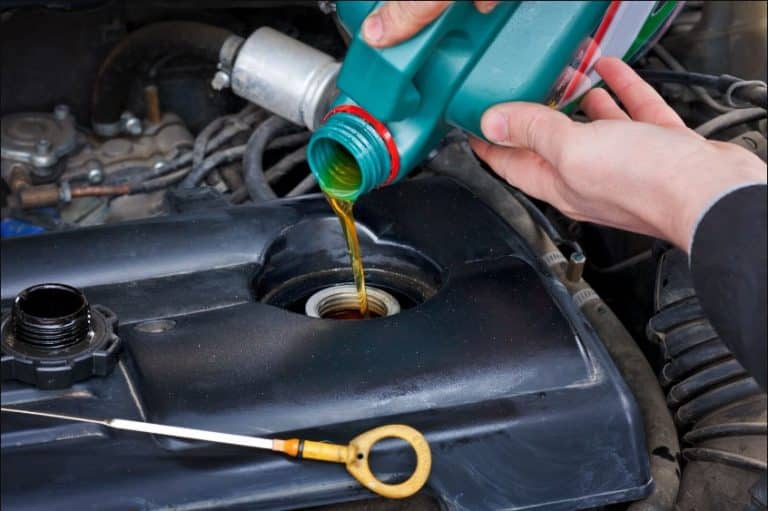
- Adding New Oil: Locate the oil filler cap on the engine. Remove the cap and insert a funnel. Pour in the correct amount of new oil as specified in your owner's manual. Be sure to use the correct type and viscosity of oil.
- Checking the Oil Level: Replace the oil filler cap. Start the engine and let it run for a few minutes. Check for leaks around the drain plug and oil filter. Turn off the engine and wait a few minutes to allow the oil to settle. Use the dipstick to check the oil level. Add more oil if necessary to reach the "full" mark.
- Resetting the Oil Life Monitor: Many modern vehicles have an oil life monitoring system. Reset the system according to your owner's manual.
- Disposing of the Old Oil Properly: Take the used oil and filter to a local recycling center or auto parts store for proper disposal. Never pour used oil down the drain or into the ground.
Real-World Use: Basic Troubleshooting Tips
Here are a few common issues you might encounter and how to address them:
- Drain plug stripped: If the drain plug threads are stripped, you might need to use a slightly oversized self-tapping drain plug or, in more severe cases, repair the threads with a thread repair kit (e.g., Heli-Coil).
- Oil filter stuck: Use a penetrating oil and a more aggressive oil filter wrench to remove a stubborn filter. Be careful not to damage the filter mount.
- Oil leak after the change: Double-check the drain plug and oil filter for proper tightness. Make sure the drain plug has a new crush washer. If the leak persists, inspect the oil pan gasket or oil filter adapter for damage.
- Low oil pressure after the change: Ensure you've used the correct type and amount of oil. Check the oil level again. If the problem persists, it could indicate a more serious issue with the engine's oil pump.
Safety - Highlight Risky Components
Safety is paramount. Keep these points in mind:
- Hot Oil: Be extremely careful when draining the hot oil. It can cause severe burns. Wear gloves and eye protection.
- Lifting the Vehicle: Always use jack stands when working under a vehicle supported by a jack. Never rely solely on the jack. Use the correct jacking points to avoid damaging the vehicle's frame.
- Electrical Components: While not directly involved in the oil change, be mindful of nearby electrical components (sensors, wiring harnesses) to avoid accidental damage.
- Proper Disposal: Used oil is hazardous waste. Dispose of it responsibly at a designated recycling center.
- Torque Specs: Always adhere to the manufacturer's torque specifications for the drain plug and oil filter. Overtightening can lead to damage.
With this knowledge, you're well-equipped to perform a thorough and effective oil change. Happy wrenching!