What Does Bad Rotors Look Like
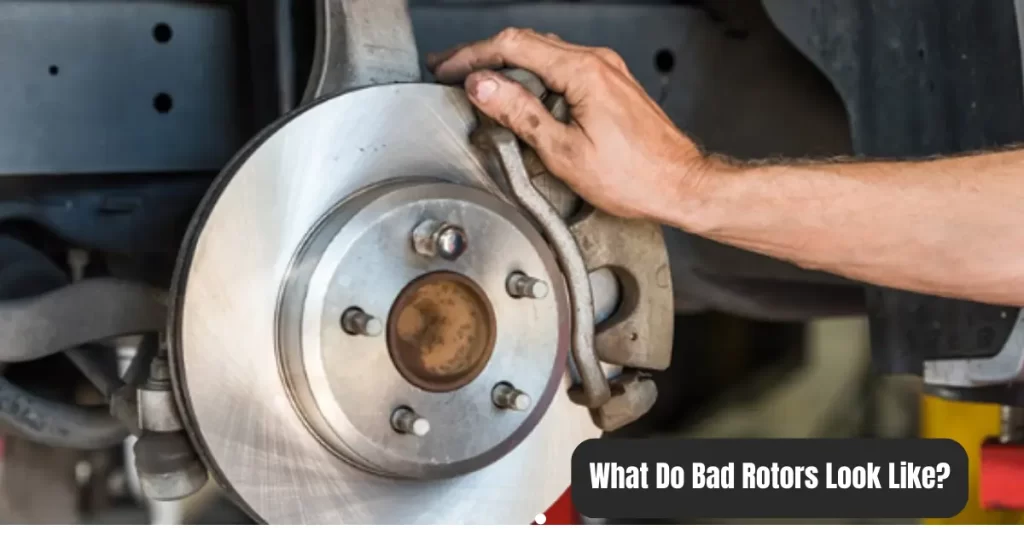
Let's talk about brake rotors – specifically, what *bad* rotors look like. Whether you're performing routine maintenance, upgrading your brake system, or just troubleshooting a noisy or vibrating ride, understanding rotor condition is crucial. This knowledge will help you determine if a rotor needs resurfacing (if possible) or outright replacement, saving you time, money, and potential safety issues down the road. We're going to dive deep, but I'll break it down in a way that's clear and practical for the experienced DIYer.
Purpose: Why This Matters
Why bother learning about bad rotors? Well, consider this: your brake rotors are a critical part of your braking system. They're the friction surface your brake pads grip to slow or stop your vehicle. A damaged or worn rotor compromises that friction, leading to:
- Reduced Braking Performance: Longer stopping distances, especially in emergency situations.
- Increased Wear on Other Components: Bad rotors can prematurely wear out brake pads and even damage calipers.
- Unsafe Driving Conditions: Vibrations, noises, and unpredictable braking can make driving dangerous.
- Wasted Money: Ignoring rotor issues can lead to more expensive repairs down the line.
By recognizing the signs of bad rotors early, you can proactively address the problem, maintain a safe and reliable vehicle, and potentially save a significant amount of money. This isn't just about diagnosing problems; it's about preventative maintenance.
Key Specs and Main Parts
Before we get into the specific signs of rotor damage, let's quickly review the basic parts and specs:
- Rotor Surface (Friction Surface): The smooth, machined area where the brake pads make contact. This is where the most visible wear and damage will occur.
- Rotor Thickness: A crucial spec. Rotors have a minimum thickness specification, typically stamped on the rotor itself or found in your vehicle's repair manual. Going below this thickness compromises heat dissipation and structural integrity.
- Rotor Diameter: The overall diameter of the rotor. Important for ensuring correct fitment and caliper compatibility.
- Vanes (Ventilation): Located between the rotor faces, these vanes help dissipate heat generated during braking. Blocked or damaged vanes can lead to overheating.
- Hub Mounting Surface: The area where the rotor mounts to the wheel hub. This surface needs to be clean and flat for proper rotor runout (more on that later).
- Brake Pad Contact Area: The section of the rotor surface where the brake pad physically touches the rotor during braking. Uneven wear here indicates potential issues.
Visual Indicators of Bad Rotors
Here's where we get into the nitty-gritty. These are the visual cues that scream "rotor problems!"
1. Excessive Rust and Corrosion
Surface rust is normal, especially in wet climates. However, excessive rust, especially pitting or flaking, is a problem. This weakens the rotor and reduces friction.
2. Scoring and Grooving
Light scoring is typical, but deep grooves or uneven wear patterns are a sign of worn brake pads or debris embedded in the pads. These grooves reduce the contact area and can cause vibrations. You might even feel a pulsing sensation in the brake pedal. Look for deep, concentric rings worn into the braking surface. This kind of wear can often be felt as vibrations during braking.
3. Cracks
Any cracks in the rotor are a major red flag. Even small hairline cracks can propagate and lead to catastrophic rotor failure. Replace the rotor immediately if you see any cracks. Stress cracks often appear as small, spiderweb-like patterns originating from drilled holes (if your rotors are drilled) or the edges of the rotor. Larger, more visible cracks are extremely dangerous.
4. Heat Spots (Bluing)
Overheating can cause the rotor to turn a bluish or purple hue. This indicates that the metal has been tempered, weakening its structure. This is often caused by aggressive braking or dragging brakes (stuck caliper). These can often appear after track days or hard driving.
5. Warping (Runout)
Warping, technically called runout, is when the rotor is no longer perfectly flat. This causes a pulsating sensation when braking. You can check for runout with a dial indicator mounted to the caliper bracket. As you rotate the rotor, the dial indicator will show how much the rotor deviates from being perfectly flat. Exceeding the manufacturer's specified runout tolerance indicates a warped rotor.
6. Uneven Pad Wear
If your brake pads are wearing unevenly, it could be a sign of a rotor problem. A warped rotor or uneven rotor surface can cause one pad to wear faster than the other. Also check for contamination, such as oil or grease, which could lead to localized accelerated wear.
7. Thickness Variation (Parallelism)
Ideally, the rotor should have a consistent thickness across its entire surface. Use a micrometer to measure the rotor thickness at multiple points. Significant variations indicate uneven wear or damage. Check both the inner and outer surfaces.
Real-World Use: Basic Troubleshooting
Okay, so you suspect you have bad rotors. Here's a basic troubleshooting process:
- Visual Inspection: Carefully examine the rotors for the signs listed above.
- Measure Rotor Thickness: Use a micrometer to measure the rotor thickness. Compare it to the minimum thickness specification.
- Check for Runout: Use a dial indicator to check for runout.
- Consider the Symptoms: Are you experiencing vibrations, noises, or reduced braking performance? Combine the symptoms with your visual inspection and measurements to make a diagnosis.
- Test Drive: After any brake work, perform a careful test drive to ensure proper function and bedding of the new pads/rotors.
Troubleshooting tip: If you're experiencing vibrations, try applying the brakes lightly at different speeds. This can help you pinpoint the source of the vibration (e.g., only during braking, only at high speeds).
Safety Considerations
Brakes are safety-critical components. If you're not comfortable working on your brakes, take your vehicle to a qualified mechanic. Here are a few specific safety points:
- Brake Dust: Brake dust can contain asbestos (especially on older vehicles). Wear a respirator or dust mask when working on brakes.
- Brake Fluid: Brake fluid is corrosive. Avoid contact with skin and paint.
- Hot Components: Brakes can get extremely hot after driving. Allow them to cool down before working on them.
- Proper Torque: Always torque wheel lug nuts and caliper bolts to the manufacturer's specifications.
- Proper Support: Always use jack stands to support the vehicle when working underneath it. Never rely solely on a jack.
Risky components: The brake lines and the calipers themselves can be sources of problems that mimic bad rotors. Make sure to carefully inspect those components as well. A leaking brake line or a seized caliper can cause serious issues and create an unsafe driving condition. Remember to always inspect brake lines for cracks and leaks and verify that your calipers function smoothly.
By understanding the visual cues of bad rotors and following proper inspection procedures, you can ensure your braking system is in top condition and keep yourself and others safe on the road. Remember, when in doubt, consult a professional. They can provide expert advice and perform any necessary repairs.
We have created a comprehensive visual diagram that highlights these issues, including the location and type of wear. This resource is available for you to download and use for your projects.