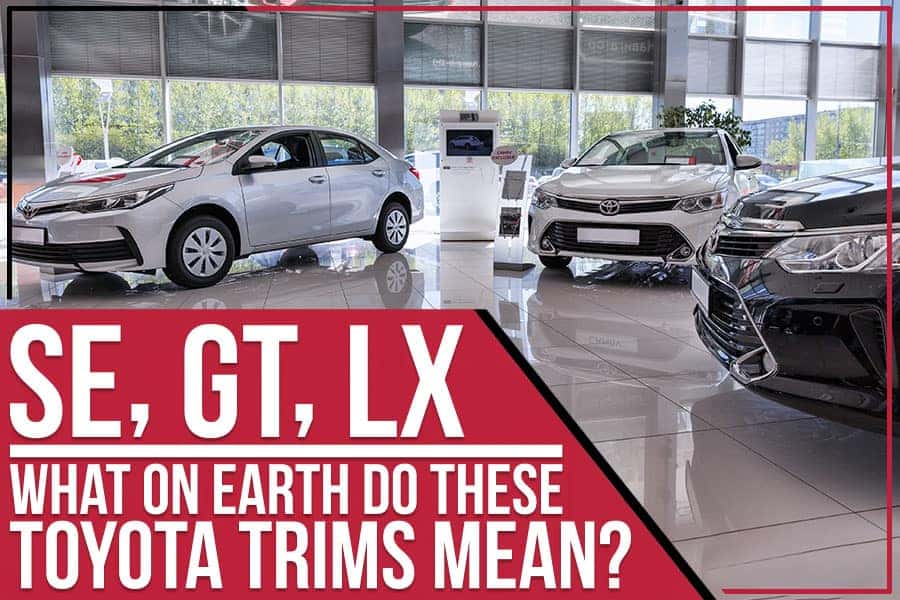
What Does Se Mean In A Car
Alright, let's dive into what "SE" means on a car, especially for those of you who like getting your hands dirty under the hood. You've probably seen it as a trim level, but it actually often hints at specific features and components. Understanding the "SE" designation, and more importantly, the systems it affects, can be invaluable when performing diagnostics, upgrades, or even just routine maintenance.
Purpose of Understanding "SE" Variations
The primary purpose of understanding how the "SE" designation impacts your car is to aid in accurate diagnosis and repair. Knowing the specific systems that differentiate an SE model from a base model, or even a higher-trim variant like an "XLE" or "Limited," can drastically reduce the time spent troubleshooting.
Imagine you're working on the electrical system. An SE trim might have a factory-installed alarm system, upgraded stereo, or power windows that a base model lacks. Having access to the correct wiring diagrams and component layouts – specifically for the SE configuration – is crucial. This knowledge also applies to upgrading components. Maybe you want to add features from a higher trim. Understanding what's already present in your SE is vital to planning your modifications.
Key Specs and Main Parts Commonly Associated with "SE"
While "SE" (often standing for "Special Edition" or "Sport Edition") varies drastically across manufacturers and even within model years, some common upgrades are often included. These are often not just cosmetic changes; they can affect mechanical and electrical systems:
- Engine and Transmission: While the base engine is often the same, some "SE" models might feature minor engine tuning differences for slightly increased horsepower or torque. Pay close attention to the engine control unit (ECU) maps, as these could be unique. Check part numbers for the transmission, as occasionally, a different final drive ratio might be used.
- Suspension: Stiffer springs, revised shock absorbers (dampers), and a larger sway bar (anti-roll bar) are frequent upgrades designed to improve handling. Look for specific part numbers on these components; they're often different from the base model.
- Brakes: In some cases, "SE" models get larger brake rotors and calipers for improved stopping power. Check rotor diameter and caliper piston count.
- Interior: Upgraded seats, a leather-wrapped steering wheel, and a premium sound system are common. These impact the wiring harness and potentially the body control module (BCM).
- Exterior: Alloy wheels, a rear spoiler, fog lights, and unique body trim are typically part of the package. Fog lights, especially, will add wiring and a switch not found on base models.
- Electronics: Power windows, power locks, keyless entry, and sometimes a more sophisticated infotainment system are added features. These will change the electrical system significantly.
Decoding Wiring Diagrams: Symbols and Conventions
Wiring diagrams are the Rosetta Stone for automotive electronics. They use standardized symbols, colors, and line types to represent different components and connections.
Lines:
- Solid Lines: Represent wires. The thickness often indicates wire gauge (current-carrying capacity).
- Dashed Lines: Usually indicate shielding or a ground connection.
- Dotted Lines: Often signify that a wire is part of a larger harness or grouping.
Colors:
Wire colors are crucial for identification. Standard abbreviations are used (e.g., BK = Black, RD = Red, BL = Blue, GN = Green, YL = Yellow, WH = White). Sometimes, a wire is striped with a second color (e.g., BL/WH = Blue with a White stripe). Always verify the color code matches the actual wire in your car.
Icons:
Icons represent various components. Some common ones include:
- Resistors: A zig-zag line.
- Capacitors: Two parallel lines.
- Diodes: A triangle pointing to a line.
- Relays: A coil with a switch.
- Fuses: A small rectangle.
- Switches: A line connecting to different points.
- Grounds: Various symbols representing chassis ground.
Understanding the ground symbols is absolutely critical. Incorrect grounding can lead to all sorts of electrical problems.
How It Works: Integrating New Components
Let's say you're adding fog lights to an "SE" model that didn't originally have them. You need to:
- Locate the Fog Light Circuit: Use the wiring diagram to find the designated circuit. The diagram will show the power source, fuse, switch, relay (if applicable), and the wiring to the fog lights themselves.
- Verify Wiring: Check if the wiring harness already has provisions for fog lights. Sometimes, manufacturers include wiring even if the feature isn't activated.
- Install the Switch: Connect the fog light switch to the correct wires according to the diagram.
- Add a Relay (If Needed): High-wattage fog lights might require a relay to prevent overloading the switch. The diagram will indicate if a relay is necessary.
- Test the Circuit: Before finalizing the installation, use a multimeter to verify voltage and continuity.
Real-World Use: Basic Troubleshooting Tips
When troubleshooting electrical issues in an "SE" model, always start with the basics:
- Check Fuses: A blown fuse is the most common cause of electrical problems. Use a test light or multimeter to check continuity.
- Inspect Wiring: Look for damaged, corroded, or loose wires and connectors. Pay close attention to ground connections.
- Use a Multimeter: Measure voltage, current, and resistance to diagnose circuit problems.
- Refer to the Wiring Diagram: Trace the circuit to identify the source of the problem.
- Diagnostic Trouble Codes (DTCs): Use an OBD-II scanner to read DTCs, which can provide clues about the problem area.
Example: Your "SE" model's power windows suddenly stop working. Consult the wiring diagram to locate the power window circuit. Check the fuse first. If the fuse is good, use a multimeter to check for voltage at the window motor. If there's no voltage, trace the circuit back to the switch and check for continuity. If the switch is good, the problem might be in the wiring harness or the BCM.
Safety: Highlighting Risky Components
Working on automotive electrical systems can be dangerous. Always disconnect the negative battery cable before working on any electrical components. The airbag system is particularly sensitive and can deploy unexpectedly if mishandled. Never probe or disconnect airbag connectors unless you're specifically trained and following proper procedures.
Capacitors in the ECU can store a charge even after the battery is disconnected. Allow sufficient time for them to discharge before handling the ECU. When working on fuel injection systems, be aware of fuel pressure. Relieve fuel pressure before disconnecting fuel lines. Always wear safety glasses and gloves to protect yourself from fluids and debris.
Remember, identifying your specific 'SE' package will drastically change the specifics discussed above. Make sure to refer to manufacturer documentation wherever possible. This article is a general guide and the exact details can vary widely.
We have a detailed wiring diagram file that is specific to many common "SE" packages and models, allowing you to pinpoint circuits. You can download this file here: [hypothetical download link, replace with actual link]. This resource will provide you with the necessary information to confidently diagnose and repair your vehicle.