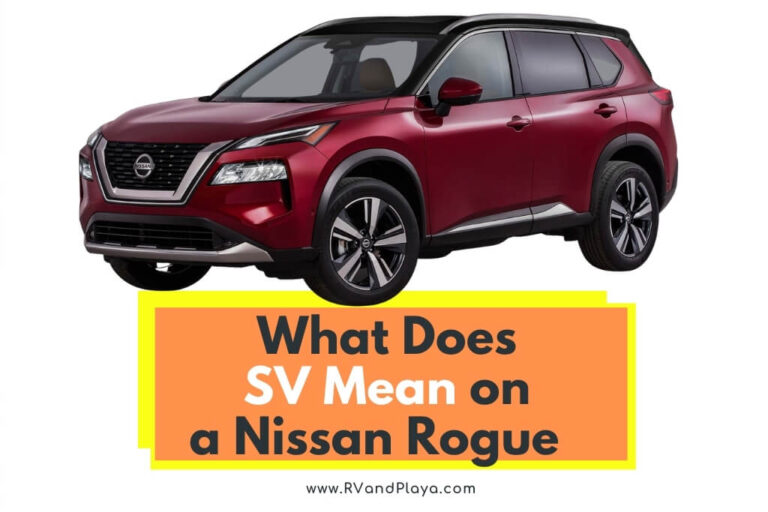
What Does Sv Mean For Nissan
Alright, let's dive into what the "SV" designation means for Nissan vehicles. As an experienced DIYer, understanding trim levels like SV is crucial for everything from sourcing the right parts to properly interpreting wiring diagrams. We're not just talking about cosmetic differences; SV often indicates specific features and, more importantly, associated electrical and mechanical systems that you'll need to be familiar with if you're planning on tackling any repairs, modifications, or even just understanding your vehicle's capabilities.
Understanding Nissan Trim Levels: Purpose and Importance
Why bother with trim levels anyway? They aren't just marketing fluff. Nissan, like other manufacturers, uses trim levels to package different features and options together. The SV trim typically sits above the base trim (often 'S') and below higher trims like 'SL' or 'Platinum'. Knowing this hierarchy is vital for several reasons:
- Repair Accuracy: Imagine trying to fix a faulty power window on your Nissan. If the SV trim includes features like automatic up/down or pinch protection that the base model doesn't, the wiring diagram will be different. Using the wrong diagram could lead to misdiagnosis and wasted time.
- Parts Ordering: Even seemingly simple parts can vary based on trim. A different bumper cover, headlights (halogen vs. LED), or even interior trim pieces are common examples.
- Modification Planning: Thinking about adding aftermarket features like a remote start or upgraded stereo? Knowing which factory systems are already present on your SV trim will streamline the process and prevent compatibility issues.
- Diagnostic Procedures: Many diagnostic trouble codes (DTCs) are tied to specific systems that are only present on certain trim levels. Knowing whether your SV model should have a particular sensor, for example, is essential for accurate troubleshooting.
Key Specs and Main Parts Associated with SV Models
While the specific features included in the SV trim vary by model and year, there are some common themes. Think of SV as the "sweet spot" – a balance of desirable features without the premium price tag of the highest trims. Common upgrades found on SV models often include:
- Infotainment System: A larger touchscreen display with features like Apple CarPlay and Android Auto. This upgrade usually involves changes to the head unit, wiring harness, and potentially even the vehicle's data bus network (CAN bus).
- Safety Features: Blind-spot monitoring, rear cross-traffic alert, and adaptive cruise control are often part of the SV package. These systems rely on sensors (radar, cameras) and complex algorithms, so understanding their operation is crucial for diagnosing any issues.
- Convenience Features: Keyless entry with push-button start, dual-zone automatic climate control, and upgraded interior materials (cloth or partial leather) are frequent additions. These systems introduce additional actuators, sensors, and wiring.
- Exterior Upgrades: Alloy wheels, fog lights, and chrome trim are common cosmetic enhancements. While these may not directly affect mechanical operation, they can impact parts availability and repair procedures.
It's critical to consult your vehicle's owner's manual or a trim level comparison chart specific to your model and year to confirm the exact features included. Nissan's website and reputable car review sites are excellent resources for this.
Deciphering Wiring Diagrams: Lines, Colors, and Icons
Wiring diagrams are the Rosetta Stone of automotive repair. They provide a visual representation of the electrical system, showing how components are connected and powered. Understanding the symbols and conventions used in these diagrams is essential for tracing circuits and identifying potential faults.
- Lines: Lines represent wires. Different line thicknesses may indicate different wire gauges (thicker lines for wires carrying more current). Dashed lines often indicate shielded wires, commonly used for sensitive signals like those from sensors.
- Colors: Wire colors are standardized (though variations can occur). The diagram will include a key identifying the color codes (e.g., "BL" for blue, "GR" for green, "BK" for black). This is crucial for identifying the correct wire when working on a harness.
- Symbols: Symbols represent electrical components:
- Resistors: A jagged line.
- Capacitors: Two parallel lines.
- Diodes: A triangle pointing to a vertical line.
- Relays: A coil representing the relay's electromagnetic actuator and a switch representing the contacts.
- Fuses: A zigzag line inside a rectangle.
- Grounds: A symbol resembling a downward-pointing tree or a series of lines decreasing in length.
- Connectors: Represented by circles, squares or other shapes, often with a number indicating the pin number.
- Voltage and Current Flow: Diagrams often indicate voltage levels and current flow direction. This helps in understanding how the circuit operates and identifying potential voltage drops or shorts.
Pay close attention to connector locations and pin numbers. Diagrams will often show the physical location of connectors within the vehicle, making it easier to locate and access them. Knowing the pin number is essential for testing specific wires within a connector.
How It Works: An Example - The SV Infotainment System
Let's consider a simplified example: the SV trim's upgraded infotainment system. The base model might have a basic radio with limited functionality. The SV trim adds a touchscreen display, Apple CarPlay/Android Auto, and possibly satellite radio. Here's a simplified overview:
- Power Supply: The infotainment system receives power from the vehicle's battery through a fuse and ignition switch. The wiring diagram will show the fuse location and the wiring path from the battery to the head unit.
- CAN Bus Communication: The infotainment system communicates with other vehicle systems (e.g., engine control unit (ECU), body control module (BCM)) via the CAN bus. The diagram will show the CAN bus wires connected to the head unit.
- Input Signals: The head unit receives inputs from various sources, such as the radio antenna, USB ports, Bluetooth module, and microphone. The diagram will show the wiring connections for these inputs.
- Output Signals: The head unit sends output signals to the speakers, display screen, and potentially to external amplifiers. The diagram will show the wiring connections for these outputs.
If you were troubleshooting a non-functioning touchscreen, you'd start by checking the power supply (fuse, wiring) to the head unit. Then, you'd verify that the CAN bus communication is working correctly. Finally, you'd check the connections to the display screen itself.
Real-World Use: Basic Troubleshooting Tips
Here are a few practical troubleshooting tips for common issues on SV trims:
- Power Window Problems: If the SV model has automatic up/down functionality and it's not working, check the window motor, the associated relay, and the wiring connections to the window switch. The wiring diagram will show the specific wiring configuration for the automatic function.
- Blind Spot Monitoring Failures: If the blind spot monitoring system is malfunctioning, start by checking the sensors mounted on the rear bumper. Use a multimeter to verify that they are receiving power and sending signals. Consult the wiring diagram to identify the sensor wiring and test points.
- Infotainment System Glitches: If the touchscreen is unresponsive or the system is crashing, try a simple reset (disconnect the battery for a few minutes). If that doesn't work, check the fuses and wiring connections to the head unit. The wiring diagram will help you identify the relevant fuses and connectors. Also, inspect the CAN bus connections.
Safety Considerations: Handle with Care
Working on automotive electrical systems can be dangerous. Always follow these safety precautions:
- Disconnect the Battery: Before working on any electrical component, disconnect the negative battery terminal. This will prevent accidental shorts and potential injuries.
- Use a Multimeter Safely: Understand how to use a multimeter correctly. Improper use can damage the meter or even cause injury.
- Be Careful with Airbags: Airbags are explosive devices. If you're working near an airbag module, take extra precautions to avoid accidentally triggering it. Always disconnect the battery and wait at least 10 minutes before working on airbag-related components. Refer to the service manual for specific safety procedures.
- High-Voltage Components: Some vehicles (especially hybrids and electric vehicles) have high-voltage components. These components are extremely dangerous and should only be serviced by qualified technicians.
Warning: Always consult the service manual for specific safety instructions and procedures for your vehicle. Never attempt to repair a system that you are not comfortable working on.
We have access to detailed wiring diagrams and service manuals for many Nissan models, including those with the SV trim. You can download the diagrams for your specific model and year from [Insert download link here, or instructions on how to request it]. Remember to always double-check the wiring diagram against your specific vehicle configuration to ensure accuracy. Happy wrenching!