What Does The At Check Light Mean
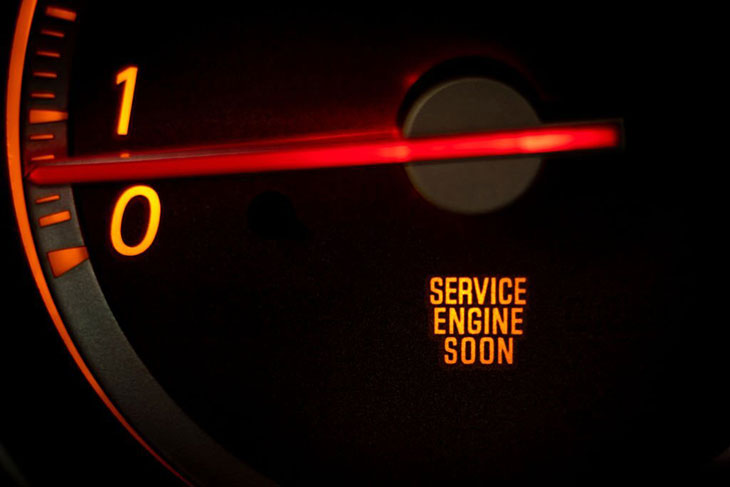
Alright, let's talk about that little gremlin on your dash: the "AT Check" light. Seeing it pop up can be unsettling, but with a bit of understanding, you can diagnose the problem and potentially save yourself a trip to the shop. This article will dissect the meaning of the AT Check light, focusing on the underlying systems it represents, how to interpret its appearance, and some basic troubleshooting tips. Consider this a deeper dive than your average owner's manual.
Purpose and Why It Matters
The "AT Check" light, or Automatic Transmission Check light, is your car's way of telling you there's a problem within the automatic transmission system. It's essentially the automatic transmission's equivalent of the "Check Engine" light, but dedicated specifically to transmission-related issues. Understanding what triggers this light is crucial for preventative maintenance, accurate diagnosis, and potentially performing your own repairs, saving both time and money. Ignoring it can lead to significant damage to your transmission, resulting in costly overhauls or even complete replacement.
Key Specs and Main Parts of the Automatic Transmission
Before we dive into the light itself, let's recap the core components of an automatic transmission, as understanding them will make deciphering the warning light's message much easier:
* Torque Converter: This fluid coupling transfers engine power to the transmission without a direct mechanical connection, allowing the engine to idle while the car is stopped. Think of it as a hydraulic clutch. * Planetary Gear Sets: These intricate gear arrangements provide different gear ratios, enabling the car to accelerate and maintain speed efficiently. They're controlled by clutches and bands. * Clutches and Bands: These components engage and disengage specific gears within the planetary gear sets, controlled by hydraulic pressure. Their proper functioning is crucial for smooth shifting. * Valve Body: The "brain" of the transmission, containing a complex network of valves that direct hydraulic fluid to the clutches and bands, dictating gear changes. * Transmission Control Module (TCM): This electronic module receives input from various sensors (speed, throttle position, etc.) and controls the valve body, determining when and how to shift gears. It's the electronic overseer. * Sensors: Speed sensors (input shaft speed, output shaft speed), temperature sensors, and pressure sensors all provide vital data to the TCM. * Transmission Fluid: The lifeblood of the transmission, providing lubrication, cooling, and hydraulic pressure. Maintaining the correct fluid level and condition is paramount.Symbols and Interpretation
The AT Check light itself is usually represented by the letters "AT" or "AUTO" inside a symbol resembling a gear or a transmission. The exact appearance can vary slightly depending on the vehicle manufacturer. Unlike the Check Engine Light, the AT Check light is almost exclusively dedicated to transmission problems.
The light's behavior is also important:
* Solid Illumination: A steady light generally indicates a persistent fault within the transmission system. The severity can range from a minor sensor issue to a more serious mechanical problem. * Flashing Light: A flashing AT Check light usually signifies a more critical or immediate problem. It often indicates a misfire in the engine that is directly affecting transmission performance, or a severe issue within the transmission itself that requires immediate attention. Do not drive the vehicle if the light is flashing without professional diagnosis. * Intermittent Illumination: If the light comes and goes, it suggests an intermittent problem that may be temperature-related or caused by a loose connection. Diagnosing these issues can be more challenging.How It Works: The Diagnostic Process
The AT Check light is triggered by the TCM. When the TCM detects a reading from a sensor that falls outside of pre-programmed parameters (e.g., incorrect gear ratio, excessively high fluid temperature, erratic sensor readings), it stores a diagnostic trouble code (DTC) in its memory and illuminates the AT Check light. These DTCs are standardized, following either the OBD-I or OBD-II protocol, depending on the age of your vehicle. The OBD-II (On-Board Diagnostics II) is the standard for vehicles manufactured after 1996.
To retrieve these DTCs, you'll need an OBD-II scanner. This tool plugs into the diagnostic port (usually located under the dashboard) and allows you to read the stored codes. These codes are alphanumeric (e.g., P0700, P0741) and provide specific information about the nature of the fault. A code like P0700, for example, indicates a generic transmission control system malfunction. P0741 indicates Torque Converter Clutch Circuit Performance or Stuck Off.
Once you have the code, you can consult a repair manual or online database to understand its meaning and potential causes. Remember, the code is just a starting point; further investigation is often required to pinpoint the exact problem.
Real-World Use: Basic Troubleshooting Tips
Before rushing to a mechanic, here are some basic troubleshooting steps you can take:
1. Check the Transmission Fluid Level and Condition: Use the dipstick (usually located under the hood, marked with "ATF" or "Transmission Fluid"). The fluid should be at the correct level and have a bright red or pinkish color. Dark, burnt-smelling fluid indicates a potential problem. Low fluid can cause slipping and overheating. 2. Inspect Wiring and Connections: Visually inspect the wiring harnesses and connectors leading to the transmission and TCM for any signs of damage, corrosion, or looseness. Clean and reconnect any suspect connections. 3. Consult the DTC: Research the specific code you retrieved with the OBD-II scanner. Online resources and repair manuals provide detailed information about potential causes and troubleshooting steps. 4. Consider Recent Work: Did you recently have any work done on your car, such as an oil change or other repairs? Sometimes, a seemingly unrelated repair can inadvertently affect the transmission system. 5. Simple Reset (with Caution): Disconnecting the car battery *might* clear the code and reset the TCM. However, this should be done with caution, as it will also erase other stored data, such as radio presets and learned engine parameters. Only attempt this if you understand the potential consequences. Note, sometimes the light will come back if the problem is still present.Safety: Highlighting Risky Components
Working on an automatic transmission involves several safety considerations:
* Hot Fluid: Transmission fluid can get extremely hot. Allow the engine and transmission to cool down before checking the fluid level or performing any maintenance. * Moving Parts: Never attempt to work on the transmission while the engine is running or the car is in gear. Ensure the parking brake is engaged and the wheels are properly chocked. * High Pressure: The hydraulic system within the transmission operates at high pressure. Disconnecting lines or components without relieving the pressure can be dangerous. If you are unsure about this, leave it to a professional. * Electrical Components: The TCM and sensors are electrical components. Disconnect the battery before working on any electrical connections to prevent short circuits or damage.Important Note: Some repairs, especially those involving the valve body or internal transmission components, require specialized tools and expertise. If you are not comfortable performing these repairs yourself, it is best to consult a qualified mechanic.
We have a detailed diagram of a typical automatic transmission system available for download. This diagram provides a visual representation of the key components and their interconnections, which can be invaluable for troubleshooting and understanding the system. Contact us, and we will gladly send you a copy of the diagram.