What Is A Abs Light In A Car
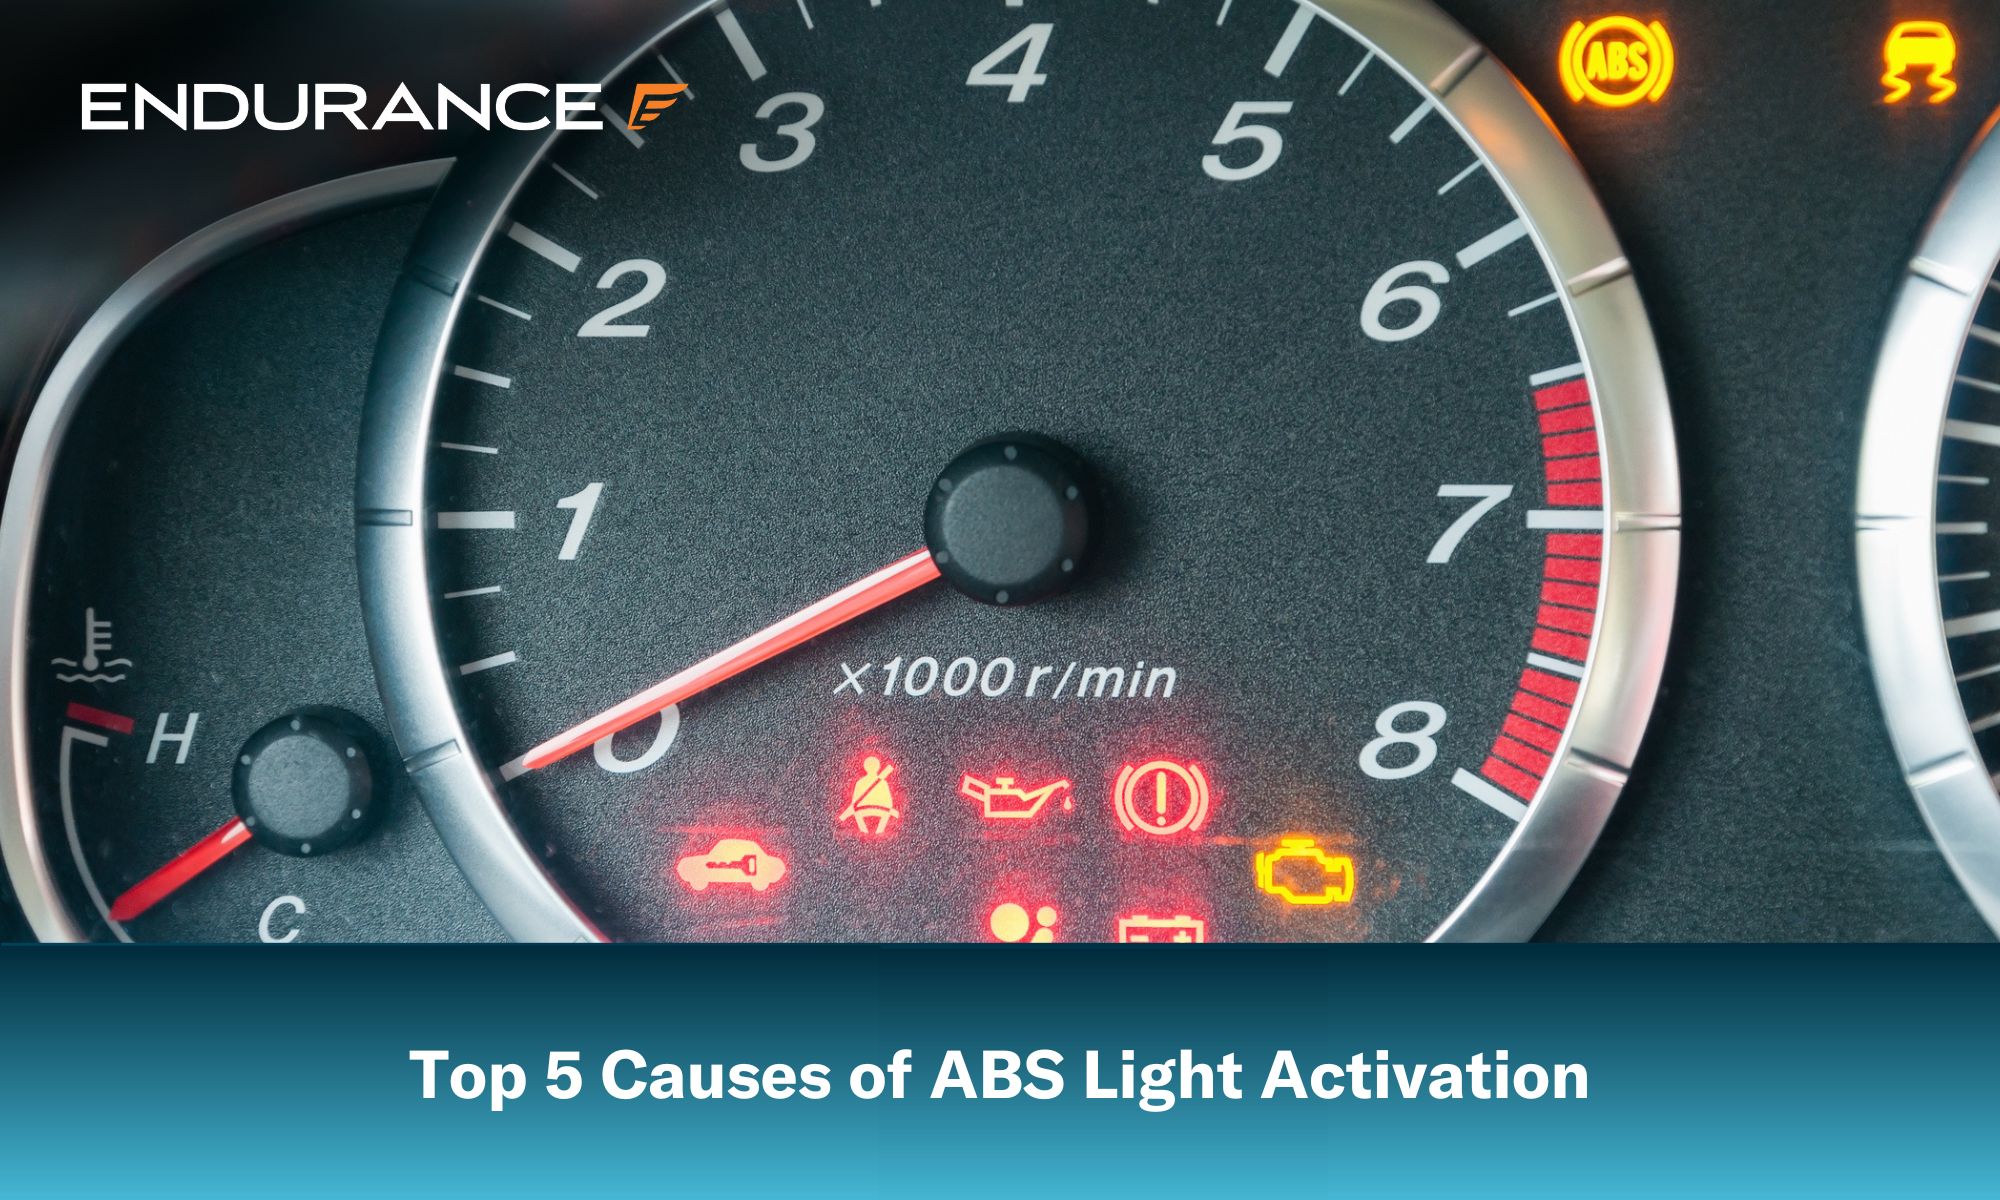
Alright, let's talk about the ABS light – that little illumination on your dashboard that can range from mildly annoying to downright alarming. As an experienced DIYer, understanding your Anti-lock Braking System (ABS) and what that light means is crucial for maintaining your vehicle’s safety and ensuring you can tackle minor issues yourself. We're going to break down the key components, how it functions, and how to do some basic troubleshooting. Plus, we have a detailed diagnostic diagram available for download, which we’ll discuss later. This diagram is going to be invaluable for more complex repairs and understanding the system’s architecture.
Purpose of Understanding the ABS System
Why bother diving into the intricacies of the ABS? Several reasons. First and foremost is safety. The ABS is a critical safety feature designed to prevent wheel lockup during hard braking, allowing you to maintain steering control. Ignoring the ABS light can compromise this safety net. Secondly, understanding the system enables you to perform basic troubleshooting, potentially saving you hundreds of dollars in mechanic fees. Finally, for modders and performance enthusiasts, knowing how the ABS interacts with other systems is essential for making informed modifications and avoiding unintended consequences. Having a solid grasp of the system allows you to address issues proactively, ensuring your car remains safe and responsive.
Key Specs and Main Parts of the ABS
The ABS isn't a single component; it's a system comprised of several interacting parts. Here’s a rundown of the key players:
- Wheel Speed Sensors: These sensors, typically inductive or Hall-effect sensors, are located at each wheel. They continuously monitor the rotational speed of the wheels and transmit this data to the ABS control module.
- ABS Control Module (EBCM): The "brains" of the operation. This computer receives data from the wheel speed sensors and uses it to determine if a wheel is about to lock up. It then commands the hydraulic modulator to adjust brake pressure.
- Hydraulic Modulator (HCU): This is the muscle of the system. The HCU contains a series of valves and a pump that regulate brake pressure to individual wheels, as commanded by the EBCM. It's often integrated with the master cylinder.
- Brake Lines and Calipers: These are the standard brake components that are crucial to the ABS' function to apply the brakes to the wheels.
- ABS Warning Light: Located on your instrument cluster, this light illuminates when the EBCM detects a fault in the ABS system. It's your primary indicator that something is amiss.
Key specifications include sensor types (inductive vs. Hall-effect, which dictates their output signal), valve response times in the HCU (measured in milliseconds), and the communication protocol used between the sensors, EBCM, and other vehicle systems (like CAN bus).
Different ABS Systems
It's also worth noting that ABS systems can vary in complexity. Some basic systems only control the rear wheels (primarily on older vehicles), while more advanced systems offer four-wheel ABS and may even integrate with traction control (TCS) and electronic stability control (ESC). These integrated systems often share sensors and actuators, making troubleshooting more complex.
Understanding ABS System Symbols and Wiring Diagrams
When you're looking at a wiring diagram for the ABS, you'll encounter a range of symbols. Understanding these symbols is crucial for tracing circuits and identifying components.
- Lines: Solid lines typically represent wires, while dashed lines may indicate shielded cables or communication buses (like CAN bus). The thickness of the line can sometimes indicate the wire gauge.
- Colors: Wire colors are critical. They’re usually indicated by abbreviations (e.g., BLK for black, RED for red, GRN for green). Always refer to the color code legend on the diagram.
- Icons: Icons represent components. A circle with an “S” inside might represent a speed sensor. A rectangle with multiple pins could represent the EBCM. Refer to the diagram's key for a comprehensive list of icons.
- Ground Symbols: Indicate where the circuit is grounded to the vehicle chassis.
- Connector Symbols: Show where wires connect or disconnect. This is extremely useful when you are checking for voltage at these locations.
Wiring diagrams are essential. With one, you can trace circuits, check voltage drops, and identify potential short circuits or open circuits. The diagram we offer will be invaluable for these tasks.
How the ABS Works: A Deep Dive
At its core, the ABS prevents wheel lockup by modulating brake pressure. Here's the process:
- Wheel Speed Monitoring: The wheel speed sensors continuously transmit data to the EBCM.
- Lockup Detection: The EBCM compares the rotational speed of each wheel. If one wheel decelerates significantly faster than the others, the EBCM interprets this as an impending lockup.
- Pressure Modulation: The EBCM commands the HCU to reduce brake pressure to the affected wheel. The HCU does this using a series of valves that isolate, reduce, or increase pressure to the wheel cylinder.
- Cycling: The EBCM rapidly cycles the valves in the HCU, releasing and reapplying brake pressure several times per second. This rapid modulation allows the wheel to maintain traction while still providing significant braking force.
- Feedback Loop: The EBCM continuously monitors the wheel speed sensors and adjusts the pressure modulation accordingly.
This entire process happens incredibly quickly, often imperceptible to the driver except for a slight pulsing sensation in the brake pedal. In essence, the ABS system is constantly "pumping" the brakes for you, but much faster and more precisely than you could manually.
Real-World Use: Basic Troubleshooting Tips
When the ABS light illuminates, it indicates a fault within the system. Here are some basic troubleshooting steps you can take:
- Visual Inspection: Start with a visual inspection of the wheel speed sensor wires and connectors. Look for any signs of damage, corrosion, or disconnection.
- OBD-II Scan: Use an OBD-II scanner to retrieve the diagnostic trouble codes (DTCs). These codes will provide valuable information about the nature of the fault. Common codes include those related to wheel speed sensor failures, HCU malfunctions, and EBCM errors.
- Sensor Testing: With a multimeter, you can test the resistance of the wheel speed sensors. Compare the readings to the manufacturer's specifications. You can also check for an output signal while rotating the wheel.
- Fuse Check: Check the ABS fuse in the fuse box. A blown fuse is a common cause of ABS failure.
- Brake Fluid Level: Low brake fluid can sometimes trigger the ABS light. Check the fluid level in the master cylinder and top it off if necessary.
Remember: Clearing the DTCs with a scanner may temporarily turn off the ABS light, but if the underlying problem persists, the light will eventually return.
Safety Considerations
Working on the ABS system can be dangerous if you're not careful. Here are some key safety considerations:
- Brake Fluid: Brake fluid is corrosive and can damage painted surfaces. Avoid spills and clean up any spills immediately.
- High Pressure: The HCU operates at high pressure. Depressurize the system before disconnecting any brake lines. Consult your vehicle's service manual for the proper depressurization procedure.
- Electrical Components: Disconnect the battery before working on any electrical components in the ABS system. This will prevent accidental shorts and potential damage to the EBCM.
- Avoid Disconnecting Sensors With The Ignition On: Disconnecting wheel sensors with the ignition on may cause system errors.
Getting the Diagram and Next Steps
As promised, we have a detailed ABS system diagram available for download. This diagram includes wiring schematics, component locations, and diagnostic flowcharts. It's an invaluable resource for troubleshooting and repairing ABS issues. With the diagram, you'll be able to follow the wiring path, see where connections are made, and better understand how each component interacts with the system. This level of understanding is essential for accurately diagnosing and resolving ABS problems. It also includes diagnostic flowcharts, guiding you through step-by-step troubleshooting procedures for various ABS fault codes.
Armed with this knowledge and the diagnostic diagram, you're well-equipped to tackle many ABS-related issues yourself. Remember to consult your vehicle's service manual for specific procedures and torque specifications. And, of course, if you're unsure about any aspect of the repair, it's always best to consult a qualified mechanic.