What Is Included In An Oil Change
Alright, let's dive deep into what's really included in an oil change. It's more than just draining the old and adding new; it's a crucial maintenance step that directly impacts your engine's longevity and performance. As an experienced DIYer, you know the basics, but this article will give you a detailed breakdown, covering everything from the key specs to troubleshooting common issues.
Purpose of a Detailed Oil Change Overview
Understanding the nuances of an oil change is vital, whether you're performing preventative maintenance, troubleshooting engine problems, or even planning performance modifications. By understanding the components involved, you can better diagnose potential issues related to lubrication and prevent costly repairs down the line. Moreover, familiarizing yourself with the process enables you to optimize your oil change procedure, choosing the right oil, filter, and techniques for your specific vehicle and driving conditions.
Key Specs and Main Parts
A standard oil change involves several key components, each with specific specs crucial for optimal engine function:
- Engine Oil: This is the lifeblood of your engine. Specifications include viscosity grade (e.g., 5W-30, 10W-40), API rating (e.g., SN, SP), and whether it's synthetic, semi-synthetic, or conventional. Viscosity indicates the oil's resistance to flow at different temperatures. A multi-grade oil like 5W-30 performs differently when cold ("5W") versus hot ("30"). The API rating signifies its quality and performance characteristics, like detergency and wear protection. Always consult your vehicle's owner's manual for the recommended oil type.
- Oil Filter: The filter removes contaminants from the oil, preventing them from circulating through the engine and causing wear. Key specs include filter media type (e.g., cellulose, synthetic), micron rating (particle size it filters), and bypass valve pressure. A higher micron rating means smaller particles are filtered. The bypass valve opens if the filter becomes clogged, ensuring oil flow continues (albeit unfiltered) to prevent engine starvation.
- Drain Plug: Located at the bottom of the oil pan, the drain plug allows you to remove the old oil. Key specs include thread size and torque specification. Never overtighten the drain plug, as you can strip the threads in the oil pan, requiring a costly repair. Use a torque wrench to achieve the correct torque.
- Drain Plug Washer: A crush washer (usually aluminum or copper) seals the drain plug to the oil pan, preventing leaks. These should be replaced every oil change to ensure a proper seal. Using the same washer increases the risk of leaks.
- Oil Pan: The reservoir that holds the engine oil. The oil pan has a specific capacity, and it's crucial to fill the engine with the correct amount of oil after an oil change. Overfilling can cause foaming and reduced lubrication.
How It Works: The Oil Change Process
The oil change process is straightforward, but precision is key:
- Preparation: Gather all necessary tools and materials: new oil, new oil filter, drain plug washer, wrench for the drain plug and oil filter, oil filter wrench (if necessary), drain pan, funnel, and gloves. Warm up the engine slightly to improve oil flow. Do not overheat the engine.
- Draining the Old Oil: Position the drain pan under the drain plug. Carefully loosen the drain plug with the appropriate wrench. Finish unscrewing the plug by hand, being mindful of the hot oil that will now flow out. Allow the oil to drain completely.
- Replacing the Oil Filter: Locate the oil filter. Some filters can be unscrewed by hand, while others require an oil filter wrench. Unscrew the old filter, being prepared for residual oil spillage. Lightly lubricate the rubber gasket on the new oil filter with fresh oil. Screw the new filter on by hand until the gasket makes contact, then tighten it another ¾ to 1 full turn, as per the filter instructions.
- Replacing the Drain Plug: Clean the drain plug and install a new crush washer. Screw the drain plug back into the oil pan by hand until snug. Torque the drain plug to the specified torque using a torque wrench.
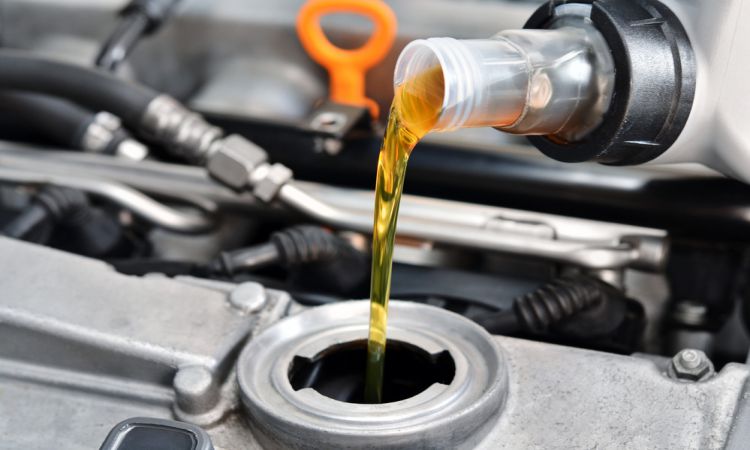
- Filling with New Oil: Locate the oil fill cap on the engine. Remove the cap and insert a funnel. Pour in the correct amount of new oil, as specified in your vehicle's owner's manual.
- Checking the Oil Level: Replace the oil fill cap. Start the engine and let it run for a few minutes. Check for leaks around the drain plug and oil filter. Turn off the engine and let it sit for a few minutes to allow the oil to settle. Check the oil level using the dipstick. Add more oil if necessary to reach the proper level.
- Resetting the Oil Life Monitor: Most modern vehicles have an oil life monitoring system that needs to be reset after an oil change. Refer to your owner's manual for instructions on how to reset the system.
Real-World Use: Basic Troubleshooting Tips
- Oil Leaks: Check the drain plug and oil filter for leaks. If the drain plug is leaking, the crush washer may not be sealing properly, or the plug may not be torqued correctly. If the oil filter is leaking, it may not be tightened enough, or the gasket may be damaged.
- Low Oil Pressure: This can be a serious problem. Check the oil level first. If the oil level is correct, the problem could be a faulty oil pump, a clogged oil pickup tube, or worn engine bearings. Consult a mechanic immediately if you suspect low oil pressure.
- Milky Oil: Milky oil indicates that coolant is mixing with the oil, which can be caused by a blown head gasket or a cracked engine block. This is a serious problem that requires immediate attention.
- Black, Gritty Oil: This indicates excessive wear and tear in the engine. Consider using a higher-quality oil or shortening your oil change intervals.
Safety: Risky Components
Several aspects of an oil change pose safety risks:
- Hot Oil: Always allow the engine to cool down slightly before draining the oil. Hot oil can cause severe burns. Wear gloves and eye protection.
- Lifting the Vehicle: If you're lifting the vehicle to access the drain plug, use jack stands to support the vehicle. Never work under a vehicle supported only by a jack.
- Stripped Drain Plug: As mentioned, overtightening the drain plug can strip the threads in the oil pan, leading to costly repairs. Use a torque wrench to tighten the drain plug to the specified torque.
- Environmental Concerns: Dispose of used oil and oil filters properly at a designated recycling center. Never pour used oil down the drain or onto the ground.
Where to Get Further Resources
A detailed diagram showing the oiling system and oil change components can be extremely helpful. These diagrams are readily available online, in repair manuals specific to your vehicle, or from your local auto parts store. We have a general diagram file available for download, which provides a comprehensive overview of the oiling system and its components. Contact us, and we can provide you with access to download that diagram.