What Is Needed For An Oil Change
So, you're gearing up for another oil change? Excellent! It's one of the most crucial maintenance tasks you can perform to keep your engine purring. This guide will walk you through everything you need, from the tools and materials to a deeper understanding of what's happening under the hood. We'll treat this oil change like a controlled experiment, ensuring you have the knowledge and resources to execute it flawlessly.
Purpose – Why This Matters
Understanding the oil change process isn't just about saving money on garage fees (though that's a definite perk!). It's about understanding your engine's lifeline. Knowing the correct oil viscosity, filter specs, and drain plug torque allows you to diagnose potential problems early. Perhaps you notice metallic shavings in the old oil, a sign of internal engine wear. Or maybe the filter looks unusually clogged, suggesting fuel dilution or coolant leaks. Being hands-on empowers you to identify and address these issues before they snowball into major repairs. Regular oil changes also contribute to optimal engine performance and longevity. A well-lubricated engine experiences less friction, resulting in better fuel economy and reduced wear and tear on critical components.
Key Specs and Main Parts
Let's break down the essentials. This isn't just a shopping list; it's about understanding what these components do and why selecting the right ones is vital.
1. Engine Oil
The heart of the operation. Viscosity is king here. The Society of Automotive Engineers (SAE) assigns numbers like 5W-30 or 10W-40. The first number (with the 'W' for Winter) indicates the oil's viscosity at cold temperatures, and the second number represents its viscosity at operating temperature. Consult your vehicle's owner's manual or the sticker under the hood for the manufacturer's recommended viscosity. Using the wrong viscosity can lead to inadequate lubrication, especially during cold starts, or excessive oil thinning at high temperatures, reducing protection. Synthetic, semi-synthetic, and conventional oils are your main choices. Synthetic oils offer superior protection, better high and low-temperature performance, and longer drain intervals but come at a higher cost. Semi-synthetics offer a compromise, while conventional oils are the most affordable but require more frequent changes. The API (American Petroleum Institute) rating (e.g., SN, SP) also matters. Choose an oil with an API rating that meets or exceeds your vehicle's requirements.
2. Oil Filter
The kidney of your engine. Its job is to remove contaminants from the oil before it circulates throughout the engine. There are typically two types: spin-on and cartridge filters. Spin-on filters are self-contained units that screw onto the engine, while cartridge filters are replaceable elements housed within a permanent filter housing. Match the filter to your vehicle's make, model, and engine. Using the wrong filter can lead to reduced oil flow, inadequate filtration, or even leaks. Look for quality filters from reputable brands that offer good filtration efficiency and durability. Consider filters with bypass valves, which allow oil to bypass the filter if it becomes clogged, preventing engine starvation. The micron rating of the filter indicates the size of particles it can remove. A lower micron rating means finer filtration, but it can also increase resistance to flow.
3. Drain Plug Washer/Gasket
Often overlooked, but crucial for preventing leaks. These washers, typically made of copper, aluminum, or crushable steel, create a tight seal between the drain plug and the oil pan. Always replace the washer with a new one each time you change your oil. Reusing the old washer can lead to leaks, which can damage your engine. Make sure you get the correct size and material for your vehicle.
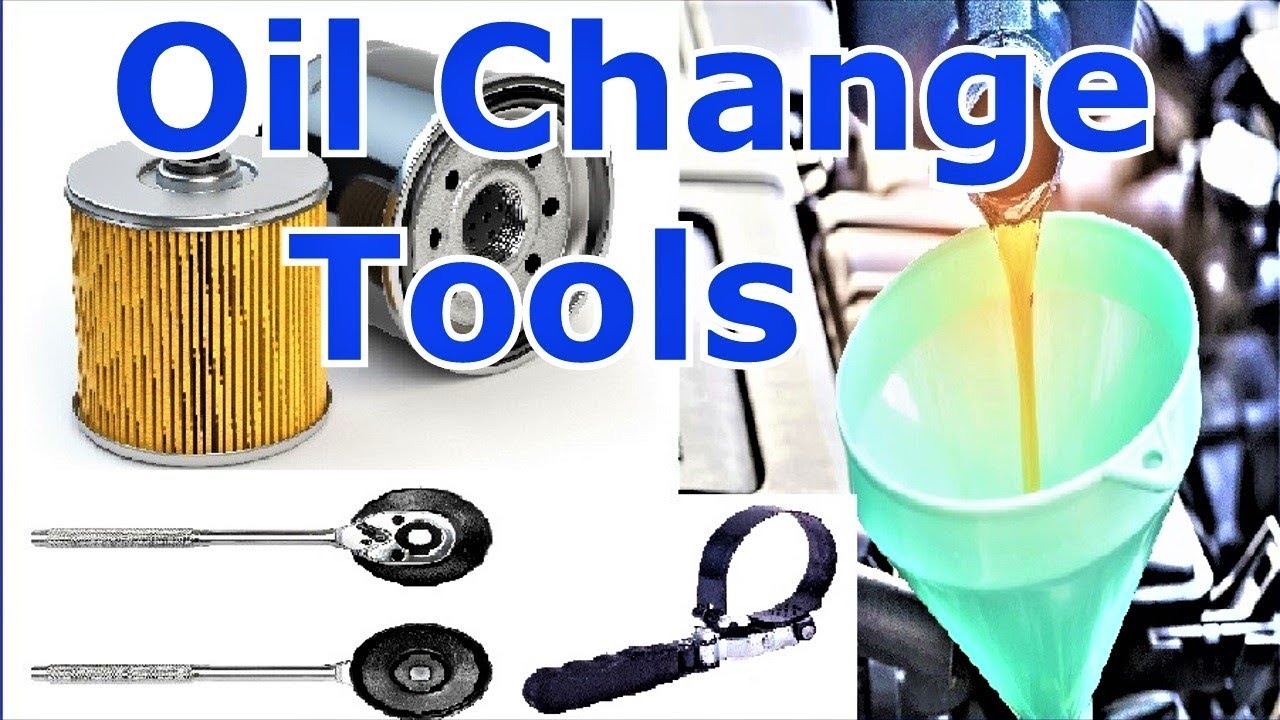
4. Tools
Now for the hardware:
- Wrench or socket: To remove the drain plug. Get the correct size.
- Oil filter wrench: For removing the old filter. There are various types: cap-type, strap-type, and claw-type. Choose one that fits your filter.
- Oil drain pan: To catch the old oil. Get one large enough to hold the entire oil capacity of your engine.
- Funnel: For pouring new oil into the engine.
- Rags or paper towels: For cleaning up spills.
- Gloves: To protect your hands.
- Torque wrench: To tighten the drain plug and oil filter to the correct torque specifications (critical to prevent leaks or stripping threads).
- Jack and jack stands (or ramps): To safely raise your vehicle for access to the drain plug and oil filter. Never work under a vehicle supported only by a jack.
How It Works
The process is straightforward, but attention to detail is paramount. First, safely raise your vehicle using a jack and jack stands (or ramps). Locate the oil drain plug on the bottom of the oil pan. Position the drain pan underneath the plug and use the correct wrench or socket to loosen and remove the plug. Allow the old oil to drain completely. While the oil is draining, remove the old oil filter. Lightly lubricate the rubber gasket on the new oil filter with fresh oil and screw it onto the engine by hand until the gasket makes contact with the engine. Then, tighten it according to the filter manufacturer's instructions (usually 3/4 to 1 full turn after contact). Once the old oil has drained completely, clean the drain plug and install a new washer. Tighten the drain plug to the manufacturer's specified torque using a torque wrench. Over-tightening can strip the threads in the oil pan, requiring costly repairs. Finally, lower the vehicle, open the oil filler cap, and pour in the correct amount of new oil, as specified in your owner's manual. Check the oil level using the dipstick and add more oil if needed. Start the engine and let it run for a few minutes, checking for leaks around the drain plug and oil filter. Turn off the engine and recheck the oil level. Dispose of the used oil and filter properly at a recycling center or auto parts store.
Real-World Use – Basic Troubleshooting Tips
- Stubborn Drain Plug: If the drain plug is stuck, try using a penetrating oil like PB Blaster. Let it soak for a few minutes, then try again. Avoid using excessive force, as you could damage the oil pan.
- Leaking Drain Plug: If the drain plug is leaking, make sure you're using a new washer and that it's tightened to the correct torque. If it still leaks, the threads on the drain plug or oil pan may be damaged. You may need to replace the drain plug or, in more severe cases, the oil pan.
- Difficulty Removing Oil Filter: Oil filter wrenches can slip. Make sure you're using the correct size and type of wrench. You can also try puncturing the filter with a screwdriver and using it as a lever, but be careful not to damage the engine.
- Incorrect Oil Level: If you add too much oil, it can cause foaming, which reduces lubrication and can damage your engine. Drain the excess oil until the level is correct. If you add too little oil, your engine won't be properly lubricated, leading to wear and tear. Add more oil until the level is correct.
Safety – Highlight Risky Components
Safety is paramount! Never work under a vehicle supported only by a jack. Use jack stands or ramps. Hot oil can cause severe burns. Let the engine cool down before changing the oil. Dispose of used oil and filters properly. They are hazardous waste and should not be dumped down the drain or into the trash. Wear gloves to protect your hands from the oil and chemicals. Work in a well-ventilated area to avoid inhaling fumes.
The oil filter, while seemingly innocuous, can hold a considerable amount of used oil. Handle it carefully during removal to avoid spills and potential burns. The drain plug, especially after the engine has been running, can be very hot. Use gloves and appropriate tools to avoid burns. Overtightening the drain plug is a common mistake that can lead to stripped threads and oil leaks. Always use a torque wrench to tighten the drain plug to the manufacturer's specified torque.
Changing your own oil is a rewarding experience that can save you money and give you a better understanding of your vehicle. By following these steps and taking the necessary precautions, you can ensure a successful and safe oil change.
We have a detailed diagram of the oil change process, including torque specs and component locations, tailored to most common car models. It’s available for download. This diagram is extremely valuable for visual learners and provides an extra layer of confidence when performing this task.