What Is Needed For Oil Change
Alright, you're tackling an oil change yourself. Good for you! It's a fundamental piece of car maintenance and understanding the process intimately empowers you to keep your ride running smoothly. This article will break down exactly what you need, covering everything from tools and materials to safety precautions and basic troubleshooting.
Purpose of Understanding Oil Change Essentials
Understanding the "anatomy" of an oil change goes beyond simply draining and filling. It's about knowing why each component matters, allowing you to identify potential issues, perform preventative maintenance, and even diagnose problems that might arise during or after the change. This knowledge is valuable for:
- DIY Maintenance: Performing oil changes yourself saves money and builds confidence.
- Troubleshooting: Recognizing irregularities in the old oil, filter condition, or drain plug tells you a lot about your engine's health.
- Preemptive Repair: Catching problems early prevents larger, more costly repairs down the line.
- Understanding Engine Health: The oil is the lifeblood of your engine; its condition directly reflects the engine's internal state.
Key Specs and Main Parts
Let's get into the specifics. Here's a breakdown of the essential components and their related specifications:
1. Engine Oil
This is the lifeblood of your engine. It lubricates moving parts, reduces friction, cools components, and cleans away debris.
- Viscosity Grade: Expressed as something like 5W-30 or 10W-40. The "W" stands for Winter. The first number indicates the oil's viscosity at low temperatures (how easily it flows when cold), and the second number indicates its viscosity at high operating temperatures. Using the correct viscosity grade is critical for optimal engine performance and longevity. Consult your owner's manual!
- Oil Type: Options include conventional, synthetic blend, and full synthetic. Synthetic oils generally offer superior performance, better protection at extreme temperatures, and longer drain intervals. Consider full synthetic if your car requires it or if you subject your engine to demanding conditions (e.g., towing, racing).
- Capacity: Your engine requires a specific amount of oil. Again, always consult your owner's manual for this value. Overfilling or underfilling can damage your engine.
2. Oil Filter
The oil filter removes contaminants from the oil, preventing them from circulating through the engine and causing wear.
- Filter Type: Spin-on filters are the most common type. Cartridge filters are also used on some vehicles.
- Thread Size and Diameter: The filter must fit the oil filter mount on your engine. This is a vehicle-specific specification.
- Filter Media: The material used to filter the oil. Options include cellulose, synthetic, and blended media. Synthetic media generally offers better filtration and longer lifespan.
- Bypass Valve: A valve that allows oil to bypass the filter if it becomes clogged. This prevents oil starvation, but it also means unfiltered oil will circulate through the engine. A quality filter with a reliable bypass valve is essential.
3. Drain Plug
The drain plug is located at the bottom of the oil pan and allows you to drain the old oil. It usually has a sealing washer (more on that in a bit).
- Thread Size and Pitch: The drain plug must match the threads in the oil pan.
- Torque Specification: Overtightening the drain plug can strip the threads in the oil pan, leading to a leak and costly repairs. Always use a torque wrench and tighten the drain plug to the manufacturer's specification.
4. Drain Plug Washer
The sealing washer is a crush washer that prevents oil from leaking around the drain plug. It's designed to deform and create a tight seal.
- Material: Usually copper, aluminum, or a composite material.
- Type: Some washers are single-use, while others can be reused a few times. Always inspect the washer for damage and replace it if necessary.
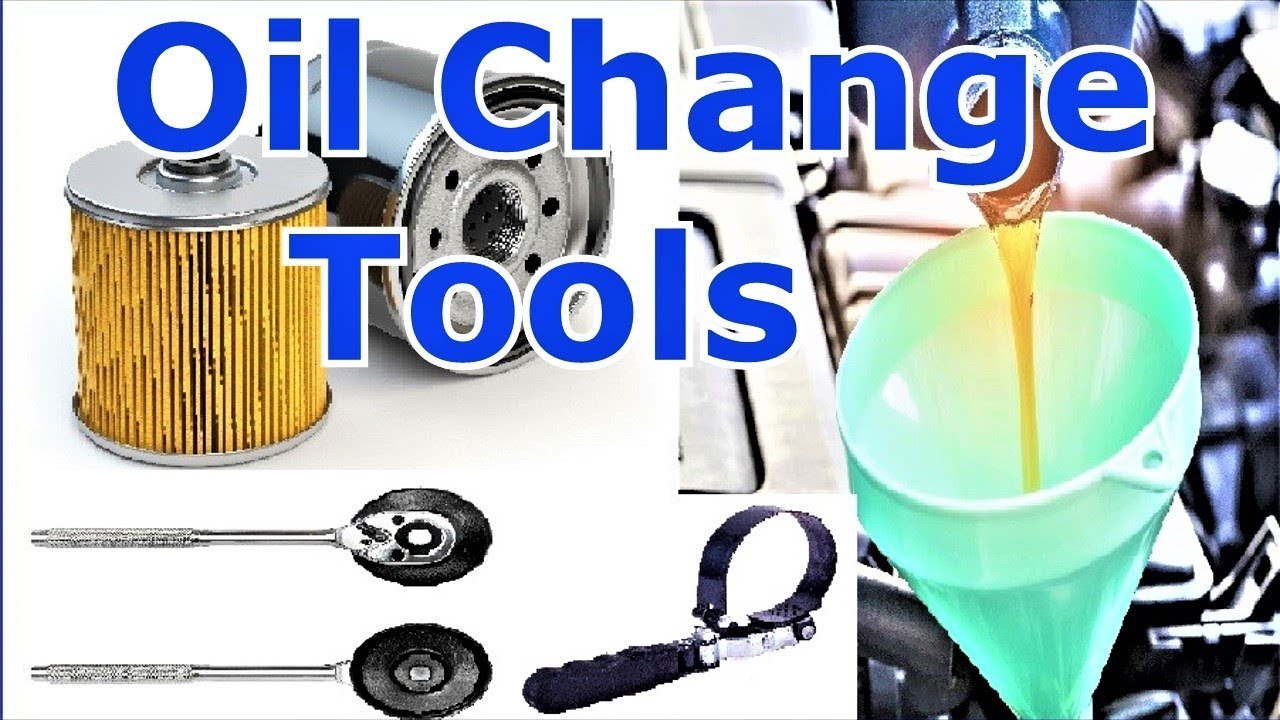
5. Tools
Having the right tools makes the job much easier and safer.
- Wrench or Socket Set: For removing the drain plug and oil filter.
- Oil Filter Wrench: Specifically designed for removing oil filters. Various types exist, including cap wrenches, strap wrenches, and claw wrenches.
- Torque Wrench: Essential for tightening the drain plug to the correct torque specification.
- Funnel: For adding new oil to the engine.
- Drain Pan: To catch the old oil.
- Gloves: Protect your hands from hot oil and chemicals.
- Rags or Shop Towels: For cleaning up spills.
How It Works
The oil change process is relatively straightforward:
- Warm Up the Engine: Running the engine for a few minutes warms the oil, making it flow more easily. Don't let the engine get too hot – you don't want to burn yourself.
- Locate and Remove the Drain Plug: Position the drain pan under the drain plug. Carefully loosen the drain plug with the correct wrench or socket. Be prepared for the oil to flow quickly once the plug is removed.
- Remove the Oil Filter: Use the oil filter wrench to loosen and remove the old oil filter. Be prepared for some oil to spill when you remove the filter. Wipe down the oil filter mount.
- Install the New Oil Filter: Lightly lubricate the rubber gasket on the new oil filter with fresh oil. Screw the filter onto the oil filter mount by hand until the gasket makes contact. Then, tighten the filter according to the instructions on the filter (usually ¾ to 1 full turn). Do not overtighten.
- Reinstall the Drain Plug: Install a new drain plug washer (if applicable). Tighten the drain plug to the manufacturer's torque specification using a torque wrench.
- Add New Oil: Remove the oil filler cap and pour in the correct amount of new oil using a funnel.
- Check the Oil Level: Use the dipstick to check the oil level. Add more oil if necessary to bring the level to the "full" mark.
- Start the Engine: Start the engine and let it run for a few minutes. Check for leaks around the drain plug and oil filter.
- Recheck the Oil Level: Turn off the engine and let it sit for a few minutes. Recheck the oil level and add more oil if necessary.
- Dispose of the Old Oil and Filter Properly: Take the old oil and filter to a recycling center or auto parts store for proper disposal.
Real-World Use - Basic Troubleshooting Tips
- Difficulty Removing the Oil Filter: Use a penetrating oil spray on the filter threads. If that doesn't work, try a different type of oil filter wrench. As a last resort, you can puncture the filter with a long screwdriver and use it as a lever, but be *extremely* careful not to damage the oil filter mount.
- Stripped Drain Plug Threads: This is a major problem. You'll need to repair the threads or replace the oil pan. Options include using a thread repair kit (e.g., Heli-Coil) or tapping the oil pan to a larger thread size. A temporary fix is to use an oversized self-tapping drain plug, but this is not a long-term solution.
- Oil Leak After Oil Change: Double-check the drain plug and oil filter for tightness. Make sure the drain plug washer is properly seated and in good condition. If the leak persists, there may be a problem with the drain plug threads or the oil filter mount.
- Milky Oil: Indicates coolant is mixing with the oil, a sign of a serious head gasket or engine block issue. Stop driving immediately and get it checked by a professional mechanic.
Safety – Highlight Risky Components
Safety is paramount when working on your car. Pay close attention to these potential hazards:
- Hot Oil: Burning yourself with hot oil is a real risk. Allow the engine to cool down slightly before draining the oil. Wear gloves and long sleeves to protect your skin.
- Jack Stands: Never work under a car supported only by a jack. Use jack stands to support the vehicle securely. Make sure the jack stands are placed on solid, level ground and are properly rated for the weight of your vehicle.
- Used Oil: Used oil contains harmful contaminants. Avoid skin contact and dispose of it properly.
- Falling Debris: Wear safety glasses to protect your eyes from falling debris.
- Overtightening: As mentioned, overtightening the drain plug and oil filter can cause significant damage. Use a torque wrench and follow the manufacturer's specifications.
By understanding these essentials, you're well-equipped to confidently and safely perform an oil change on your vehicle. Remember to always consult your owner's manual for specific instructions and specifications related to your car.