What Size Cotter Pin For Axle Nut
Alright, let's talk cotter pins. Specifically, the right size cotter pin for your axle nut. This might seem like a minor detail, but trust me, using the wrong size can lead to some serious headaches down the road. We're going to dive deep into the function of this tiny but critical component, how to choose the right one, and potential issues you might encounter. Consider this your definitive guide. We have a downloadable diagram available that accompanies this article and can be very helpful when you're working on your vehicle.
Purpose – Why This Matters
Why should you care about the perfect cotter pin? Simple: Safety and reliability. The cotter pin's primary function is to secure the castle nut (or slotted nut) on the axle shaft. This nut, in turn, is responsible for maintaining the correct preload on the wheel bearings and ensuring the axle doesn't separate from the hub assembly. A loose axle nut can lead to excessive wheel bearing wear, play in the wheel, and, in extreme cases, complete wheel separation. Nobody wants that! Whether you're performing routine maintenance, replacing wheel bearings, or tackling suspension work, knowing the right cotter pin size is crucial.
Key Specs and Main Parts
Before we get into specific sizes, let's break down the components and terminology:
- Axle Nut (Castle Nut or Slotted Nut): This is the large nut that secures the hub and bearings to the axle shaft. It has slots or castellations cut into it.
- Axle Shaft: The rotating shaft that transmits power from the differential to the wheels.
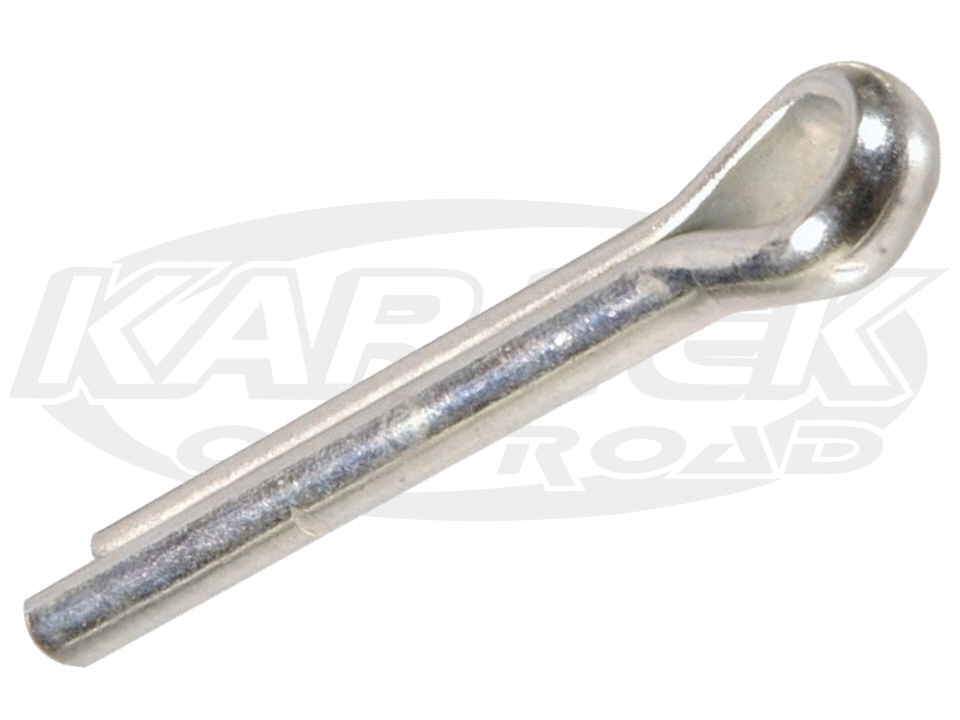
- Cotter Pin (Split Pin): A simple fastener made of soft metal (usually steel) designed to be inserted through a hole, then bent over to secure it.
- Hub Assembly: Contains the wheel bearing and provides a mounting point for the wheel.
- Spindle: A short axle attached to the vehicle's suspension, on which a wheel rotates.
The key specifications we're concerned with are:
- Diameter: The thickness of the cotter pin's shank.
- Length: The overall length of the cotter pin, from the head to the tip.
- Material: Usually low-carbon steel, sometimes stainless steel for corrosion resistance.
Getting these dimensions correct is essential. Too small, and the cotter pin won't provide adequate security. Too large, and you won't be able to insert it properly.
How It Works
The working principle is straightforward, but effective. After tightening the axle nut to the manufacturer's specified torque (critical!), you align the slots in the castle nut with the hole in the axle shaft. Then, you insert the cotter pin through the hole and bend the ends over. This prevents the nut from backing off due to vibration and rotational forces. The bent ends act as a mechanical stop, physically obstructing the nut's rotation.
Think of it this way: the torque on the axle nut creates friction and preload that *wants* to keep the nut in place. The cotter pin provides an additional, failsafe level of security. Even if the nut were to loosen slightly, the cotter pin would prevent it from completely disengaging. The torque specification ensures the correct bearing preload and prevents premature bearing failure. Always consult your vehicle's repair manual for the correct torque value.
Real-World Use – Basic Troubleshooting Tips
So, you're ready to replace a cotter pin. Here's what you need to know:
- Identifying the Correct Size: The easiest way is to consult your vehicle's repair manual or parts catalog. This will specify the correct diameter and length. If you don't have access to these resources, a good starting point is to measure the old cotter pin (if it's still intact) or measure the diameter of the hole in the axle shaft. Always err on the side of a slightly longer cotter pin; you can always trim it.
- Installation: Insert the cotter pin through the hole, ensuring it passes completely through the castle nut and axle shaft. Bend one end of the cotter pin over the end of the axle, and the other end around the nut. The purpose of bending it two different ways is to have the retaining points at a greater degree apart, preventing the cotter pin from sliding out. Use pliers to create a secure bend. Avoid over-bending, as this can weaken the pin and make it prone to breakage.
- Troubleshooting:
- Cotter pin won't fit: Double-check the diameter and length. Ensure the castle nut is properly aligned with the hole in the axle shaft. Sometimes, a little persuasion with a hammer (gently!) is necessary.
- Cotter pin breaks: This usually indicates the cotter pin is too brittle or you're bending it too aggressively. Use a new cotter pin made of good quality steel.
- Castle nut is too loose: This could indicate worn wheel bearings, improper torque, or a damaged axle shaft. Address the root cause before simply replacing the cotter pin.
- Reusing Cotter Pins: Never reuse a cotter pin. Once it's been bent, it's weakened and may break. Always use a fresh cotter pin.
Safety – Highlight Risky Components
Working on the axle and wheel hub involves several potentially risky components:
- Wheel Bearings: Damaged or improperly installed wheel bearings can cause wheel separation, leading to a loss of control. Always follow the manufacturer's instructions for installation and lubrication.
- Axle Shaft: A damaged axle shaft can break under load, resulting in a sudden loss of power to the wheels. Inspect the axle shaft for cracks, bends, or other signs of damage.
- Brake Components: When working near the axle, be careful not to damage brake lines, calipers, or rotors. These are essential for safe stopping.
- Suspension Components: The spring in a strut assembly is under high compression. Improper handling could lead to serious injury.
Always use proper safety precautions, including wearing safety glasses, using jack stands, and disconnecting the battery before working on the vehicle. If you're not comfortable performing this work yourself, consult a qualified mechanic.
Specifically regarding the axle nut and cotter pin: Applying the correct torque to the axle nut is paramount. Over-tightening can damage the wheel bearings; under-tightening can cause the nut to loosen. Always use a torque wrench and consult your vehicle's repair manual for the correct torque specification. A broken or missing cotter pin is a serious safety hazard. Address it immediately.
Diagram and Further Resources
To help you visualize the correct cotter pin placement and associated components, we have prepared a detailed diagram. This diagram illustrates the axle nut, cotter pin, axle shaft, and hub assembly. It also highlights the correct bending procedure for the cotter pin. We have the file available for you to download. It will provide a visual aid during your repair process. Always refer to your vehicle's specific repair manual for detailed instructions and torque specifications. With the right knowledge and tools, you can confidently tackle this seemingly small, but vital, maintenance task.