What Size Hose For Brake Bleeder
Choosing the right size hose for your brake bleeder might seem like a minor detail, but it's crucial for effective brake bleeding. Using the incorrect size can lead to leaks, air entering the system, and ultimately, a spongy brake pedal. This guide will walk you through everything you need to know to select the correct hose size for your brake bleeder, ensuring a successful and safe brake bleeding process.
Purpose
Understanding the correct hose size for your brake bleeder is vital for several reasons:
- Effective Brake Bleeding: A properly sized hose creates a tight seal around the bleeder screw, preventing air from being drawn back into the brake system during the bleeding process. Air in the brake lines compresses, resulting in a soft or "spongy" pedal feel and reduced braking performance.
- Preventing Leaks: A loose-fitting hose can leak brake fluid, creating a mess and potentially damaging painted surfaces. Brake fluid is corrosive and can strip paint if not cleaned up promptly.
- Avoiding Damage: Forcing an improperly sized hose onto the bleeder screw can damage the screw or the hose itself.
- Safe Operation: Properly bled brakes are essential for safe driving. Inadequate brake bleeding can compromise your vehicle's stopping ability, leading to accidents.
Whether you're performing routine maintenance, replacing brake components, or learning about brake systems, knowing the correct hose size is an invaluable skill.
Key Specs and Main Parts
The critical specification for brake bleeder hoses is the Inner Diameter (ID). This is the measurement of the hole inside the hose. The correct ID ensures a snug fit over the bleeder screw nipple.
Main Parts Involved:
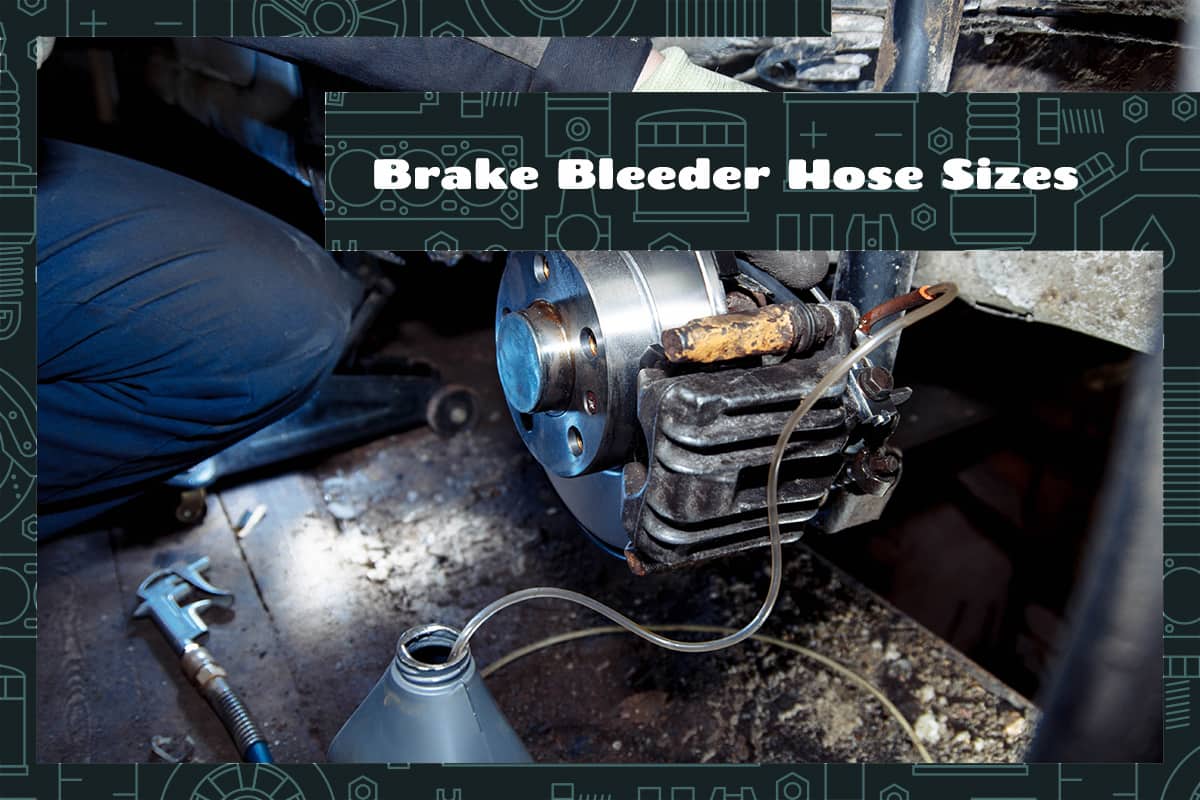
- Brake Bleeder Screw (Nipple): Located on each brake caliper or wheel cylinder, the bleeder screw allows you to release air and old brake fluid from the system. They typically have a small nipple where the bleeder hose attaches.
- Bleeder Hose: A flexible hose that connects to the bleeder screw nipple. It directs the brake fluid and air into a collection container.
- Collection Container: A jar or bottle used to collect the old brake fluid and air bled from the system. Some bleeders come with a built-in one-way valve to prevent backflow.
- Brake Bleeder Tool (Optional): Various types of brake bleeder tools exist, from simple one-person bleeders to pressure bleeders. All require a hose connection to the bleeder screw.
The most common bleeder screw nipple sizes are 1/4 inch (6.35 mm) and 3/16 inch (4.76 mm). Therefore, the bleeder hose ID should be slightly smaller than these values to ensure a tight fit.
Common Hose Sizes:
- 1/8 inch (3.175 mm) ID: Suitable for smaller bleeder screws, often found on older vehicles or motorcycles. This size will require some stretching to fit.
- 3/16 inch (4.76 mm) ID: A very common size that fits many standard bleeder screws. This is often a good starting point when unsure.
- 1/4 inch (6.35 mm) ID: Used for larger bleeder screws, typically found on heavier vehicles or some performance brake systems.
It's always best to measure the outer diameter of your bleeder screw nipple if you are unsure of the size, then subtract a small amount (around 1mm) for the hose ID.
How It Works
The brake bleeding process relies on hydraulic pressure to force air and old brake fluid out of the system. When you open the bleeder screw, the pressurized brake fluid pushes air bubbles and contaminants through the bleeder hose and into the collection container. Here's a simplified breakdown:
- Connection: The bleeder hose is securely attached to the bleeder screw nipple.
- Opening the Valve: The bleeder screw is slightly loosened, opening a pathway for fluid to escape.
- Pumping the Brakes: The brake pedal is depressed (either manually or with a pressure bleeder), creating hydraulic pressure within the brake lines.
- Fluid Flow: This pressure forces brake fluid and air through the open bleeder screw, into the hose, and into the collection container.
- Closing the Valve: The bleeder screw is tightened before the brake pedal is released, preventing air from being drawn back into the system.
- Repetition: This process is repeated until clear, bubble-free brake fluid flows through the hose.
A tight seal between the hose and the bleeder screw is essential to prevent air from being drawn back in during the brake pedal release. This is why the correct hose ID is so critical.
Real-World Use – Basic Troubleshooting Tips
Here are some common issues you might encounter and how to troubleshoot them:
- Hose Won't Fit: If the hose is too small, try warming it slightly with a heat gun or hairdryer (be careful not to melt it!). If it's still too small, you need a larger ID hose. If the hose is too large, try using a slightly smaller hose or wrapping the bleeder screw nipple with Teflon tape to create a tighter seal.
- Leaks Around the Hose: Ensure the hose is pushed fully onto the bleeder screw nipple. If it still leaks, the hose may be damaged or the wrong size. Replace the hose. Also check the bleeder screw itself, the threads may be damaged, if so replace it.
- Air Bubbles Keep Appearing: This could indicate a leak in the system before the bleeder screw, or a loose connection at the hose. Double-check all connections and inspect brake lines for damage or corrosion. It could also mean you are running the master cylinder dry.
- Spongy Brake Pedal After Bleeding: This is a sign that air is still present in the system. Re-bleed the brakes, paying close attention to the hose connection and ensuring you are using the correct bleeding procedure for your vehicle.
Safety
Working with brake systems involves certain risks. Here's what to watch out for:
- Brake Fluid: Brake fluid is corrosive and can damage painted surfaces and irritate skin. Wear gloves and eye protection when handling brake fluid. Clean up any spills immediately.
- High Pressure: Some brake bleeding systems, especially pressure bleeders, operate at high pressure. Follow the manufacturer's instructions carefully to avoid damage or injury.
- Contamination: Keep brake fluid containers clean and free from contaminants. Never reuse old brake fluid.
- Environmental Concerns: Dispose of used brake fluid properly at a designated recycling center. Do not pour it down the drain or onto the ground.
- Master Cylinder: Be careful not to let the master cylinder run dry during the bleeding process, as this will introduce more air into the system. Regularly check the fluid level and top it off as needed.
Important: If you are not comfortable working with brake systems, consult a qualified mechanic.
Proper brake bleeding is critical for safety, and using the right size bleeder hose is a key part of that process. By understanding the specifications, procedure, and potential issues, you can confidently tackle brake bleeding and ensure your vehicle stops safely.
We have a detailed diagram available for download that visually outlines the brake bleeding process and highlights hose connections. Contact us if you'd like access to that file.