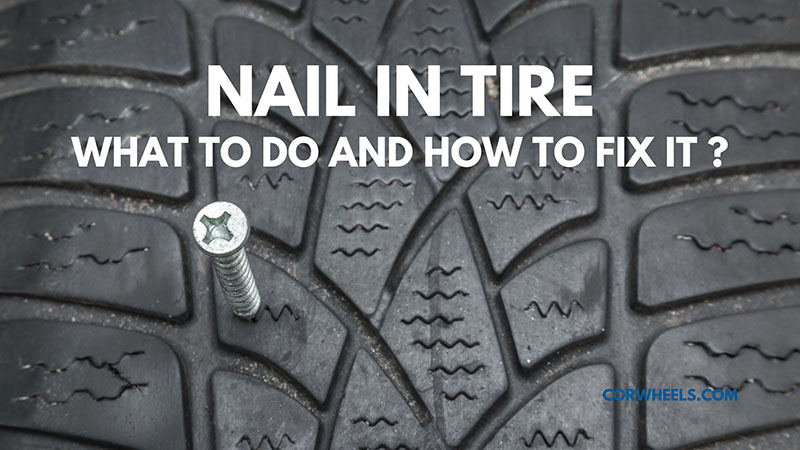
What To Do Nail In Tire
Finding a nail embedded in your tire can be a frustrating experience. While it might be tempting to simply ignore it, driving with a nail in your tire can lead to further damage, potentially causing a flat tire and jeopardizing your safety. This article provides a comprehensive guide on how to handle a nail in your tire, covering everything from initial assessment to temporary repairs, and outlining when professional help is absolutely necessary.
Purpose
Understanding how to address a nail in your tire is crucial for several reasons:
- Safety: Driving with a compromised tire significantly increases the risk of a blowout, which can lead to loss of control and accidents.
- Preventing Further Damage: A small puncture can quickly escalate into a larger problem. The nail, if left in place, can gradually enlarge the hole as the tire flexes, leading to internal damage to the tire's construction.
- Cost Savings: Addressing the issue promptly can often allow for a simple and inexpensive tire repair, avoiding the need for a costly tire replacement.
- Extending Tire Life: Proper tire maintenance, including prompt puncture repair, contributes to the overall lifespan of your tires.
Key Specs and Main Parts of a Tire
Before we dive into the repair process, let's review the key components of a tire:
- Tread: The outer layer of the tire that comes into contact with the road. It provides traction and grip. Tread depth is a critical specification, typically measured in 32nds of an inch. A worn tread significantly reduces grip, especially in wet conditions.
- Sidewall: The side of the tire that connects the tread to the wheel. It contains information about the tire's size, load capacity, and speed rating. It is generally less resilient to punctures compared to the tread.
- Bead: The inner edge of the tire that seals against the wheel rim. It's reinforced with steel cables.
- Carcass (or Tire Body): The internal structure of the tire, composed of layers of fabric and steel belts, providing strength and stability. Damage to the carcass often renders a tire irreparable.
Understanding these components helps in assessing the severity of the puncture and determining the appropriate course of action.
Initial Assessment: Is Repair Possible?
The first step is to carefully examine the tire to determine the location and size of the puncture. Not all punctures are repairable. Here's what to look for:
Puncture Location
A tire is typically only repairable if the puncture is located within the tread area. Specifically, the puncture should be within the middle three-quarters of the tread. Punctures on the sidewall or shoulder (the edge of the tread meeting the sidewall) are generally not repairable. These areas experience significant flexing during driving, and a repair in these locations is unlikely to hold and could lead to catastrophic tire failure.
Puncture Size
The generally accepted maximum puncture size for repair is 1/4 inch (6mm). Larger punctures require a tire replacement. Some repair kits are rated for slightly larger punctures, but it's always best to err on the side of caution.
Angle of Penetration
If the nail entered at a severe angle, causing significant internal damage to the tire's plies, repair may not be advisable, even if the puncture itself is within the repairable zone and size limit.
Repair Options
If your assessment indicates that a repair is possible, you have a few options:
Tire Plug Kit (Temporary Repair)
A tire plug kit is a quick and relatively inexpensive way to temporarily seal a puncture. It involves inserting a rubberized plug into the hole using a specialized tool. This is typically considered a temporary fix.
Procedure:
- Remove the nail from the tire (use pliers).
- Use the rasp tool (included in the kit) to clean and enlarge the hole. This helps the plug adhere properly.
- Thread the plug through the insertion tool.
- Forcefully insert the plug into the hole until about 1/2 inch of the plug remains exposed.
- Remove the insertion tool.
- Trim the excess plug material flush with the tire's surface.
- Inflate the tire to the recommended pressure (found on the tire sidewall or the vehicle's door jamb).
Important: A plugged tire should be inspected by a professional as soon as possible. The plug can deteriorate over time, and the tire could still be at risk of failure. Also check and re-inflate the tire regularly after using a plug.
Tire Patch Kit (Internal Repair - Recommended)
A tire patch is a more permanent repair that involves removing the tire from the wheel, buffing the inner liner around the puncture, applying rubber cement, and then applying a patch to the inside of the tire. Some patch kits also include a plug that's inserted from the outside, then pulled through to the inside to fill the puncture channel completely. This provides a superior seal compared to a simple plug.
Note: This method generally requires specialized tools and equipment, including a tire mounting machine and a balancer. It's best left to a qualified tire technician. However, a DIYer with the right tools and experience can perform this type of repair.
Professional Tire Repair
The safest and most reliable option is to have the tire professionally repaired at a tire shop. Technicians have the expertise and equipment to properly inspect the tire, determine the best repair method, and ensure a safe and lasting repair.
Real-World Use: Basic Troubleshooting Tips
- Slow Leak After Plugging: If the tire is still losing air slowly after plugging, the plug may not be properly sealed. You can try applying a small amount of rubber cement around the plug to improve the seal. If the leak persists, it's best to have the tire professionally inspected.
- Plug Comes Out: If the plug comes out while driving, immediately pull over to a safe location and replace the tire with the spare. Do not attempt to drive on a tire with a missing plug.
- Vibration After Repair: If you experience vibrations after repairing the tire, it could be due to improper balancing. Have the tire re-balanced by a professional.
Safety Considerations
Working on tires can be dangerous. Here are some safety precautions to keep in mind:
- Use Jack Stands: Always use jack stands to support the vehicle when removing a tire. Never rely solely on the jack.
- Wear Safety Glasses: Protect your eyes from debris when working on tires.
- Inflate Tires Properly: Over-inflation or under-inflation can be dangerous. Always inflate tires to the recommended pressure.
- Don't Exceed Tire's Load Capacity: Overloading the vehicle can damage the tires and increase the risk of a blowout.
- Sidewall Damage is a No-Go: As reiterated previously, never attempt to repair sidewall damage. Replace the tire immediately.
Driving on a damaged tire is extremely risky and can lead to serious accidents. If you are unsure about the safety of your tire, it is always best to err on the side of caution and have it inspected or replaced by a qualified tire technician.
While this article provides a comprehensive overview, it's essential to consult your vehicle's owner's manual and the tire manufacturer's recommendations for specific guidance. Remember, your safety is paramount!
We have a detailed diagram illustrating the safe repair zone on a tire, along with puncture size guidelines. You can download it [link to download here].